Alright, so here goes nothing: My Shiv was built using the SRAM Force BB30 crankset that I had from my previous bike. It was built with SRAM's BB30 bottom bracket. Very clean set-up overall. Little wonky with the one spacer on the non-drive side, but outside of that, no big deal.
The SRM is a wired unit that was calibrated last year and has been unused since. (The prior owner switched over to a PowerTap and never looked back.) PCV, old school software, the works. It is the Gen II power sensor and mounting bracket, though, which probably made my transition over.
Tools you'll need:
- 10 mm Allen key
- Grease (choose the Phil Wood stuff based on the ST article about installing a Shimano crank...thanks Greg!)
- Specialized adapter cups
- Shimano pre-loading adjustment tool
- 5 mm Allen key
- 4 mm Allen key
- Patience and/or bourbon.
The first thing I did was remove the old crank. This was my first mistake in the process; I did not take my pedals off of the crank. For the record, it is an epic pain in the ass to remove pedals from a crank that isn't on a bike.
At any rate, the two washers on the non-drive side came out right then and there, but everything else was packed well. I took this opportunity to just clean out the area and re-greased it. Considering I've only been outdoors for about a month, I was surprised by some of the grit and grime in there. Thinking that the shop that built up my bike used a subpar grease.
You then tap in the adapters. They are friction fit, so you just take a rubber mallet and tap them on into place. They will stick out further than you think they are "supposed" to. You're wrong. That's as far as they go. I made sure to check on the opposite one before I installed it...yep, that's as deep as she'll go.
Grease the spindle of the new crank, make sure you put the chain on there (mistake #2), slide on in. Install non-drive side arm, tighten the pre-load, then tighten the arms. Crank is on board!
Now for the fun part: getting the wiring into the frame.
You have two options: run it through the same port that the derailleur cables come through, or run it through the bottom bracket port up through past the Fuelselage. I attempted to run the cabling through the port that the cables come through. You WILL need to re-cable the bike if you try this route. There's simply not enough space in there for the head of the sensor cable to run through the piping and for the cables. I tried only removing the FD cable, and that doesn't work, either. You've gotta do all of them.
So I went with option #2: through the bottom bracket "cut-out." You'll need a fishing cable of some kind. My weapon of choice: a coat hanger shaped to the tube shapes of the Shiv. You'll need to push the sensor cable backwards in to get the head of it to fit on through there. You then run your line through the frame, attach the cable to the wire, and then pull it up and through.
You then mount your sensors to the frame. I luckily had a screw that was the same length and thread for the bottom bracket cover, and was able to position the sensor correctly. This was the longest part of the process; trying to get it to run appropriately.
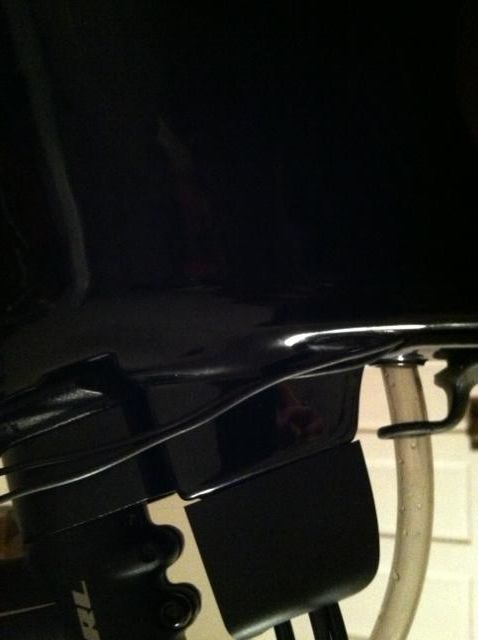
Without further adieu, the pictures:
The sensor routing, and the cable underneath the cover. This was HARD to figure out, and took the longest part of the process. A good two hours trying to get the sensor to seat appropriately, etc. And yes, I know...I need to clean the brakes, etc.

Wiring coming up through the Fuelselage region towards the front of the frame:
Total time: 8 hours worth of work. My next trick is getting my PCV a custom harness so that it doesn't interfere with my hydration set-up. Planning on BTA and bladder for HalfRevs this year, and then adding one behind the saddle for the FullRev in September.
----------------------------------
Editor-in-Chief, Slowtwitch.com |
Twitter
