Except for the graphics, most steps appear in the thread already. The graphics are up to you. Many fabrics can be used. Pigments can be mixed with epoxy or polyester. Some experimentation is required to get neon colors, and glow-in-the-dark outline.

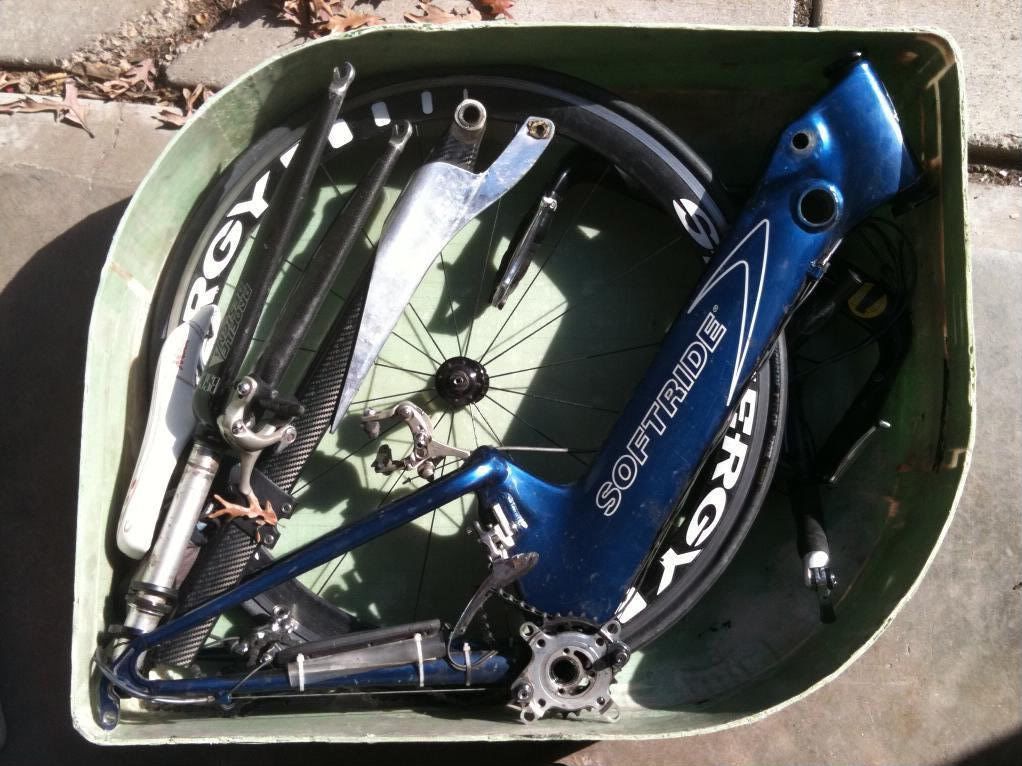
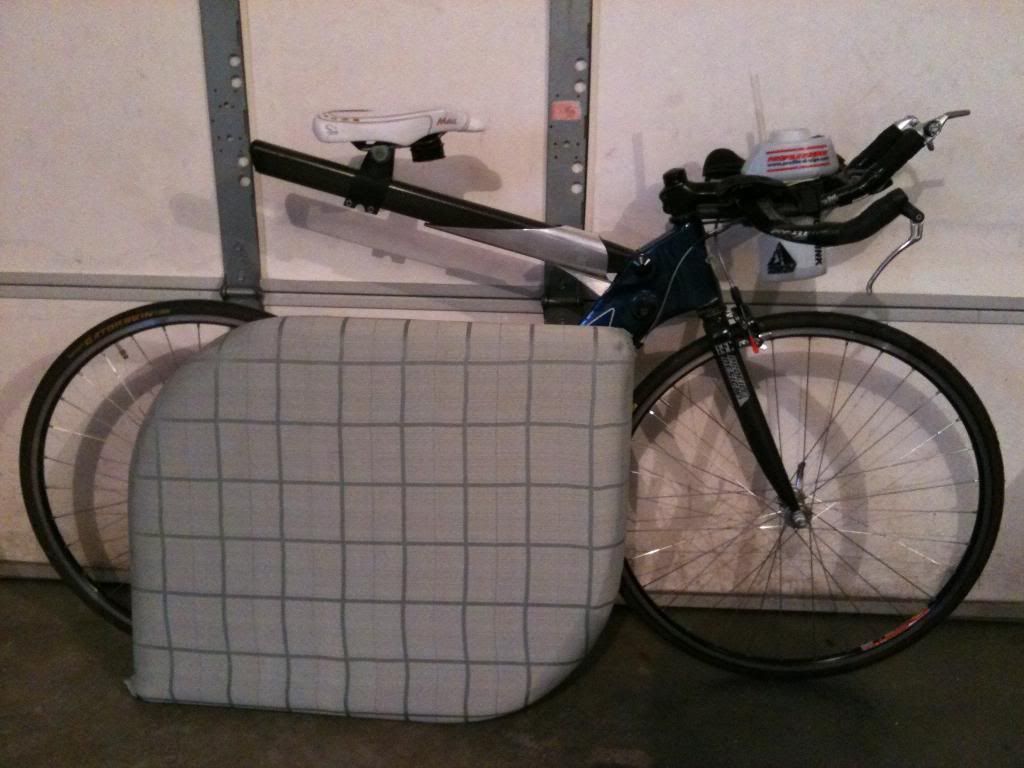
Break your bike down to a configuration you're willing to travel with. Don't just visualize it. Note the critical packing order. Make a pattern.
Parallelogram layout is efficient for a triangle frame with regular or disc wheels.
If you work inside the form, a rectangular shape is easier to make. If you work outside the form, any shape can be easily sculpted from pink or blue insulation foam.
If you work inside the form, graphics are painted in first. If you work outside the form, graphics are the last layer.
Polyethylene plastic is an inexpensive release agent. Thick sheets can be glued or taped to the mold. Thin rolls can be cut then glued. Some adhesives dissolve foam. Electrical or clear tape can be used if needed.
Epoxy or Polyester resin work. Epoxy is more expensive, but less toxic and less odorous.
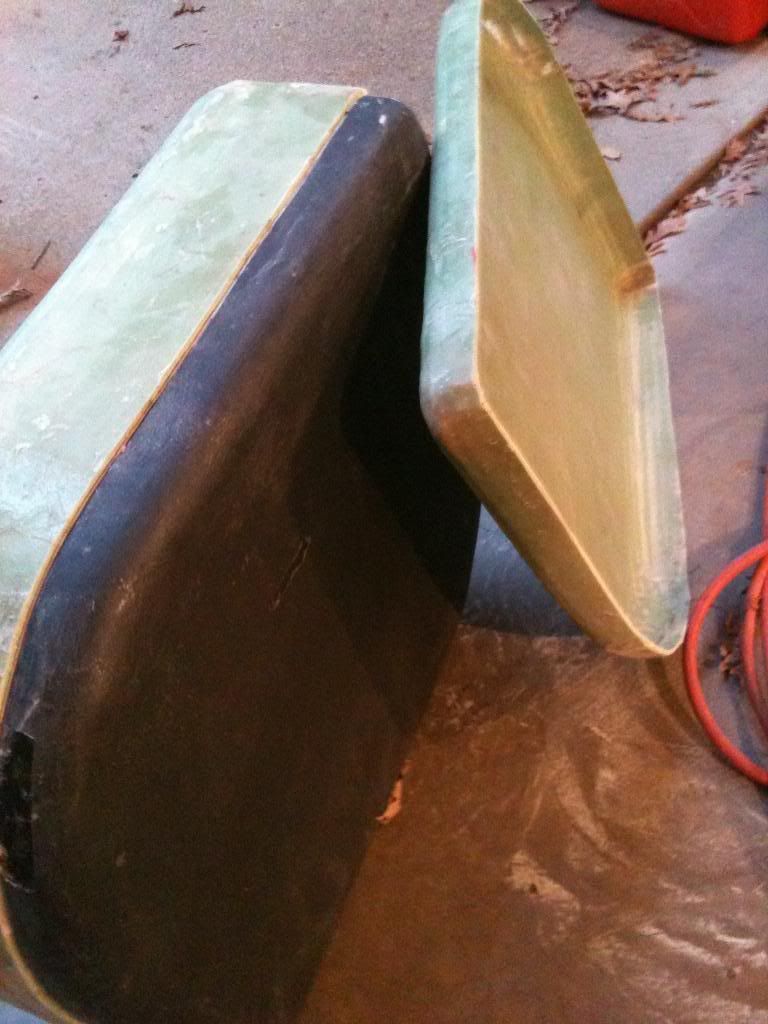
Building on a full plug, instead of making each half separately keeps the two halves perfectly aligned.
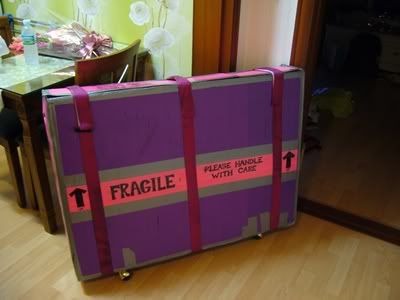
The closure system is up to you. Straps, latches, Velcro and tape all work.
Putting a lip inside helps with strength and alignment.
The handle and wheel system is up to you. Wheels that stay attached are vulnerable during travel. No wheels, or external, removable wheels seem the best bet.


 [/url]
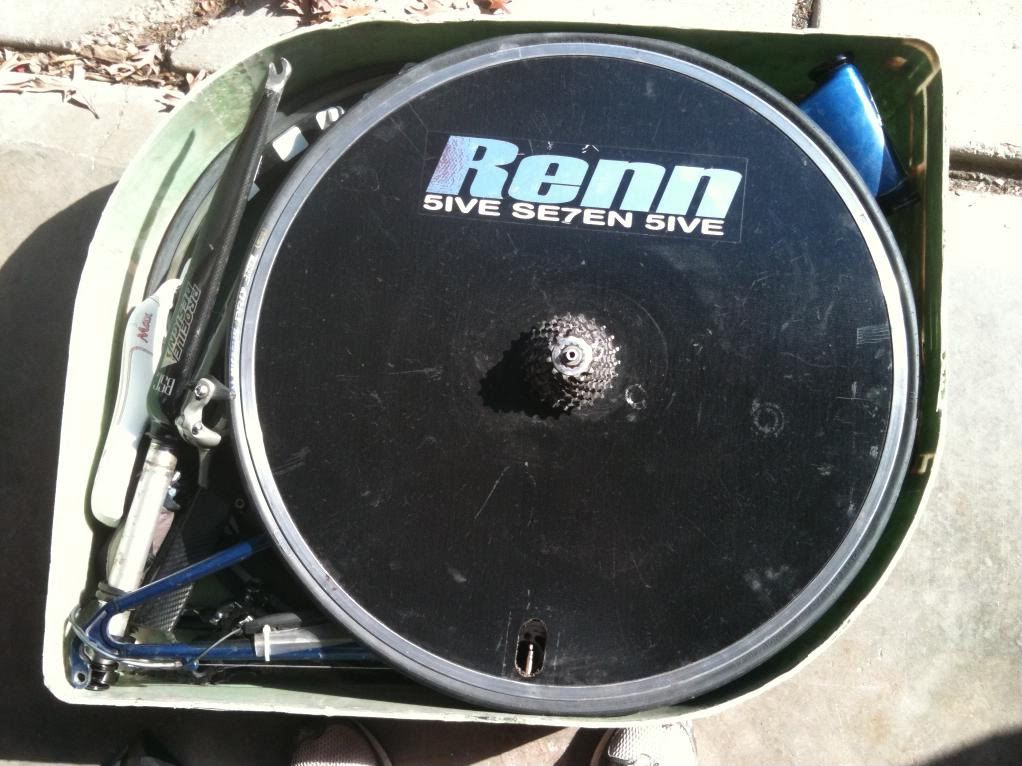
 [/url]