Originally published at: We Tested: Slipstream Swim Performance - Slowtwitch News
By my count, I’ve tested upwards of 10,000 unique products in my time in multisport; first as a retailer and blogger, and now for the past eight years here at Slowtwitch. It’s a lot of product that I’ve put to the test. But this one, dear reader, is a bit unique. It’s rare I get to test something that’s truly new. And that’s what Slipstream has with its models of swim machines. Founded by James Murdock, the inventor of Endless Pools, we were excited to try one of these machines out.
Let’s not beat around the bush: for lack of better terminology, this is a portable machine that turns any body of water into what is effectively an Endless Pool at a fraction of the cost. It is still, in the words of Mr. Dink from Doug, very expensive: models range from $5,495 USD to $6,495, depending on how powerful of a motor you opt for. The lower-cost Sport machine tops out at 1:45/100 yard pace, whereas the more powerful Performance model will zip out to 1:20/100 yard pace. An Endless Pool, for what it’s worth, that is focused on swim performance with pace all the way up to 1:08/100 yard pace will set you back five to six times as much (at a minimum).
We decided to put one of these machines to the test to see whether or not it does what it claims to be:
The first portable, battery-powered swimming machine that transforms existing and new pools without construction or costly installation! With Slipstream Performance you can swim in your backyard pool over 2.5 miles on a single charge and up to 1:20 hundred yard pace. Best of all, say goodbye busy club pools, sharing lanes and flip turns!
Shipping, Unpacking, and Assembly
When you place an order with Slipstream, you get the first of a series of emails from the company that contains a ton of detail — particularly around what you’ll be receiving, assembly instructions, and installation at your pool. That latter part was slightly more challenging for me, as my test location wound up being my local YMCA. So getting the appropriate measurements to limit the amount of tinkering I would need to do upon arrival was slightly more challenging than originally planned.
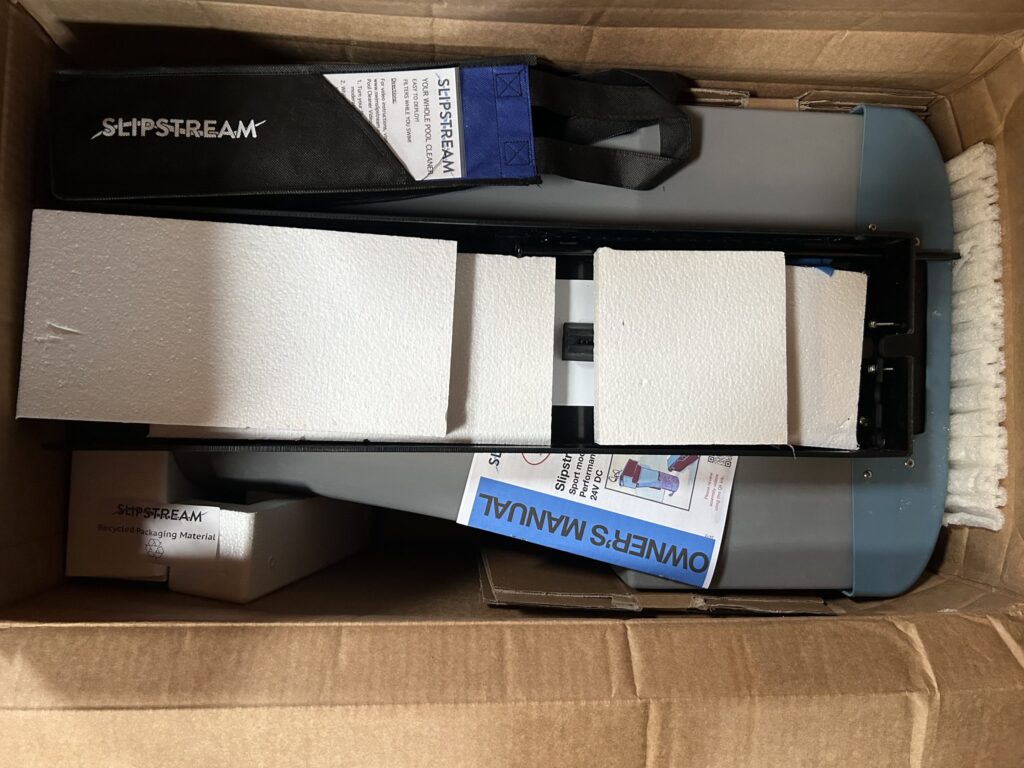
I would be receiving four separate packages from Slipstream — two for the actual Performance machine, and two for the sizable battery needed to power it. Here’s what that winds up looking like:
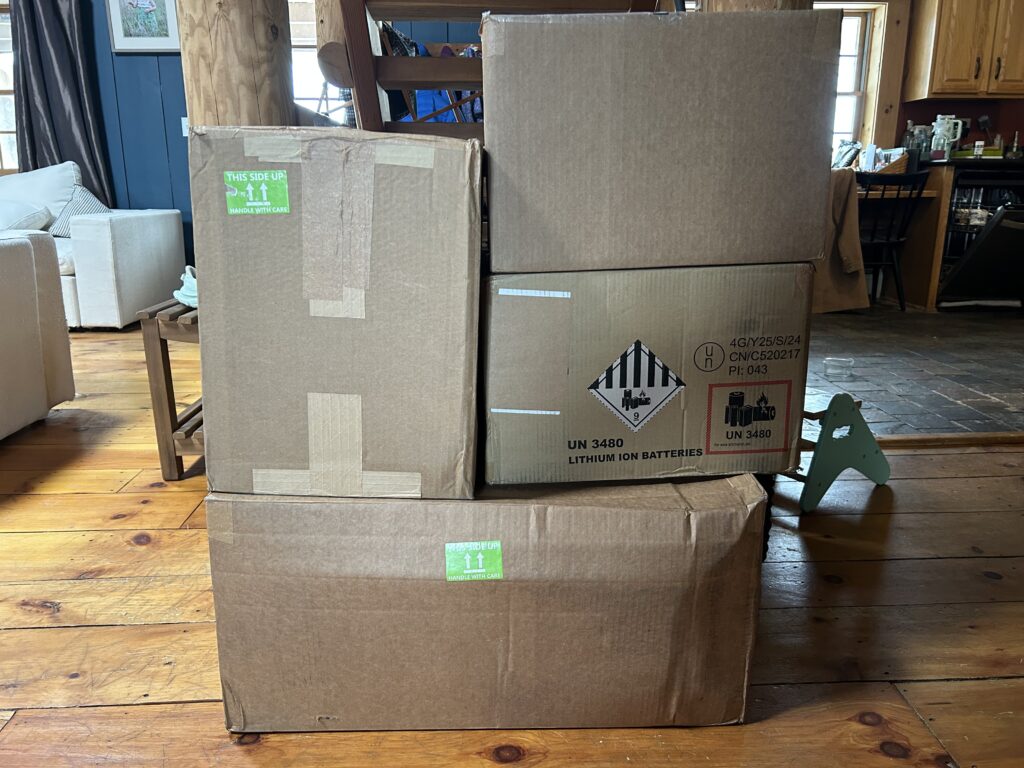
If I may, for just a moment, toss my marketing hat on: this might be the most understated packaging for a $6,000+ item I’ve ever seen. I’d love to have some of this be branded, or otherwise help tell the story of what’s inside it. I’m trying to remember the last non-branded box I received for product; it might have been a fit kit for triathlon apparel. It’s just that, well, if you’re spending this much on something, the packaging should probably be premium, too.
Opening up each box is a bit unassuming.
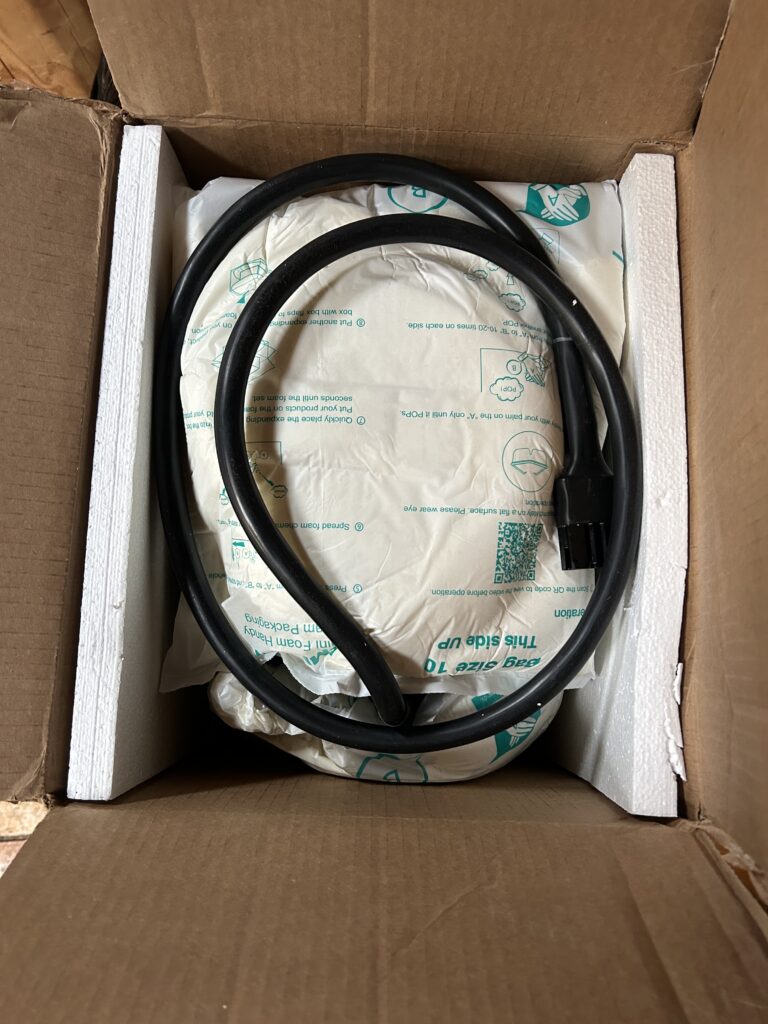
Not much to go off there. Door #2 reveals:

Then box 3 gives us:
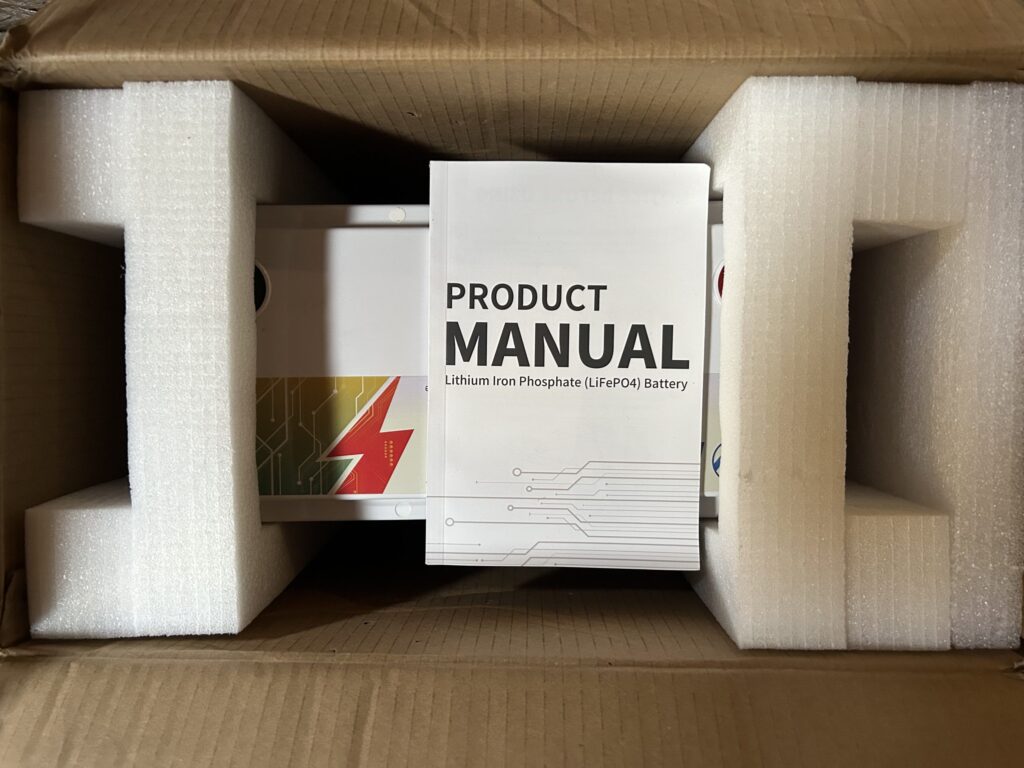
And our final box reveals:
Not a whole heck of a lot to reveal here. So, I did what any reasonable person would do: I took quite literally everything out of each box to figure out what I had.
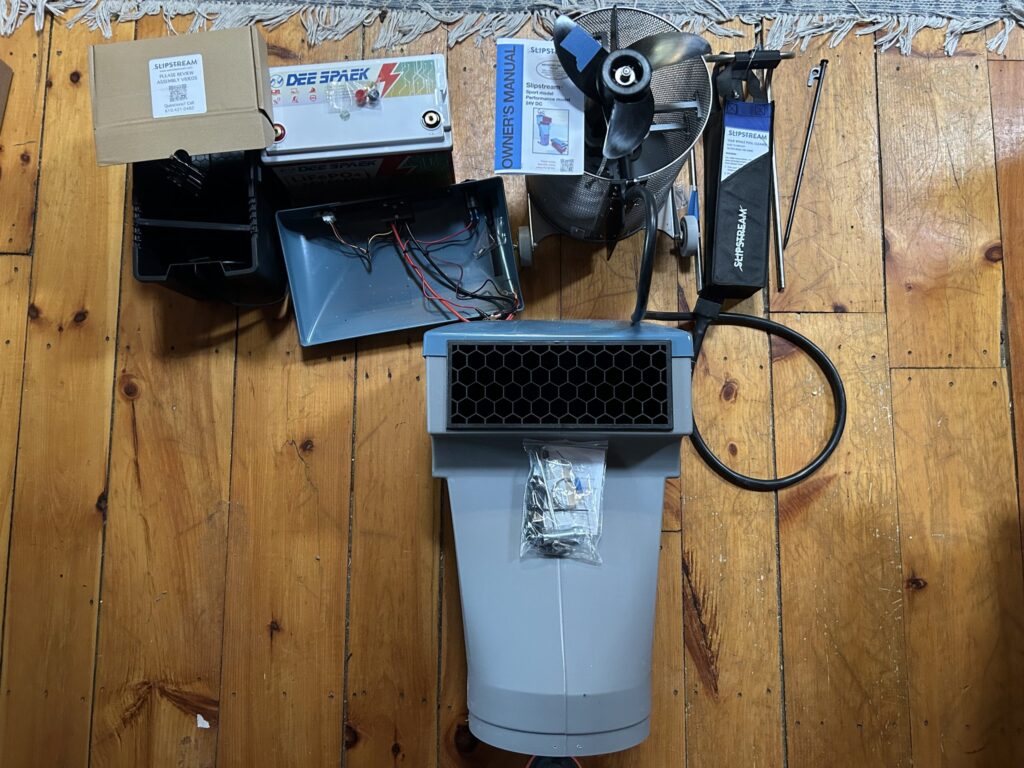
To be fair, I thought it was going to be in more pieces than this, given the four large, unassuming boxes. As it turns out, assembly is really divided into two parts — assembling the actual machine, and then hooking up the battery to components and putting it into its case.
Slipstream, to their credit, has a series of instructional videos for assembly. They’re pretty straightforward, and what I used to put the unit together. It’s really two main pieces that are coming together: the bottom end of the motor (with the fan above) and the top end (the gray plastic and honeycomb above). They stack together; I had to wrangle the plastic slightly, but here we are vertical:
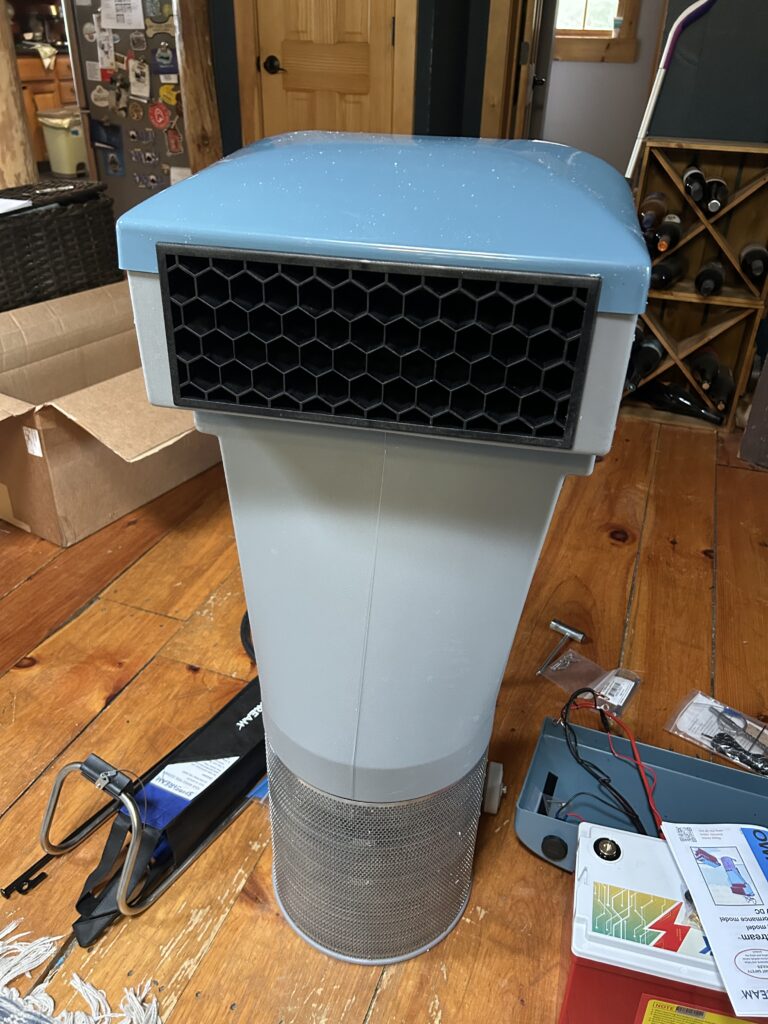
Then there’s a few screws to tie it together. There are pre-drilled holes in the plastic, and red call-outs for where they should line up in the metal.
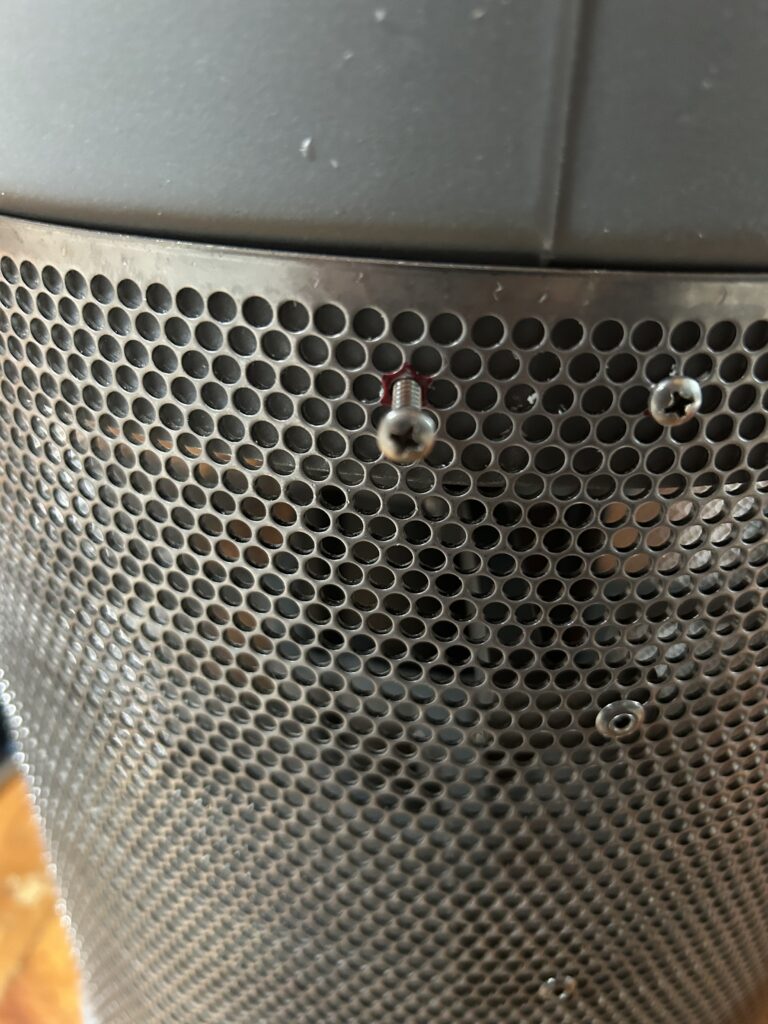
Note that everything should be hand-tightened. There’s a screwdriver provided to put it together, but any decent Phillips-head screwdriver will do. After you’ve tightened that down, you need to align the power cord run out of the back of the unit.
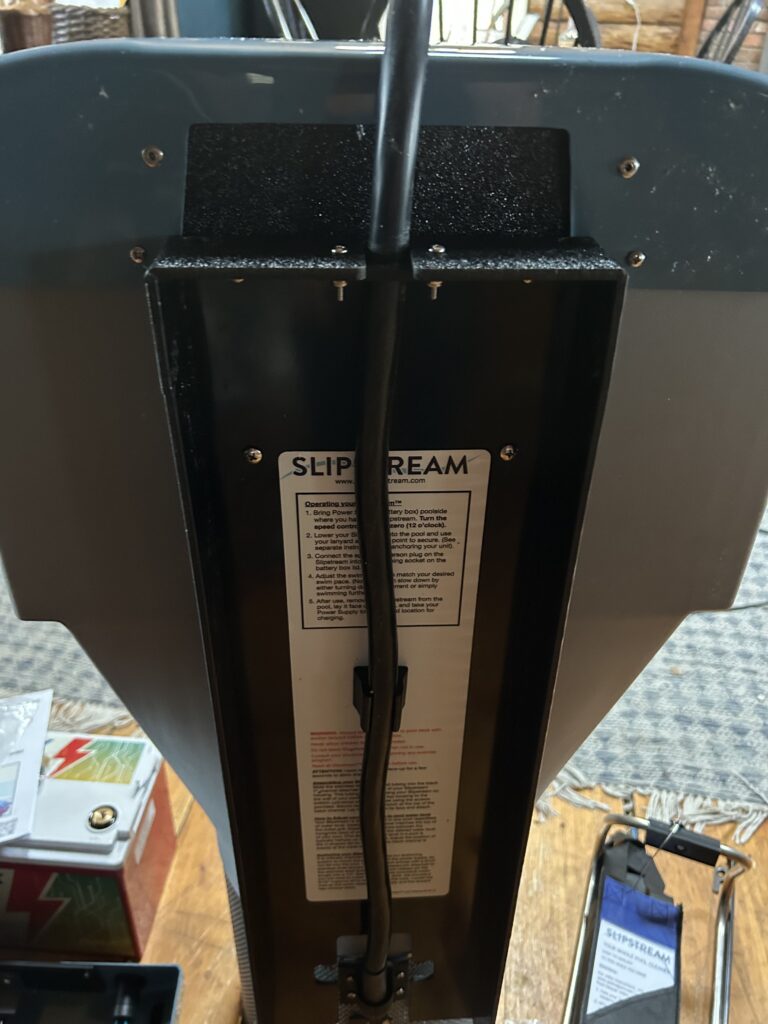
Yes, the power cord blocks the instructions and warning label on the back of the unit. I’m not entirely sure how else they could run this, but I did find that somewhat amusing. It’s held in place at the top by a bracket with two screws and nuts. So far, pretty simple. The last piece was putting the handle bracket into place (that’s the metal component to the right of the unit above; I forgot to take pictures while putting it on, but it’s easy enough).
Next comes the battery and its box:
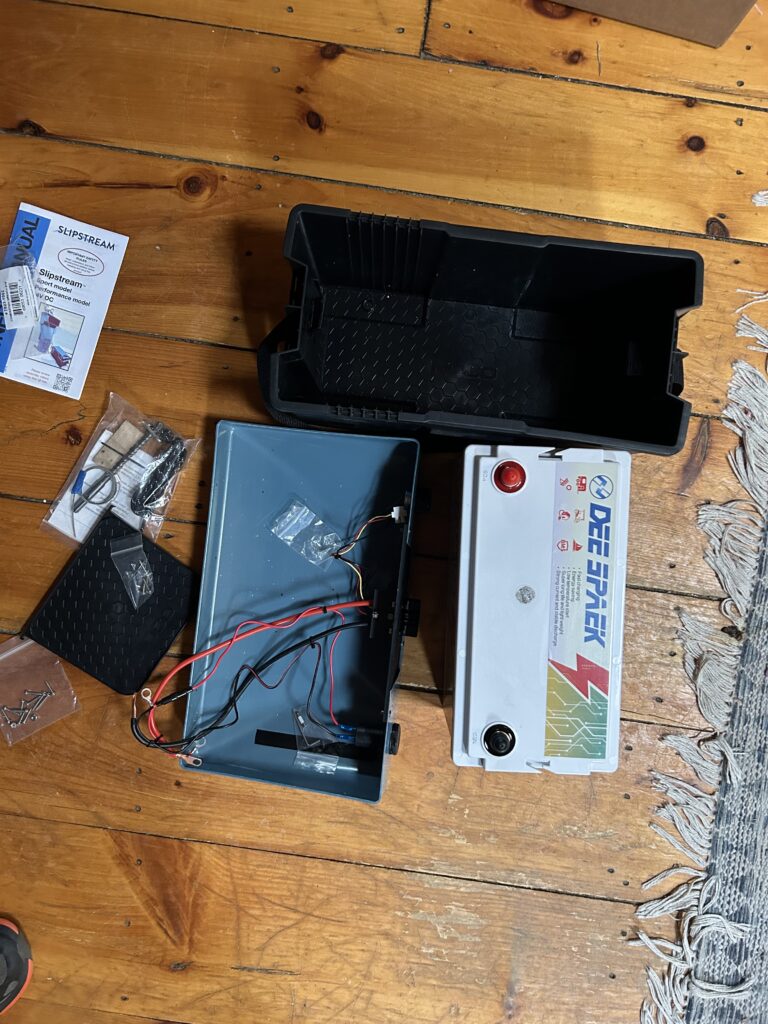
The easy part is just getting the battery into the box, and sliding the piece of black plastic into place to make sure the battery isn’t moving around inside. Then you need to connect the wiring. Both positive and negative terminals have two wires connected to each. The thicker diameter wire should go on the bottom of each terminal, with the thinner one on top. Slipstream instructions had positive terminals go first, and here’s what it looked like once done.
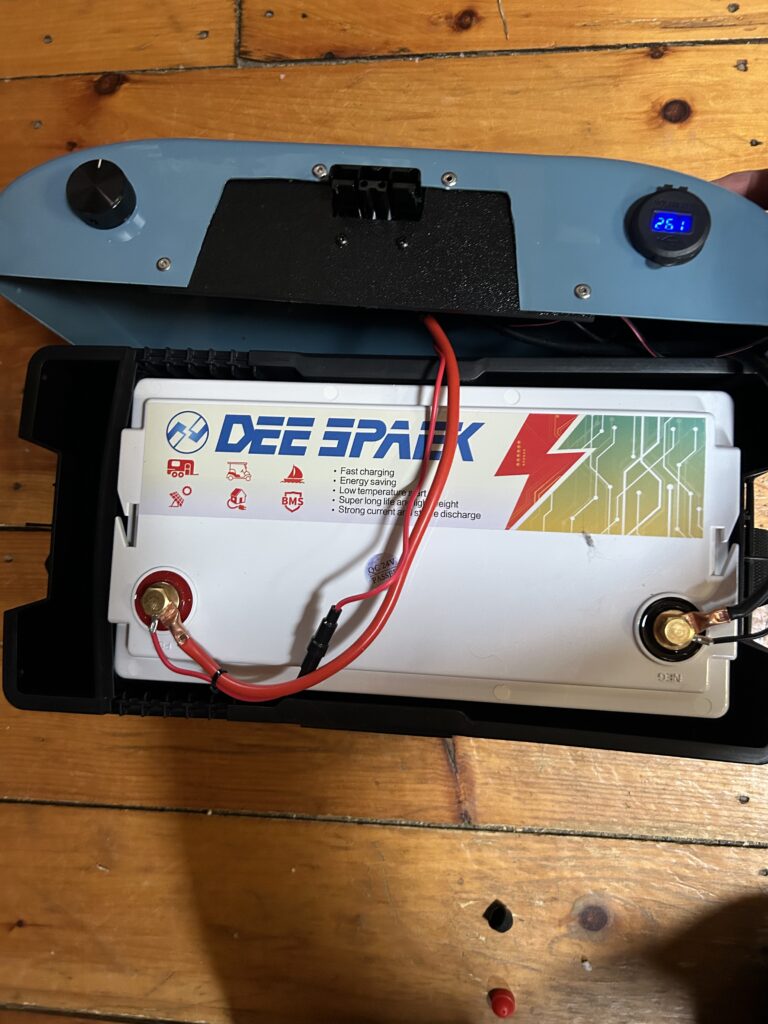
The last component was assembling the top of the box. There were not clear instructions as to which way was front or back while putting the top on, so I struggled for a little bit getting the pieces aligned to have the screws put into place. But it was done, and here’s the complete unit assembled.
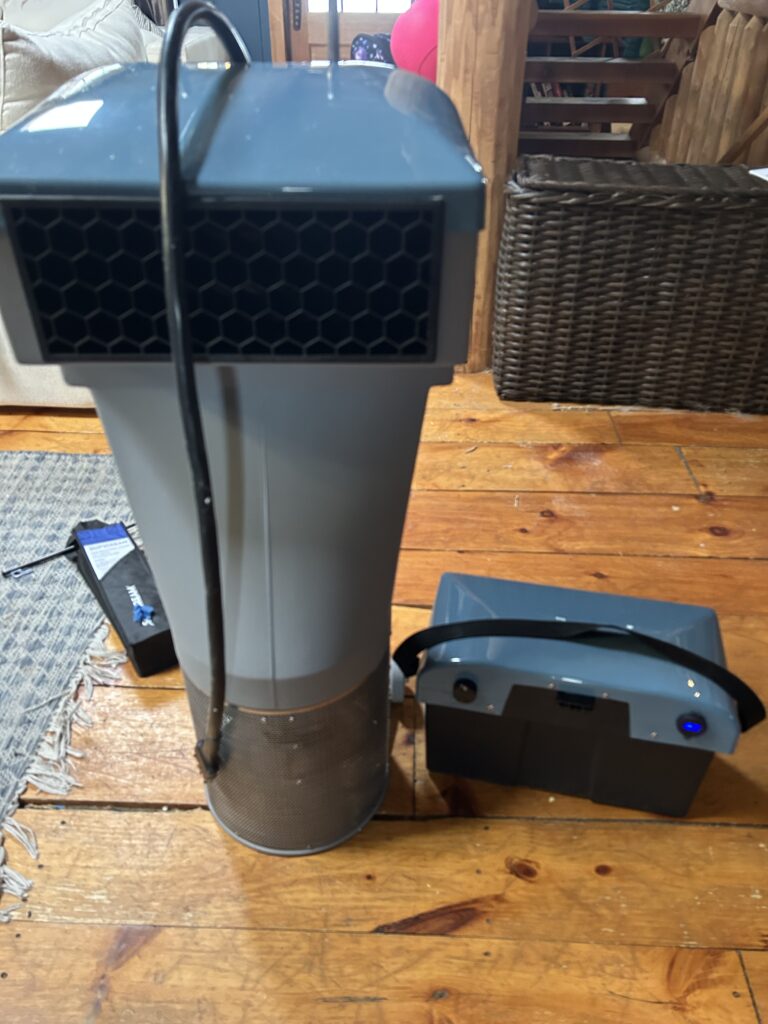
All told, it was about 45 minutes to fully unpack and assemble the unit. Not bad. As you can barely see in this photo, the machine is on essentially its own dolly, so it wheels around quite easily; shortly after this photo, it went down to our basement with the rest of our triathlon-related equipment.
Swimming with Slipstream
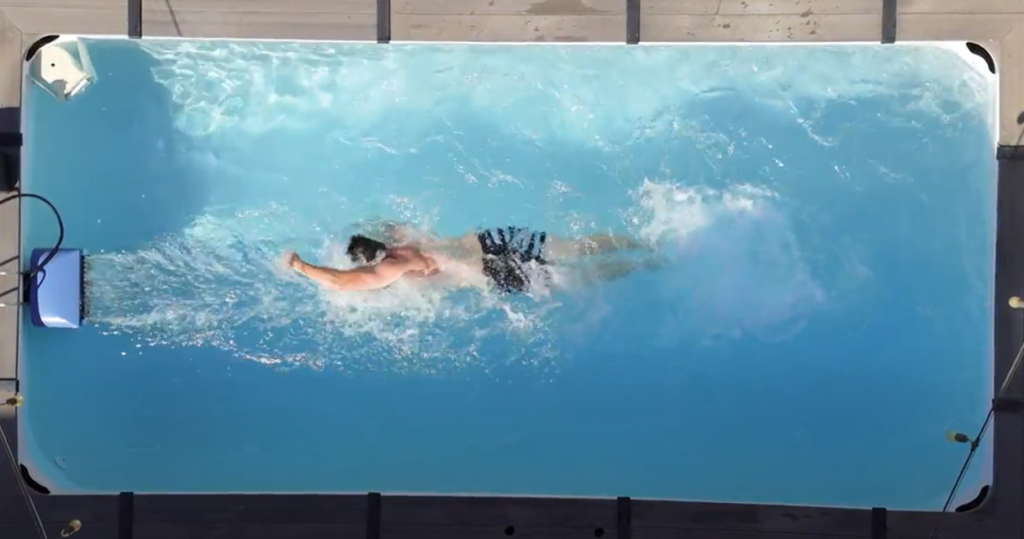
As mentioned at the start, I used the Slipstream at my local YMCA. Lap swimming is challenging at the moment here at the Tundra Division outpost. Our local Y has added more and more classes to the pool that limit lap swimming availability. Unless you are swimming very early in the morning, right at lunch, or after 8 PM at night, you may not have the opportunity. And given that there’s a good foot of permafrost on the ground right now, outdoor swimming is out of the question, even if we owned a pool.
So my use question came down to this: during open swim, could this effectively turn a small section of the pool into a lap swimming area? Answer: most definitely.
The hard part of transporting a Slipstream is two-fold. First, the battery is heavy. The second is that people look at you like you have three heads while wheeling it through your Y locker room. (I suppose that really isn’t an issue for most customers, but here we are). Once in the pool, it’s pretty simple. You need at least three feet of water depth, and ideally a minimum of ten feet of space behind you to work with. Using the deep end of the pool made this a breeze. Slide it in, ensure you have the right height, and then use the control knob on the battery box to determine speed.
Let’s start with the two negatives I can think of. The first is that, well, when you’re in the water, there’s no real changing of pace. I suppose that can also be considered a feature, if you’re trying to engrain a very specific swim pace in place. But if you’re getting tired, your only reprieve to the pace is to fall back away from the unit and out of the current. The second is storage — this is a unit that should not remain in the pool all the time. When it’s not being used, it should come out. This is particularly true if you have a saline pool — leaving it in the water voids your warranty.
But otherwise? I’ll be damned, the thing works as intended. I suppose that shouldn’t be surprising, given that founder Murdock has more than thirty years of swim industry experience. Slipstream was his pandemic project. The years of effort and experience show. You get a steady swim pace experience in a limited amount of space. So long as you didn’t get overzealous tightening the metal handle into place, it’s relatively easy to adjust the height of the unit to move from pool to pool. I had to do this once. It takes the provided screwdriver and wrench to hold the nuts in place, but it’s otherwise not difficult.
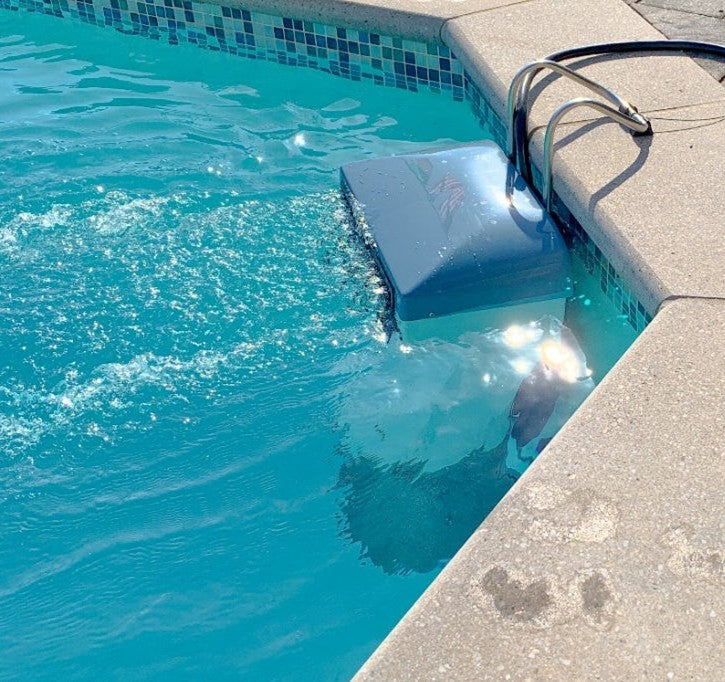
When swimming with it, one thing to be mindful of is that the water immediately near the motor can be awfully choppy. I think of that more of a feature than as a bug; it mimics being in the thrash of an IRONMAN swim awfully well. Asking the customer service team, they also seem to believe that the unit could work attached to a well anchored open-water dock. I’d love to put that to the test, but seeing as my normal open-water testing location is currently completely frozen over, that may need to wait for follow-up testing.
Is It Worth It?
Ultimately, this has to be the question, right? When compared to an Endless Pool on its own, this is a no-brainer, in my opinion; it provides much the same swim experience for pennies on the dollar. Of course, though, you first need a pool. And those aren’t exactly cheap, either. If you are facing having to acquire a pool on top of a swimming unit, you’re in a much different place than if you’re upgrading something that already exists in your backyard.
For example: an average new install of an aboveground or semi-inground pool that would allow you to use a Slipstream here in rural New Hampshire will set you back about $12,000. That brings your total investment approaching $20,000. It’s a steep curve, especially if you already have good lap-lane availability.
That being said, I see the value for people who own homes that do have pools. People who might be tired of fighting for lap lane space, and would have considered an Endless Pool. It’s a great alternative, in my opinion. Yes, it requires some assembly, but it’s not particularly challenging. In a world of having to bleed brake lines and face mounts to make bikes work, it’s a straightforward project. And it simply works as intended.
There’s always value to be found in that.
First, last images courtesy of Slipstream.