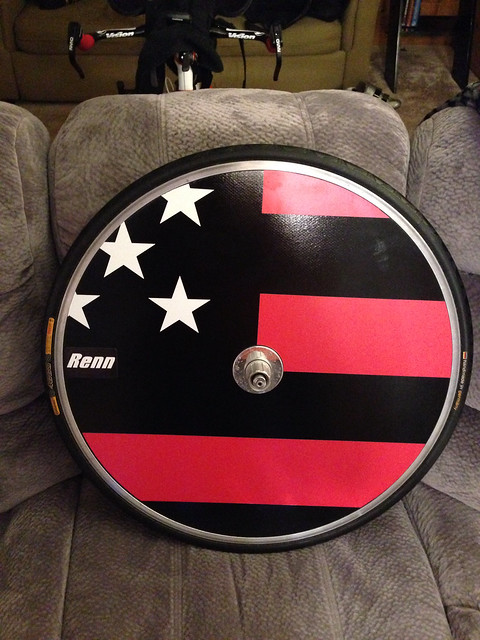
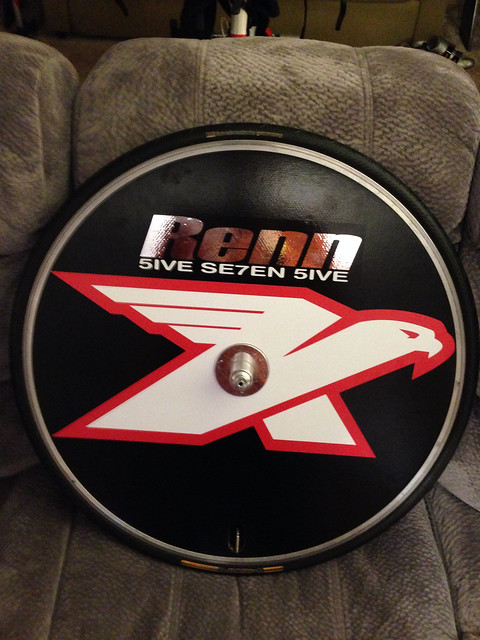
To start things off, I wanted to submit my Kestrel 4000 build. I have gone through he whole process and have included my thoughts on several key quirks and maybe a few mistakes I made along the way. I hope you enjoy and feel free to ask any questions about step in the process or my thoughts on things!
1. Why the Kestrel 4000?
Part research, part value and part chance. First, the value-I initially wanted to narrow down my choice of bikes/frames. I knew I wasn’t going to be in the “superbike” arena, however I was looking to get something with a carbon frame. I tested the highs and lows of these bounds and I decided to read a bit more into various geometries available, finding that bikes typically fell into shot/tall, long/low or “middle” fits. The long/low geometry seemed to fit my stature of 6’5" pretty well after discovering the wonderful world of Slowtwitch and doing some bodily measurements and plugging them into various fit calculators. Being a big guy, I had a pretty darn good idea I was looking at the largest frame sizes of most bikes out there (I currently rode a size 61 Scattante CFR Comp with clip-ons). Knowing that I need a large frame and that long/low was what most likely my best fit, the Kestrel 4000 worked its way on to my radar.
I wanted to learn more about the frame itself and what people were doing with it. While there may not be a ton of aero data on the bike out there (as compared to the longstanding P3 etc), I was more concerned about getting into aero position, and The 59.5 frame size (not sure why they put numbers on them anymore when it is so hard to determine where you are measuring from and where you are measuring to) and long/low geometry at that frame size had my attention.
Now comes the value part. I was thinking I would snag a lower end build (105) Kestrel 4000 from Performance Bike on one of those ridiculous days (much more frequent during the winter of course) here they have 20% off everything in the store. From here, I would upgrade the parts I wanted and others as needed. Played the waiting game…
This is where the chance came in to play. I happened to find a listing for a brand new (take off) 59.5 2010 Kestrel 4000 frame on ebay for a great deal.
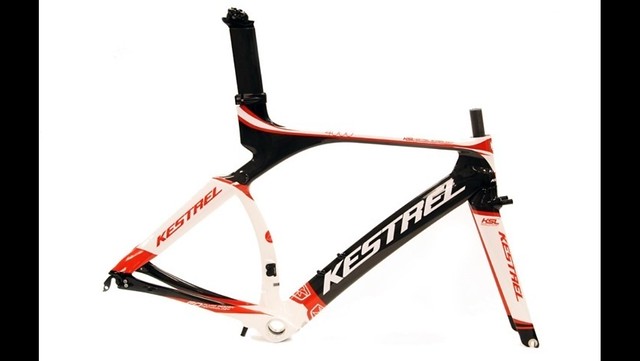
So the internal debate began. Buy the new complete bike from Performance and imminently spend a significant amount of coin upgrading both immediately and down the line, or buy a naked frame and build it up how I wanted from the get go. The latter won out and I bit the bullet (as things would have it on the day of the second to last time trial I would ride in the 2013 season). I was giddy as a school girl; this was going to be a blast.
My first complete bike build.
I had a fair amount of experience with bike maintenance and some pretty good general know how (as well as a dad who had been a bike shop mechanic in his youth), so the part hunting began.
2. The Build/Parts
Day 1
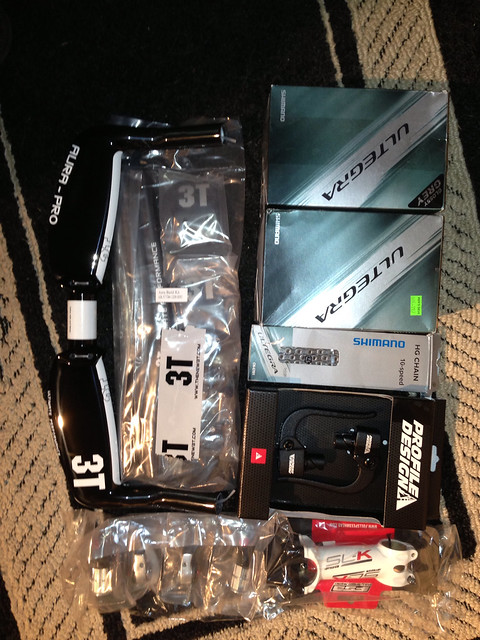
The build started with a pile of boxes on my porch. The frame among them.
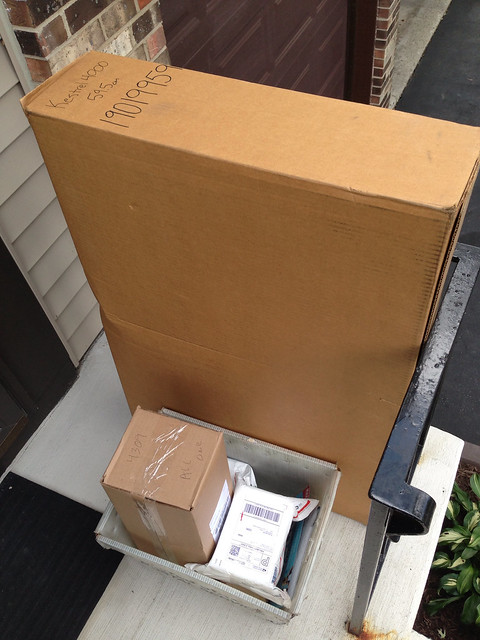
Between Nashbar and Ebay, I had the start to my bike. 3T Aura Aero bar, 110mm FSA SLK Stem and Profile Quickstop 2 from Nashbar, Ice Grey Ultegra Front/Rear/Chain and Microshift bar ends from Ebay.
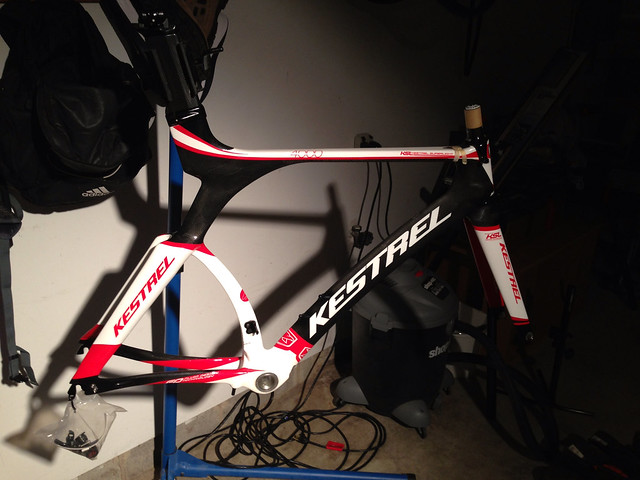
Frame ready for attention.
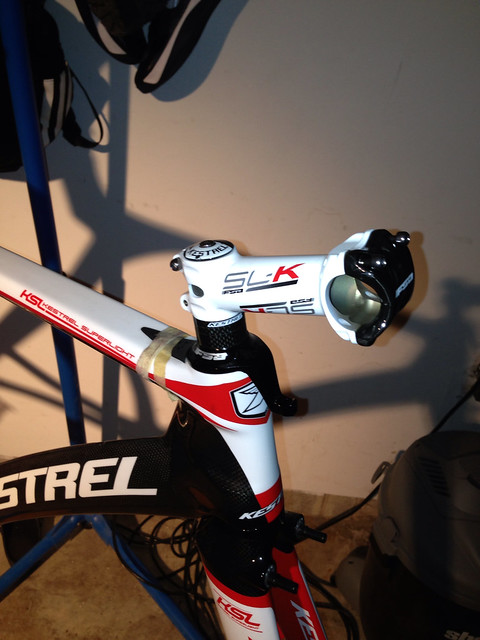
FSA Stem in place.
3T Aura Base bar mounted (note the handy cable routing tubes).
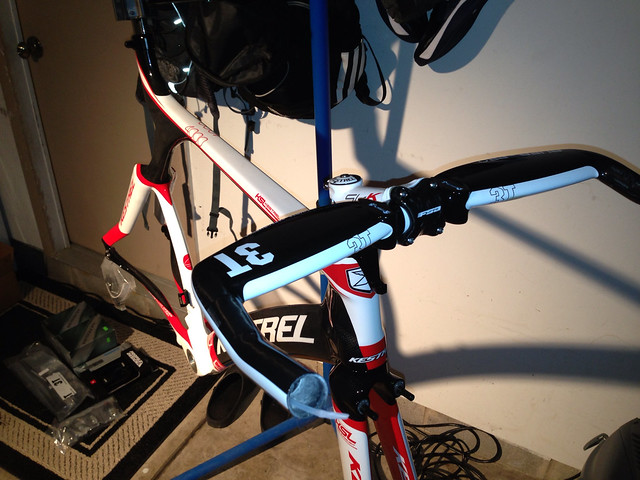
3T Extensions (S-Bend Type) and pads mounted.
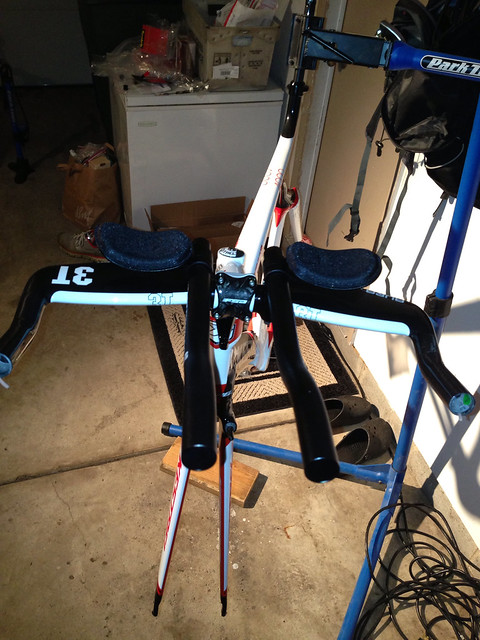
Ultegra front derailleur attached, but not fixed (more on that later).

Ultegra rear derailleur bolted on.
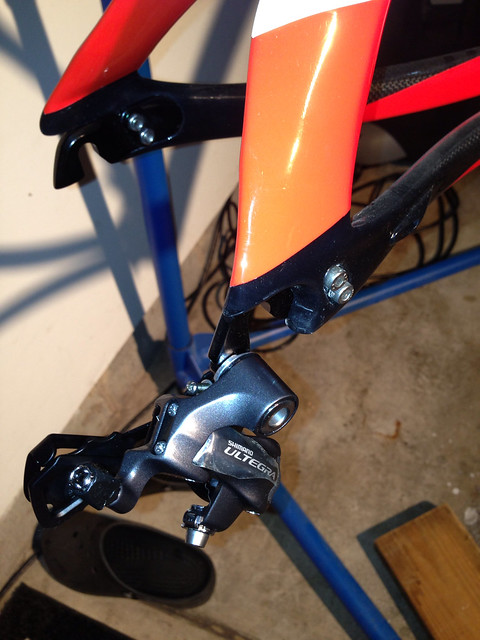
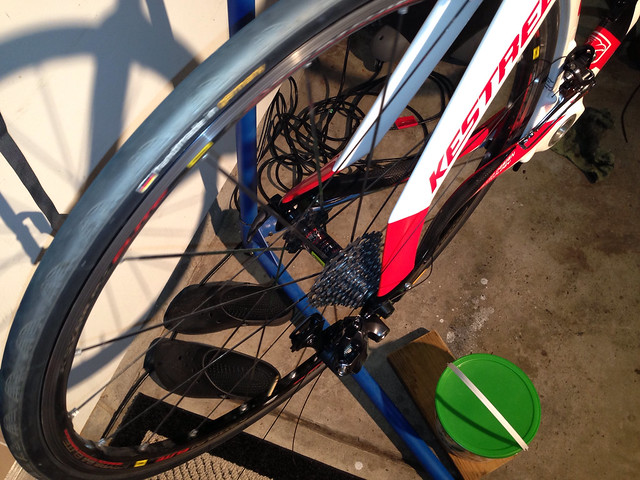
Checking rear wheel placement. This is where I ran into one of the first couple quirks with the frame setup. First, the dropouts are adjustable, not in the sense that you can slide the wheel axel horizontally like some prior model year P3s or a fixie perhaps, but rather the dropouts themselves slide forward and backward, and are fixed in position by two bolts on either side. (research shows these should be tightened to 6nm for those curious). This can come in handy when placing wheels and tires of slightly different diameters. You can hug the curved “seat post” as close as you would like, or back things off for a larger diameter tire.
Secondly, it is almost a sure thing that you will have to completely remove your quick release nut in order to remove the wheel with minimal effort. Most quick release nuts that i have run into are large enough in diameter that they will bump the rear derailed mount and refuse to come out without significant force. It took me a time or two to figure out why my wheel would not actually drop out of the dropouts, but once this was figured out, it was not a problem.
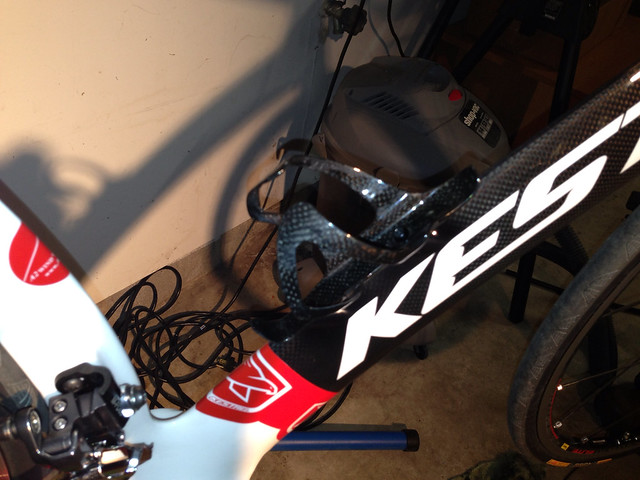
Threw one of my old carbon cages on just for looks at the end of the night…
Day 2
Vision Trimax Carbon Crank (175mm 52-42) came in. Looks like a piece of jewelry in a velvet lined box.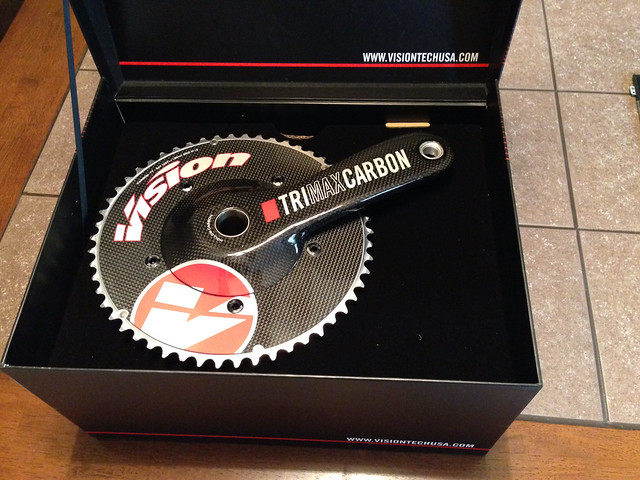
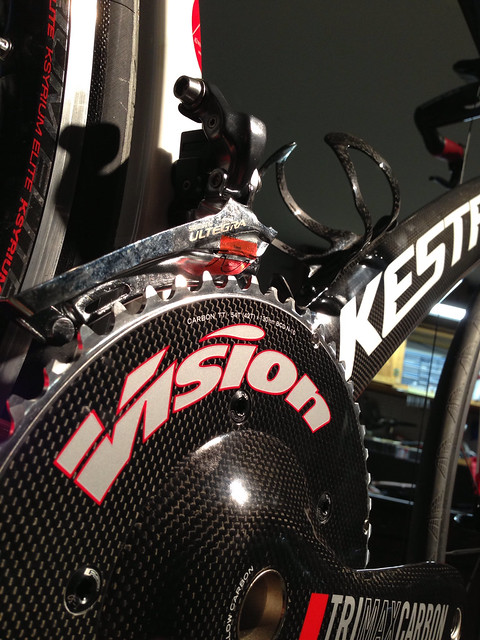
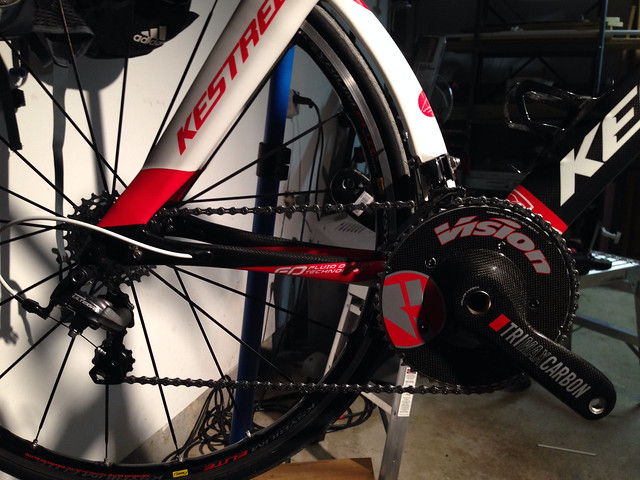
Crank in place. Looks like it was made for this bike frame, matching naked carbon/red looks super slick. Now, more on the front derailleur. i didn’t realize there was a small sliding carriage for the derailleur bolt that was loose, so it kept gradually sliding down and getting caught in the chainring teeth. Tighten the carriage, then tighten the derailleur.
I wish I knew then what I know now about the crank installation, as i would have held off another day, essentially WAIT TO INSTALL YOUR CRANK ON THIS FRAME…more on that soon…
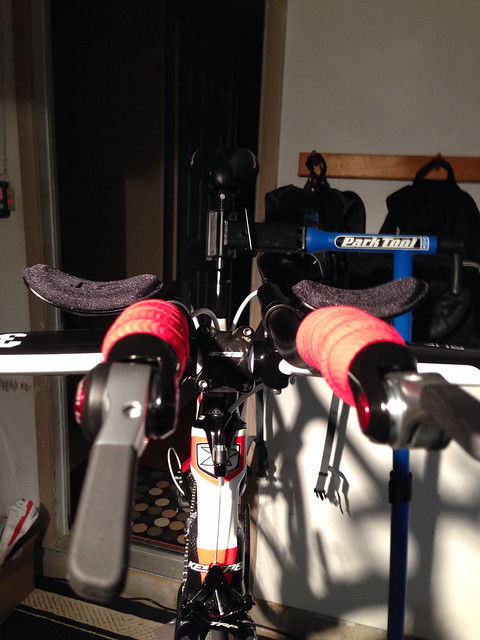
Initial installation of shifters. I made the stupid mistake of trying to run the cable through the inside of the extensions, found it didn’t work correctly and then determined that was what the holes on the underside of the extensions were for: running the shift housing under the ends of the extensions to the shifters. Oh well, no real harm done…
Cable/housing run. Here is where I learned what “internal cable routing” was. To my surprise, you didn’t just have to use the housing to get from the ends of the bars to the routes, but actually had to run the housing ALL THE WAY through the frame. I want to say I ended up needing around 7 feet of shift housing for the rear and 5 for the front (after coming home from the shop with several pieces that came up short…oops). This is also the point at which I decided to add a set of cable cutters to my tool arsenal housings are a beast to try to get through without them!
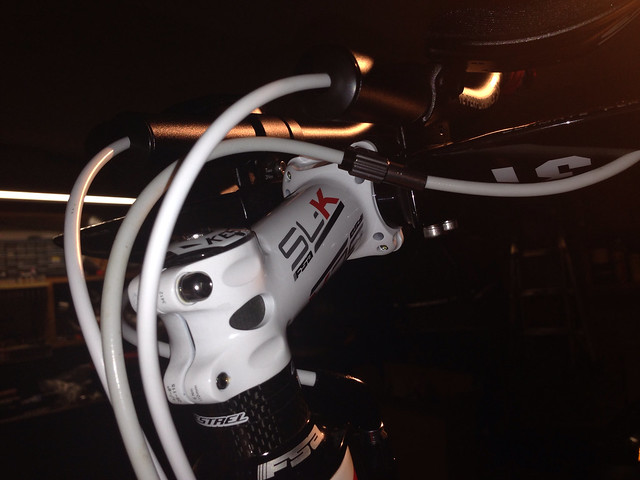
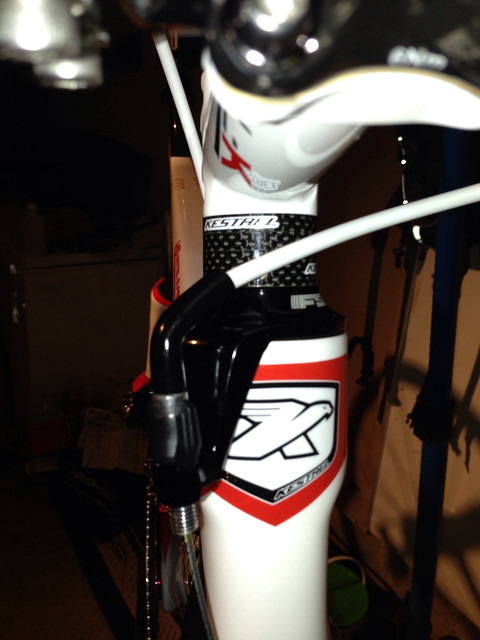
The front brake housing required a “hanger” that coupled with a special barrel adjuster (which I found a day later in a bag in the bottom of my frame’s box). A side note, I would highly recommend installing an inline barrel adjuster for the rear brake, it can be a bear to adjust sometimes, and having this little bugger can be a real nicety!
Day 3
Brakes, brakes brakes… another BIG quirk…I need to rant on these brakes. Essentially, there are only two models of brakes that work on the Kestrel 4000 (to my knowledge). The TRP T920 (also called the TRP Aero on some models), a unique, aero sculpted (the mounting bolts even had aero covers!), post-mounted, center pull brake system only used on this and a few other frames like the Specialized Shiv, Blue Triad, Quintana Roo Illicito, etc. and the TriRig Omega SV (the SV is important!). Apparently, I did not research enough into the limited brake offerings for the Kestrel 4000 and as much as I would have loved to grab the TriRig Omega SV, I was already over my brake budget having to drop bucks on the pair of TRP T920s (so sad they didn’t have the red). I would love to try out the TriRig Omegas if the opportunity came along! A side note, I guess Shimano is in the process of putting together a similar post-mounted brake system, but I do not believe it is not center pull, so I don’t know if it will be possible to mod those in order to work on this frame. The T920s are $130 each, so budget accordingly if you are doing a ground up build!
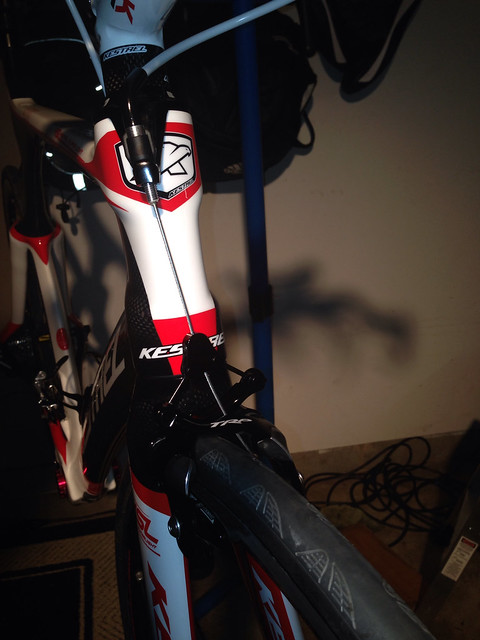
One final note on the brakes. the front is easy enough to adjust. Between the tensions springs, the fine adjustment bolts and the hung barrel adjuster, you are all set. The rear brakes are a different story (speaking from experience with the T920, perhaps the Omega SV is easier to deal with). You remember how i told you to wait on installing your cranks, this is why:
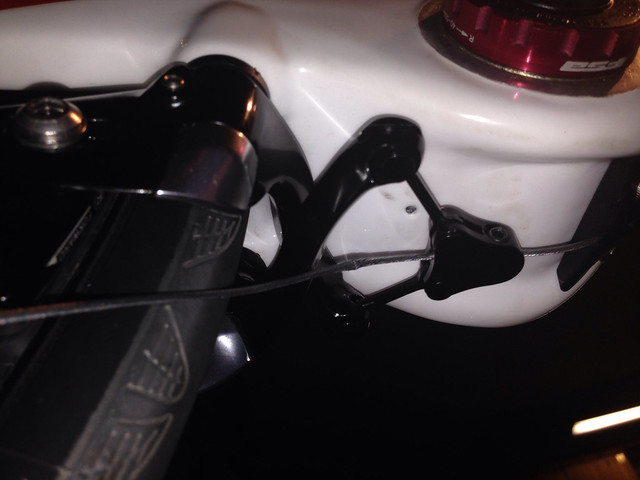
As you can see above, there are three different nuts/bolts that need to be adjusted on each side of the brakes: one for the cable clamp, one for the tension spring adjustment, and the other for the brake pads. No problem right? WRONG, imagine this with a big fat 53-55 tooth chainring in front of it, there is next to no way of getting a hex wrench in there to make your adjustments. So, my piece of advice is this: either dial in your brakes before you install your cranks or simply remove the cranks (they can always use fresh grease or bearings right?) if you are trying to make some significant adjustments to the brakes, you will save yourself a world of headache, TRUST ME ON THIS! Just another reminder, put in a barrel adjuster, it might save you some pain down the road…
Okay, end rant… back to the build: chain run through derailleurs, I can actually turn the wheel now!
Day 4 (ready to go!)
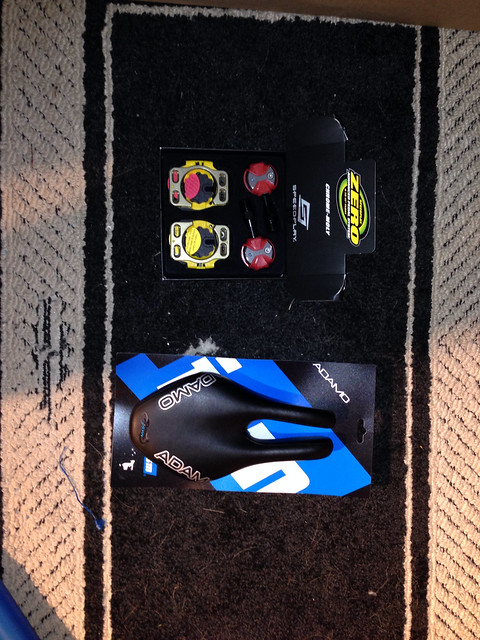
Pedals and Saddle came in. Speedplay Zero (loved them on my road bike) and ISM Adamo Road (figured I would give this style of saddle a shot, it was given loads of praise all over the forums I had been reading!).
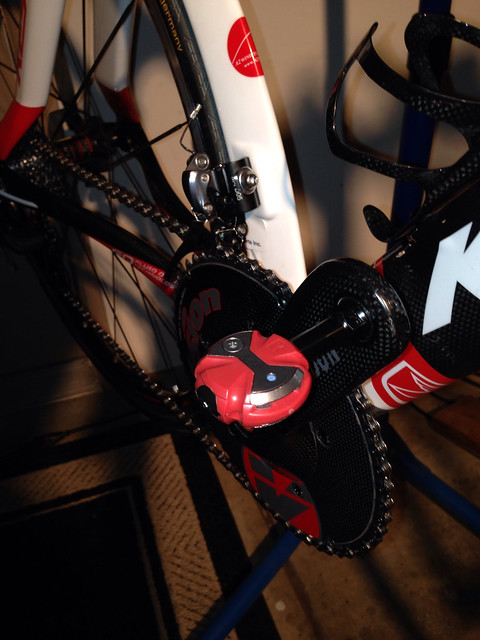
Red pedals, you know, to match.
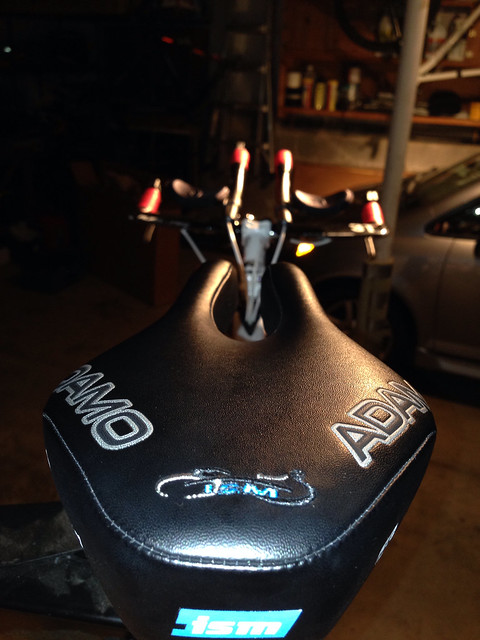
View from the saddle.
Fully assembled, ready to ride.
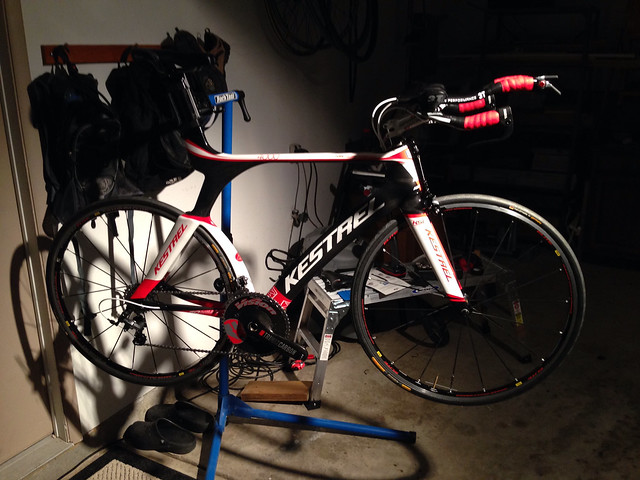
After the maiden voyage, which got cut short by rain, minor fit tweaks made between laps.
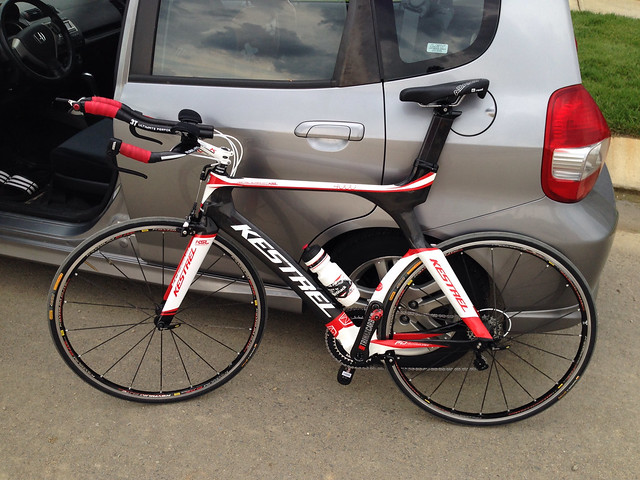
Initial Build Complete!
3. Fine Tuning
On several test/training rides (and one 10 mile time trial (which I improved my previous road-bike-with-clip-ons time by 2 minutes, I would say at least 1:30 of that was due to new bike/position, as the course looked to be running 20-30 seconds faster overall month to month) I felt I felt too stretched out on the bike, so I grabbed a 80mm stem. I also I found that my exterior deltoids were developing a soreness, which I traced to pad width being too narrow. Unfortunately, the 3T Aura offers extremely limited adjustability (next to none as far as the pads go), so I took the option of grabbing the 3T Aura Wide Aero Clamp. I feel like these things were pretty pricy (nearly $100 shipped from 3T for 117 grams of aluminum).
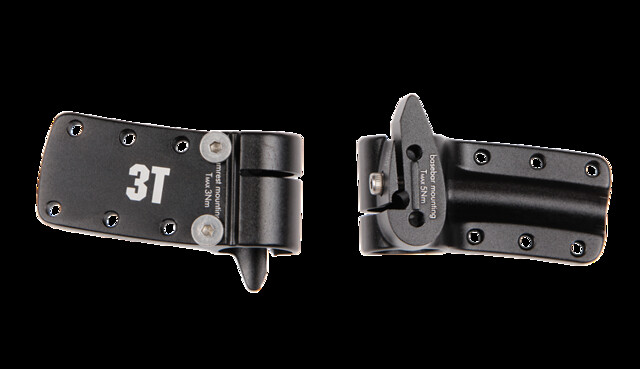
While I was waiting on these things, I rigged my pads on the base base bar.
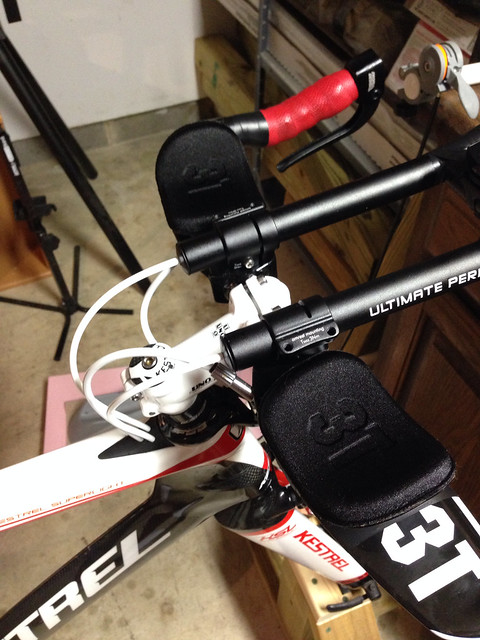
You will also notices that I shifted from the original 3T S-bend extensions:
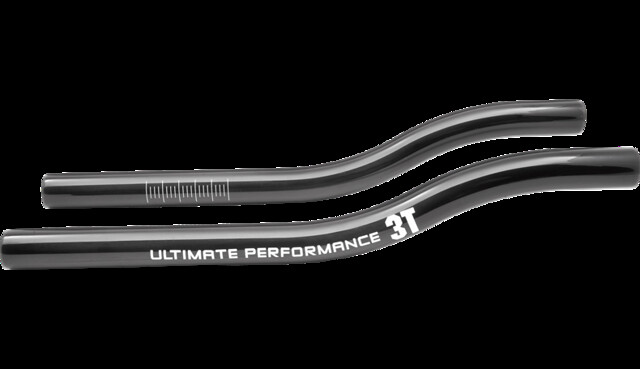
To the Zipp Race Extensions. This was another choice made due to a nagging discomfort in my wrists as I felt they were “overcocked” on the flat portions of the S-bends (I don’t know how some folks ride completely straight extensions, but everyone has their preference), and the slight kick up of the Zipp Race Extensions made all of the difference in the world!
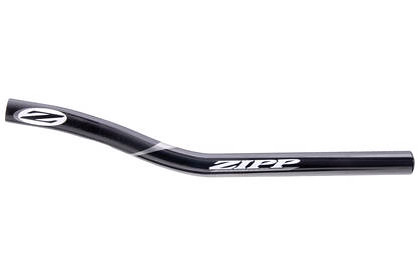
Even after putting in about a week on the new 3T Wide Aero Clamp setup and Zipp Race Extensions, I was still not completely comfortable with the arrangement.

Doing some more reading on Slowtwitch and elsewhere, I determined that Zipp’s Vuka Clip setup was profoundly adjustable, offered huge pad real estate (I found I was more comfortable resting my arms on the pads just in front of the elbow, on the “meaty” part of my forarm), and had an affordable set of “wing” extensions for width adjustment, so this was a welcome addition to the front end of the bike, but for a week or so, it looked like this:
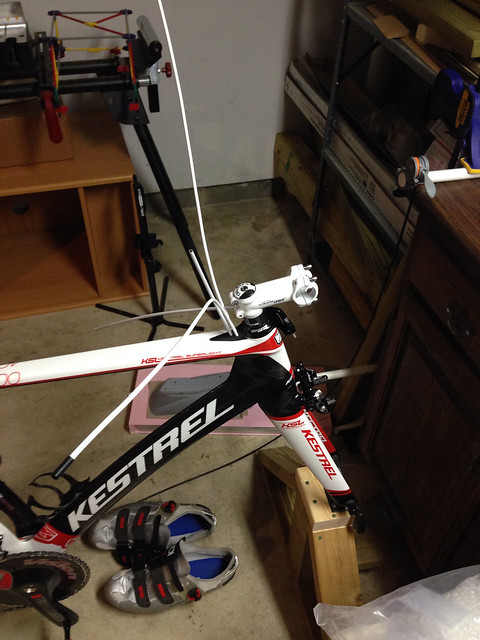
I LOVE the Vuka Clip on Setup, if I were building another bike for myself or another, I would go this route straight from the beginning. A ton of fore/aft reach adjustment, a great deal of width flexibility (especially with the wings), and even a bit of height/angle stack adjustment (again, depending on the wings, you can really move these things up and down if you want!).
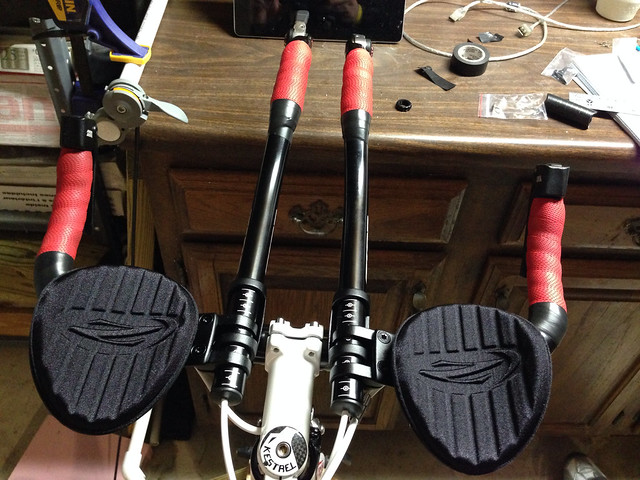
I mounted the Vuka Clip on the Vision TriMax alloy bar. I was happy with the cranks thus far and figured the base bar couldn’t be too bad. Plus, I believe this one was 2cm wider, which for me, is a good thing!
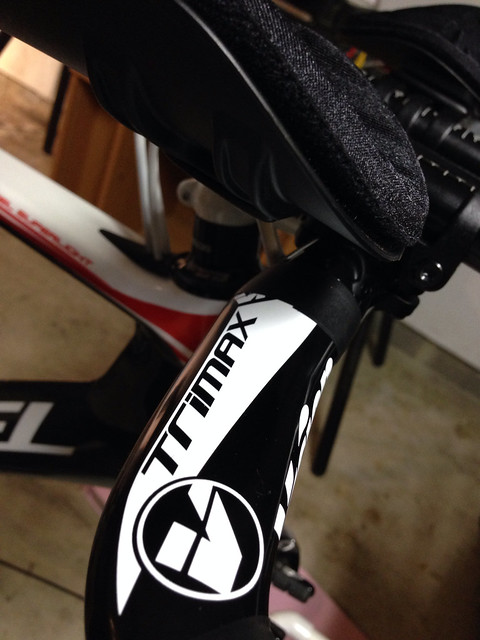
At this point the fine tuning was about through, I was pretty happy with the fit and only adjusted a few minor things. I flipped my stem (a +/- 6 degree) to negative and moved it down a few spacers. Based on the math, I think tracking down a -17 stem would drop me another cm or so, which I might do in the future. I think the seat post went up another cm and the saddle slid forward just a hair.
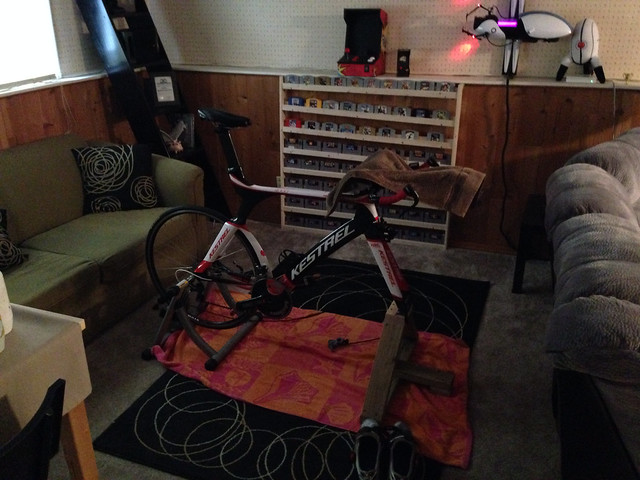
The bike/trainer moved inside in order to keep warm. Hibernating to come out and play next season.
I hope you enjoyed, and if you have any questions, please feel free to ask! More to come!