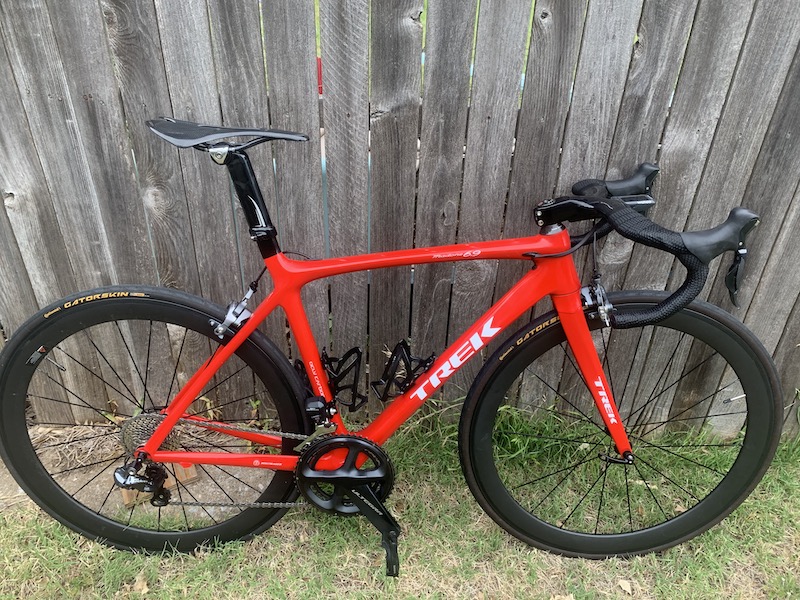
Just pulled the trigger on some heavily discounted road di2 shifters, and it will be a little project over the next few months to source and then convert my old, fully externally routed carbon frame to internally routed Di2 (leaving the external brake cable, for now at least). I want to do internal battery and internal B junction, the RD wire might need to be external (not sure yet), I have to pull the BB to find out. Other than “you’re nuts and will likely kill yourself”, any tips or tricks?
No tips or tricks but be sure to video yourself. Could be some funny YouTube watching. 🤪
Just pulled the trigger on some heavily discounted road di2 shifters, and it will be a little project over the next few months to source and then convert my old, fully externally routed carbon frame to internally routed Di2 (leaving the external brake cable, for now at least). I want to do internal battery and internal B junction, the RD wire might need to be external (not sure yet), I have to pull the BB to find out. Other than “you’re nuts and will likely kill yourself”, any tips or tricks?
Voids any warranty. It’s unlikely that you get killed when the frame cracks.
Keep in mind that the holes have to be as large as the connectors require (sizeable!).
And having exit holes directly at or around the BB is a sure receipt for water ingress and corrosion/frying your junction box.
If you wanted to do it right, you would have the newly drilled holes re-enforced with some carbon repair lay-ups for some piece of mind.
I drilled an older titanium frame exactly at the points the same manufacturer did on a later internally routed model.
Still inspect it every ride for stress risers and the worry is in the back of my mind.
Nowadays, I would save me the extra constant worries and time and just go for wireless.
.
You are penny-pinching in the wrong place, IMO.
The frame is 20 years old. I’m not that worried about the warranty. I figure I might have a couple of years remaining on this frame anyway.
I have my reasons for not wanting to go wireless. Mostly cost and compatibility,
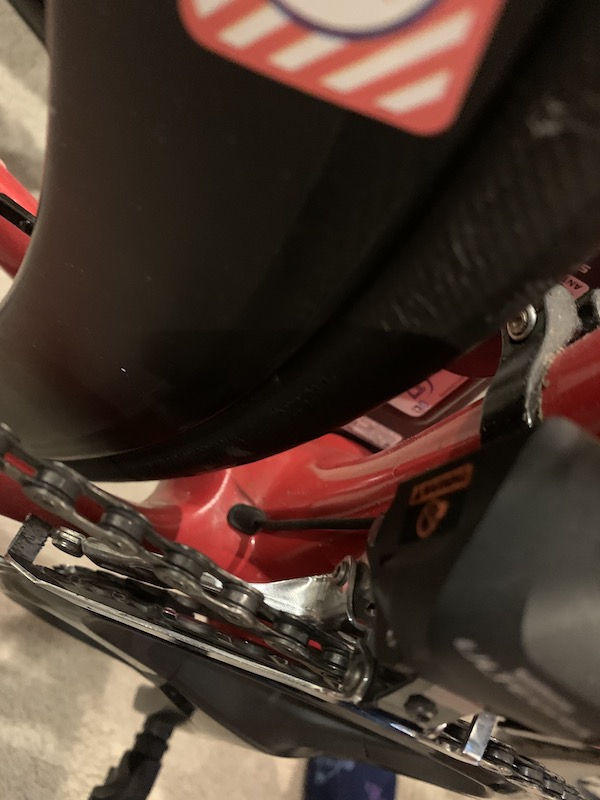
I figure that I need to drill 2 holes. Maybe 3. One on the seat tube above the bb for the derailleur wires, and one under the top tube just behind the head tube. I might need 2 at the bb area, depending on how big I’m willing to make the holes.There’s lots of material in those spots, so I’m not that worried about strength. I might even be able to limit the number of new holes to just one, if I dare to remove the downtube shift bosses, but the wire routing won’t be as neat.
I did it with a 15 year old Ridley carbon frame. Electric drill. Worked no prob. I’ve been using the bike on the indoor trainer for over a year, hasn’t broken. ![]()
I did it with my Scott Plasma 3. You could just press the easy button and buy the frameset from me haha.
If you want pics PM me and I’ll give you the details on the build out.
Drilled my p2 to internally route cables
I bought new drill bits, put a few layers of tape, started with the smallest bit and increased one by one until the hole was the size I needed
.
Just here to say: you’re not nuts I’d bet you’ll never have an issue. I have not drilled a frame, but have dremeled and flapwheel grinded. I did it slowly, wore an N95 mask, and ran a shop vac near the site of grinding. Worked like a charm for the purpose. I have no previous carbon fab experience.
My experience with carbon components is that it’s really really hard to break them. I have broken them. But it takes the kinds of forces that wouldn’t be found in actual bike riding (during non catastrophic crash scenarios) to make it happen, IME, unless improperly installed or flawed product.
I’ve broken 3 things:
Frame during crash. Car ran over it.Handlebars during crash. I piledrove them into the pavement.Cheap Chinese carbon aero handlebars during testing while not mounted. I stepped on the middle and deadlifted the two drop bars as hard as I could. I was capable of close to a 500 pound deadlift at the time. Took everything I had to break them completely, even once there were noticeable cracks.
I think you could drill countless holes in a lot of these parts and frames and still have them outlast the rest of your bike.
I know nothing worthwhile about carbon manufacturing so this is worth less than 2 cents.
I agree 100% with Harrison’s last two sentences.
Years ago I had a dustup with a car on a 9-series Speed Concept. A few parts legitimately needed to be replaced (Di2 bar end shifters with cracked housings, mainly), but the Trek shop observed a scratch/chip on the outside “elbow” area of the carbon basebar, and advised it should be replaced. I pocketed the insurance money on that one instead, and took my chances. Never had an issue with it. I figured that basebar was plenty strong and intact to have its lifespan effectively unchanged.
But I’m no carbon expert, either.
I did my Planet X Exocet which wasn’t too difficult.
Bb area was sort of double skinned which made getting the wires up to the seatpost battery, and front mech a tad harder than anticipated but still not bad. Just need to drill the exit hole in the seat tube where you can feed the cable in, and not foul the mech or wheel.
For the rear I opened up the cable stop at the mech end (already internal routed), and also at the bb area, but getting the wire through was still a little naughty as I couldn’t open the stop up enough to strap the wire to something stiff enough and pull it back through. Perseverance saw me win though.
Bonus is I could always revert back to mechanical shifting by using a barrel adjuster into the end of the chainstay stop
I did this last year on a 2010 Trek Madone frame that I built up. Was really easy, you can order cable guides online to make it look neat.

I drilled my p3c.
Also I cut the di2 wire to get it in smaller holes, and soldered it back inside the frame
Ditto-ing all these recs. This was the technique i used for my Mom’s R3. Then get the di2 grommets to plug them.