Originally published at: The Multisporter’s Guide to Going Uphill - Slowtwitch News
We’ve made it to February, which naturally means it is school vacation week here at Slowtwitch’s Tundra Division Outpost. (Primary schools in the northeast generally have both a February and April break, instead of a spring break more aligned with colleges in the March time frame). We have been getting hammered with winter precipitation over the last two weeks, with no fewer than five sustained systems blowing through the region. We’re just on the back side of number four, which has brought us another foot and change of snow, sleet, graupel, and freezing rain altogether. If this were a typical President’s Day, we’d be at our home mountain by now.
But, you see, it isn’t a typical President’s Day. As with most storm systems that come through this region, there’s a lot of wind that immediately follows. This one is particularly special, with sustained winds at 25-40 MPH, and gusts approaching 100 at our typical base of operations. It’s the windiest I have ever seen post-storm in at least a decade. That much wind plus that much weather means that mountain operations are in full stop — no lifts, no patrol, no nothing.
But even if this were a slightly more typical start to the holiday week, that’d just mean lift lines approaching 30-40 minute waits, overcrowded places on the slopes, and…well…people. The child, however, loves her ski racing, and if I’m going to be there anyway, I might as well find a way to enjoy it.
Luckily for me, and for those multisporters who have an adventurous streak amongst them, many ski and snowboard destinations are offering an alternative to riding the lifts up while still getting to enjoy the descent (or even get to download on a lift). It’s inbounds or resort touring. And there’s sizable benefit to translate into your summer training that can come with it.
Equipment Decisions: Ski/Splitboard versus Snowshoeing
Most areas that offer inbounds uphill travel allow you the choice of going up on either alpine based equipment (so you can ski or snowboard down), or to go with snowshoes. Let’s start with the latter; it’s by far the least expensive way to try going uphill. A good pair of run-oriented snowshoes, like these Yukon Charlie’s Run models, will set you back around $125-$150. Paired up with a decent running shoe, and away you go (and can use them in a variety of conditions). With snowshoeing, you also have the option of either descending on foot, or downloading on a lift. Most opt to come back down on foot, usually choosing the easiest way down the mountain to progress. Still, keep in mind, that can mean some serious pitch in places!
Most uphill travelers in a resort setting are either on skis or a split board (essentially, a snowboard that splits in half for the uphill part, then comes back together for the down). Rentals are typically available at base area shops for the uphill curious. The first question to be answered is “am I going to use the same boot I do for downhill?” If the answer is yes, that puts you into an adapter. Be forewarned; even with a touring oriented ski, this is heavy. It’d be like trying to ride a Tour de France mountain stage on, well, a mountain bike.
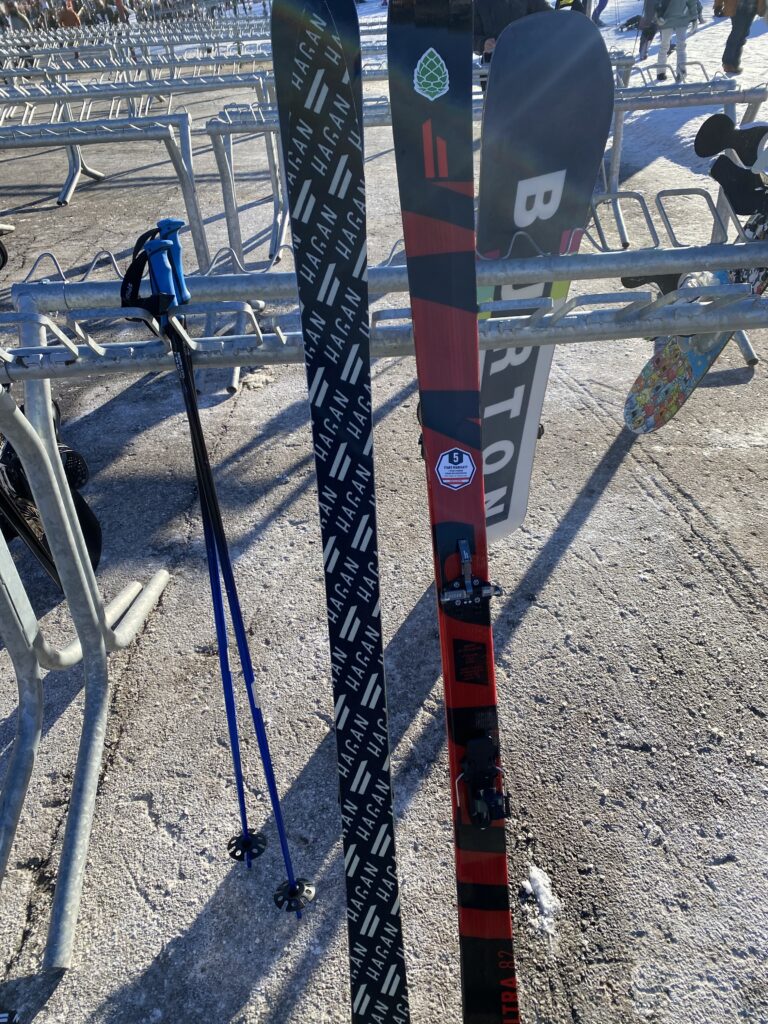
You’ll be looking instead at touring boots, which feature two pin-holes in the toe section. That’s the main attachment point for a tech binding on the uphill part. Binding choice then becomes about whether you want the ski to be as light as possible for the uphill, and sacrificing some downhill performance, or if you would rather have more firepower for the descent and have to haul the weight that comes with it upward. Some bindings, like these, just feature two pin attachments in the heel. Others feature a more traditional clamp-style binding.
I, personally, am in the firm “less is more” camp when it comes to the entire system. Seeing as the majority of the time with this system is going to be spent going up the hill, I’d rather optimize my experience for that. Consequently, the lighter weight system has also forced me to be a better skier, as you have to stay centered over the ski; bad technique gets punished in a hurry. Seeing as I live in the northeast, home to phrases like “Born From Ice,” I also prefer a narrower width ski to help manage the typical boilerplate conditions we experience.
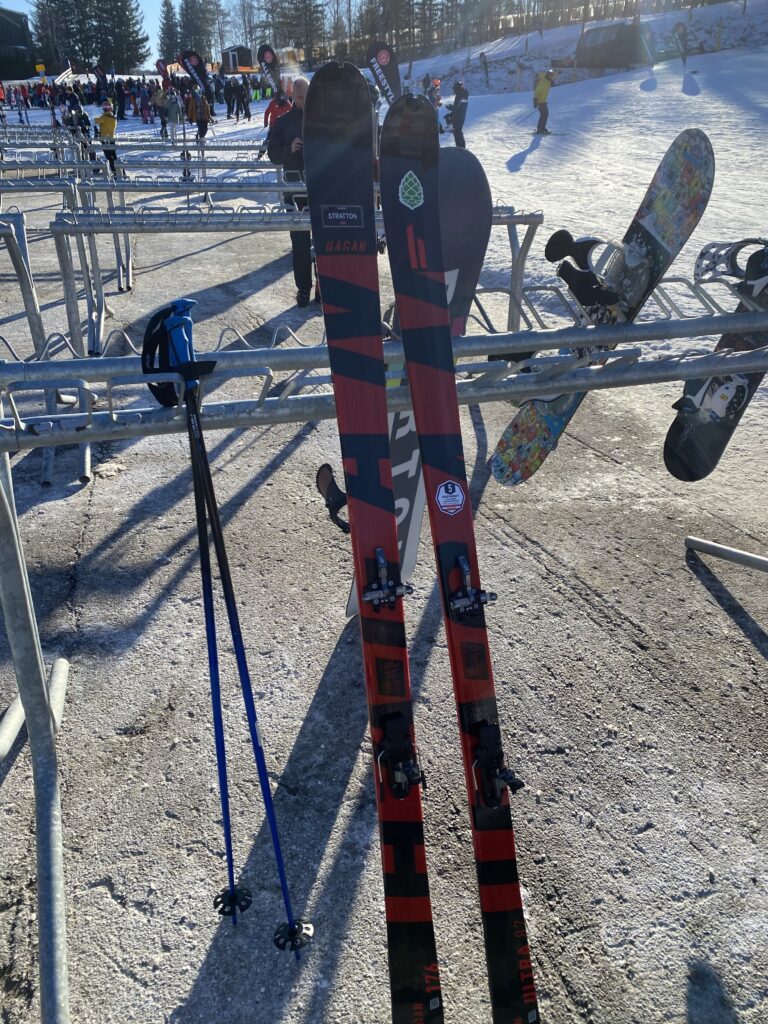
An all-in touring package — that’s boots, bindings, skis, and skins — will run you around $1500. Some touring brands, like Hagan, put together an entire package for you of mated gear. For whatever it’s worth, Hagan is the brand of gear that I’ve been using for a few years now, and it was this kind of package that I wound up procuring. I particularly like how versatile the Ultra series skis have been.
Uphill Access: Still Requires a Pass
Although earning your turns is free, access to the hill is not necessarily included in your endeavors. Most mountains will require some type of uphill pass, armband, or voucher in order to gain access for the day. This includes agreeing to follow the rules of the mountain on what trails you can ascend on, which side of the trail to go up, and what access hours might exist.
These things are critical to pay attention to, in part because the rules can be entirely different based on the mountain you go to. For instance, at Stratton, an uphill pass is free and picked up at guest services. Climbers must stay to uphillers’ right (skiers’ left) when climbing, even though the route map makes it look like you should stay left on one of the uphill routes. Conversely, at Copper in Colorado, an uphill pass is still free (if you have a season pass already); it’s an armband that must be worn at all times ($5). There are approved daytime and twilight routes, with mandatory descent paths on the twilight ones. And when climbing, it’s either side of the trail, unless you go up off-hours, at which point you should be in the middle.

The key is to make sure that you check in with the mountain you decide to go to and learn what their respective policies and procedures are. I was particularly disappointed at one of Ivy’s race host venues earlier this season that there was no climbing permitted on Saturday’s whatsoever, even to the race venue. My “discounted” lift ticket of $104 (after taxes) later…
The Benefits From Your Hard Work
Besides the mental benefit of having “earned your turns” by climbing, I’ve found that there’s been two sizable impacts when it comes to my own training. The first is more mental; simply, by diversifying away from being focused solely on swim / bike / run training during the winter, I find that I attack those sessions with more vigor when the time comes to get more specific with my plan. It’s hard to want to do a standard run in the conditions we have outside today. It’s a lot easier to get my touring gear on and go skin instead.
But the second of these is that it has made me a much better uphill runner. I cannot emphasize this statement enough: I used to be atrocious at running uphill, even when I was approaching Boston Marathon qualifier shape. I don’t know if it was more of a mental block than a physical performance one, but every time the hills would come, my pace would slow dramatically as compared to others around my time performance. I’d be trying to make it up on flats and downhills (hint: it doesn’t work) and, well, the cycle would continue.
That seems to have vanished from my running now that I uphill. I think that boils down to three critical components. First, yes, it’s mental. But it is rare that you would find any running race hill that exceeds an average 17% grade for two miles (the average pitch for the “easy” uphill route at Stratton). You just know you can do a thing now. The second is the specific strength benefit provided going up; the motion, body position, and strength required to travel uphill on skis or snowshoes is akin to that of running. Lastly, there’s technique that is applicable and learning what makes you faster. Does a lower cadence / longer stride provide more benefit, even in uphill scenarios? Or are you better off with shorter strides and a higher cadence? There’s a time and a place for each, and learning how to vary it (and how it impacts your times and fatigue levels) goes a long way.
Whatever way you might decide to go uphill — be safe, stay warm, and have fun.