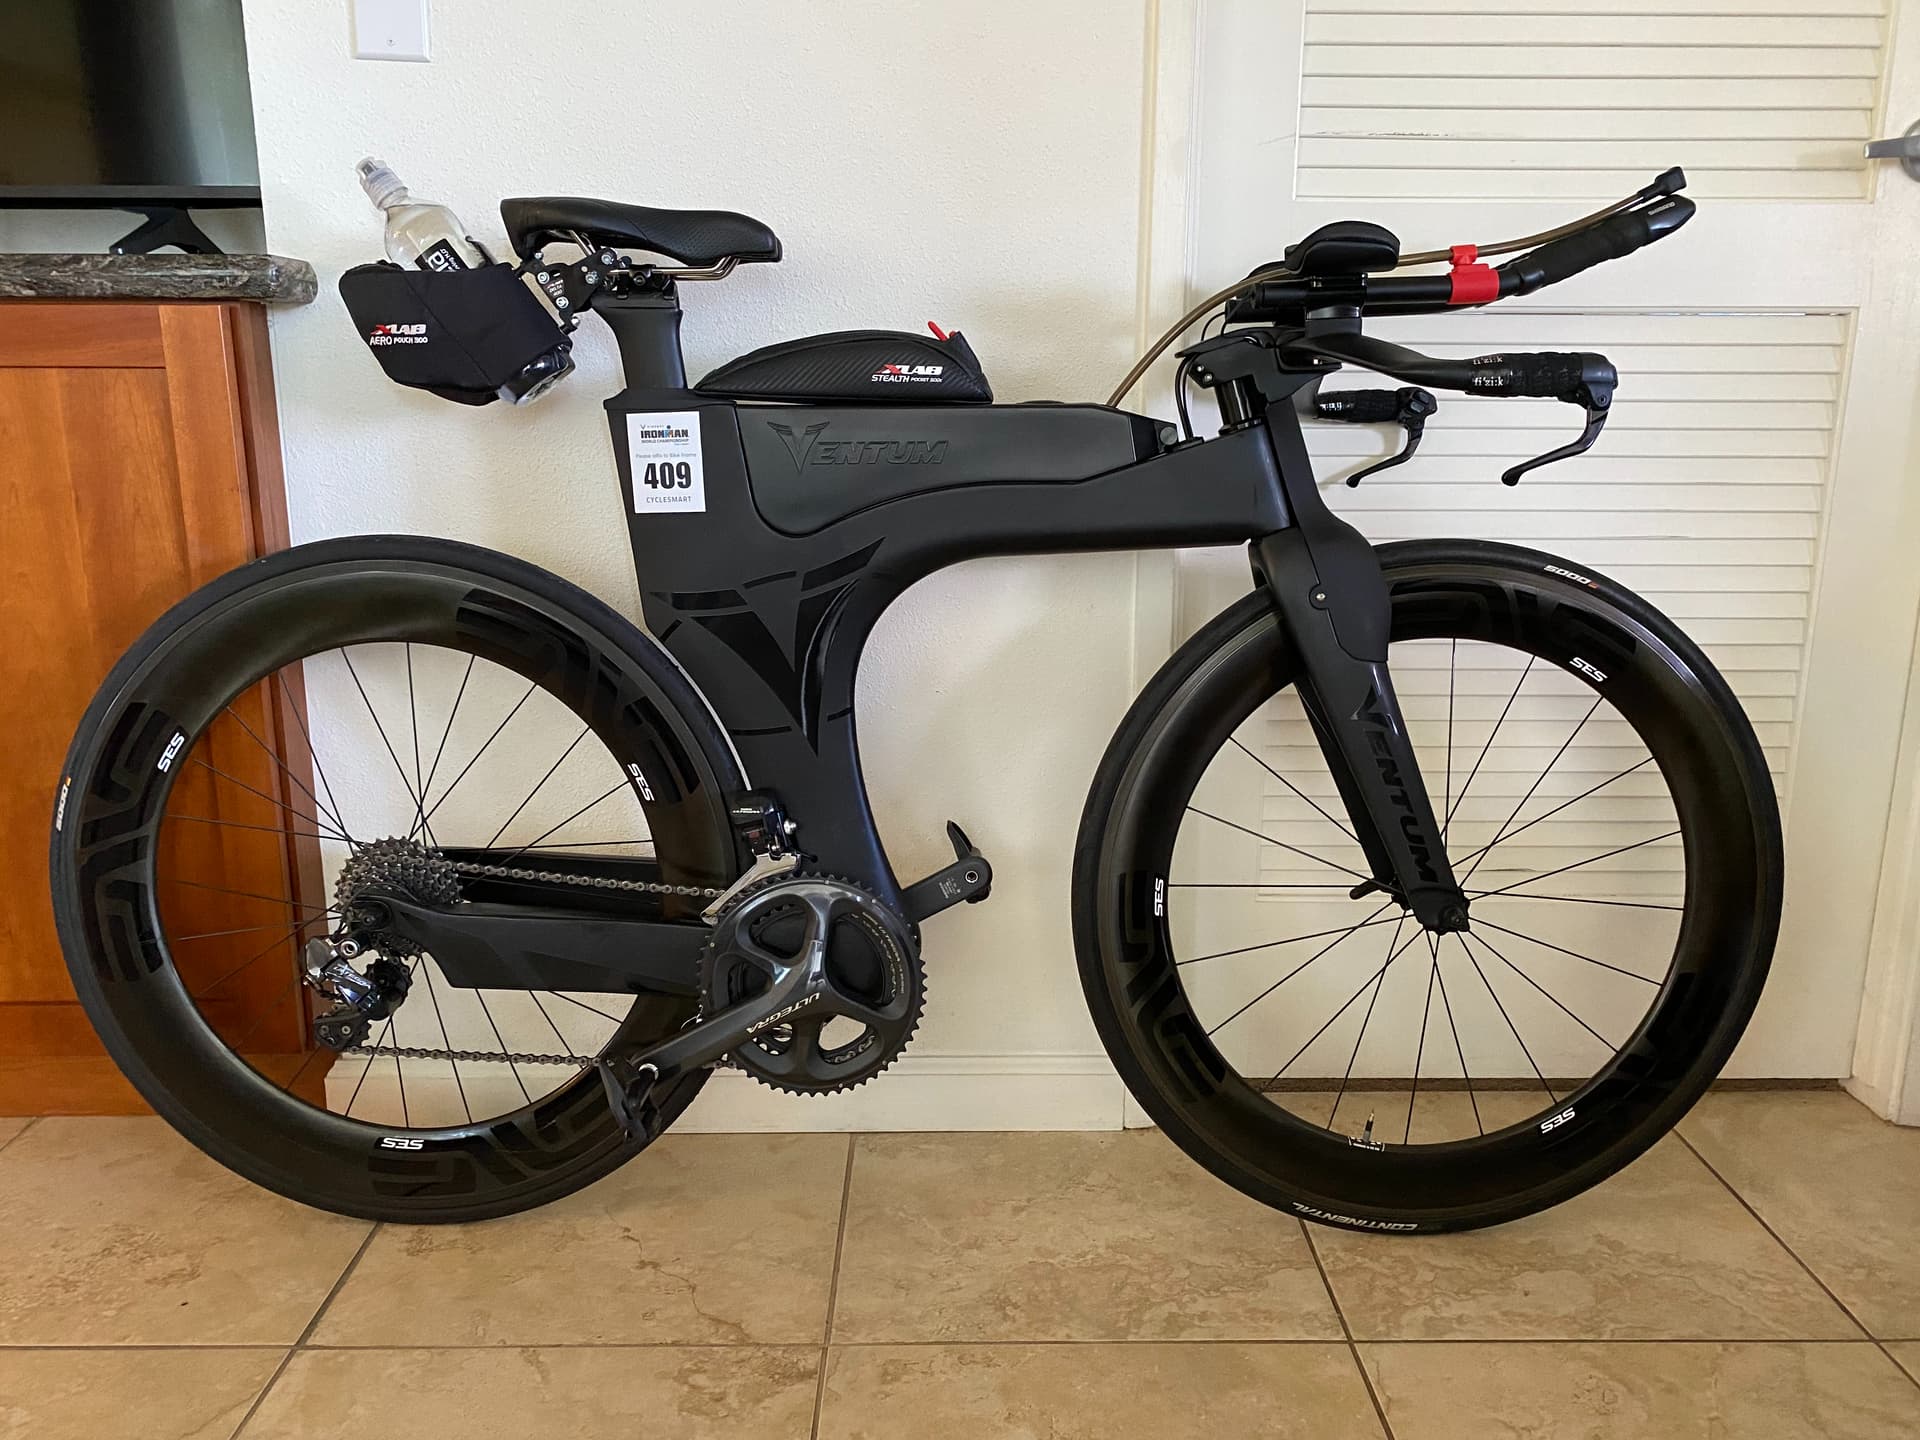
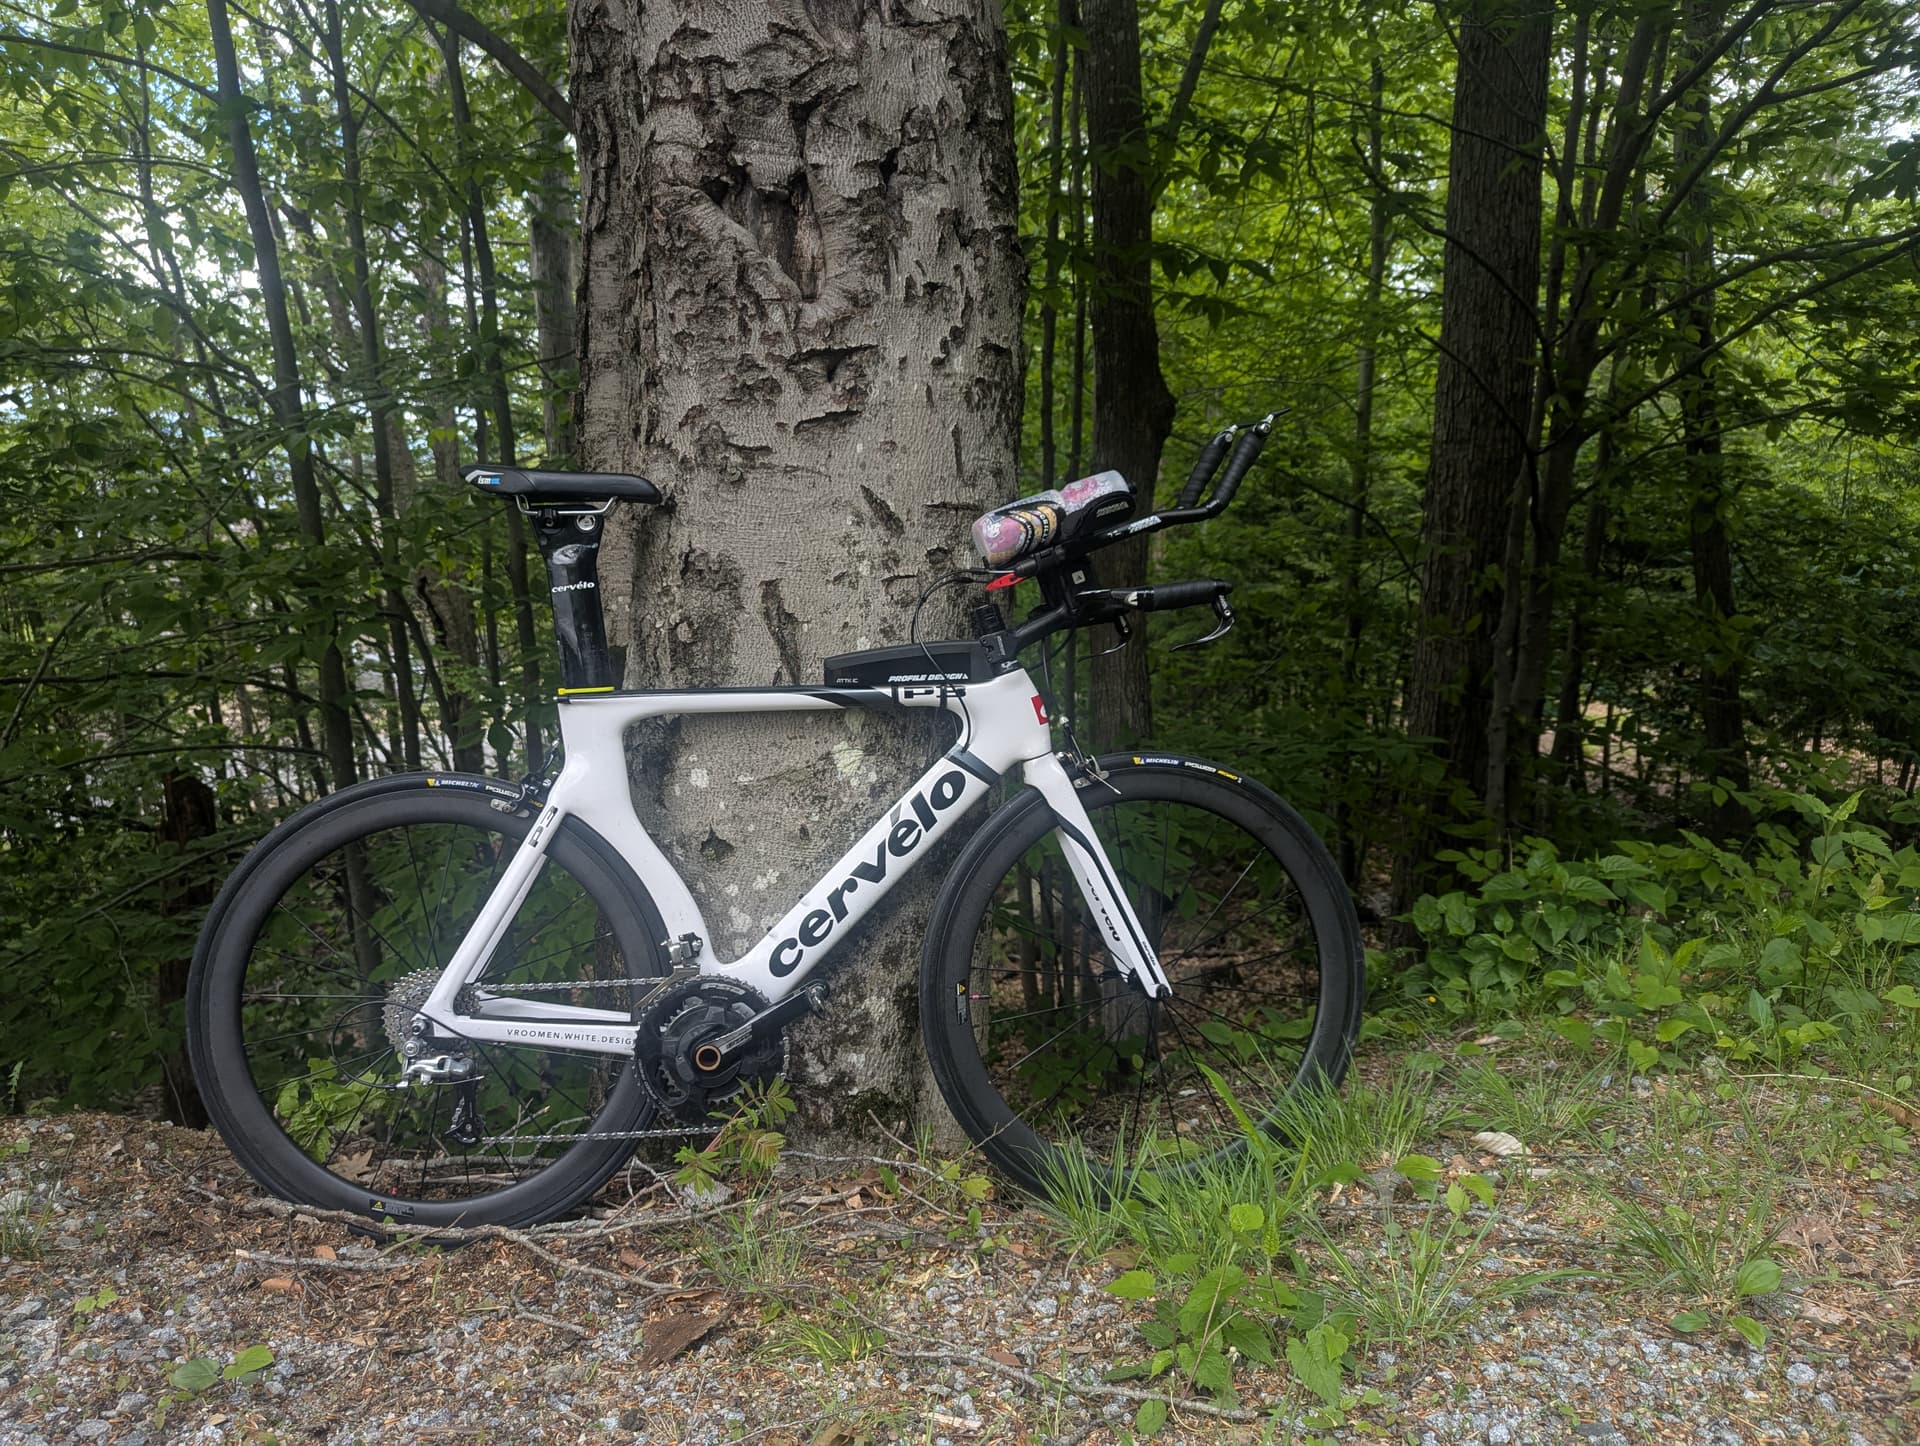
It’s all garage DIY with can paints.
Took me quite some time… (mostly sanding)…
1 Like
Ok. Now I’m intrigued (and even more impressed). We must know how you got the background effects between the black / maroon.
I certainly understand the sanding. I’ve painted several cars, and build furniture. Finish work is always 90% surface smoothing.
1 Like
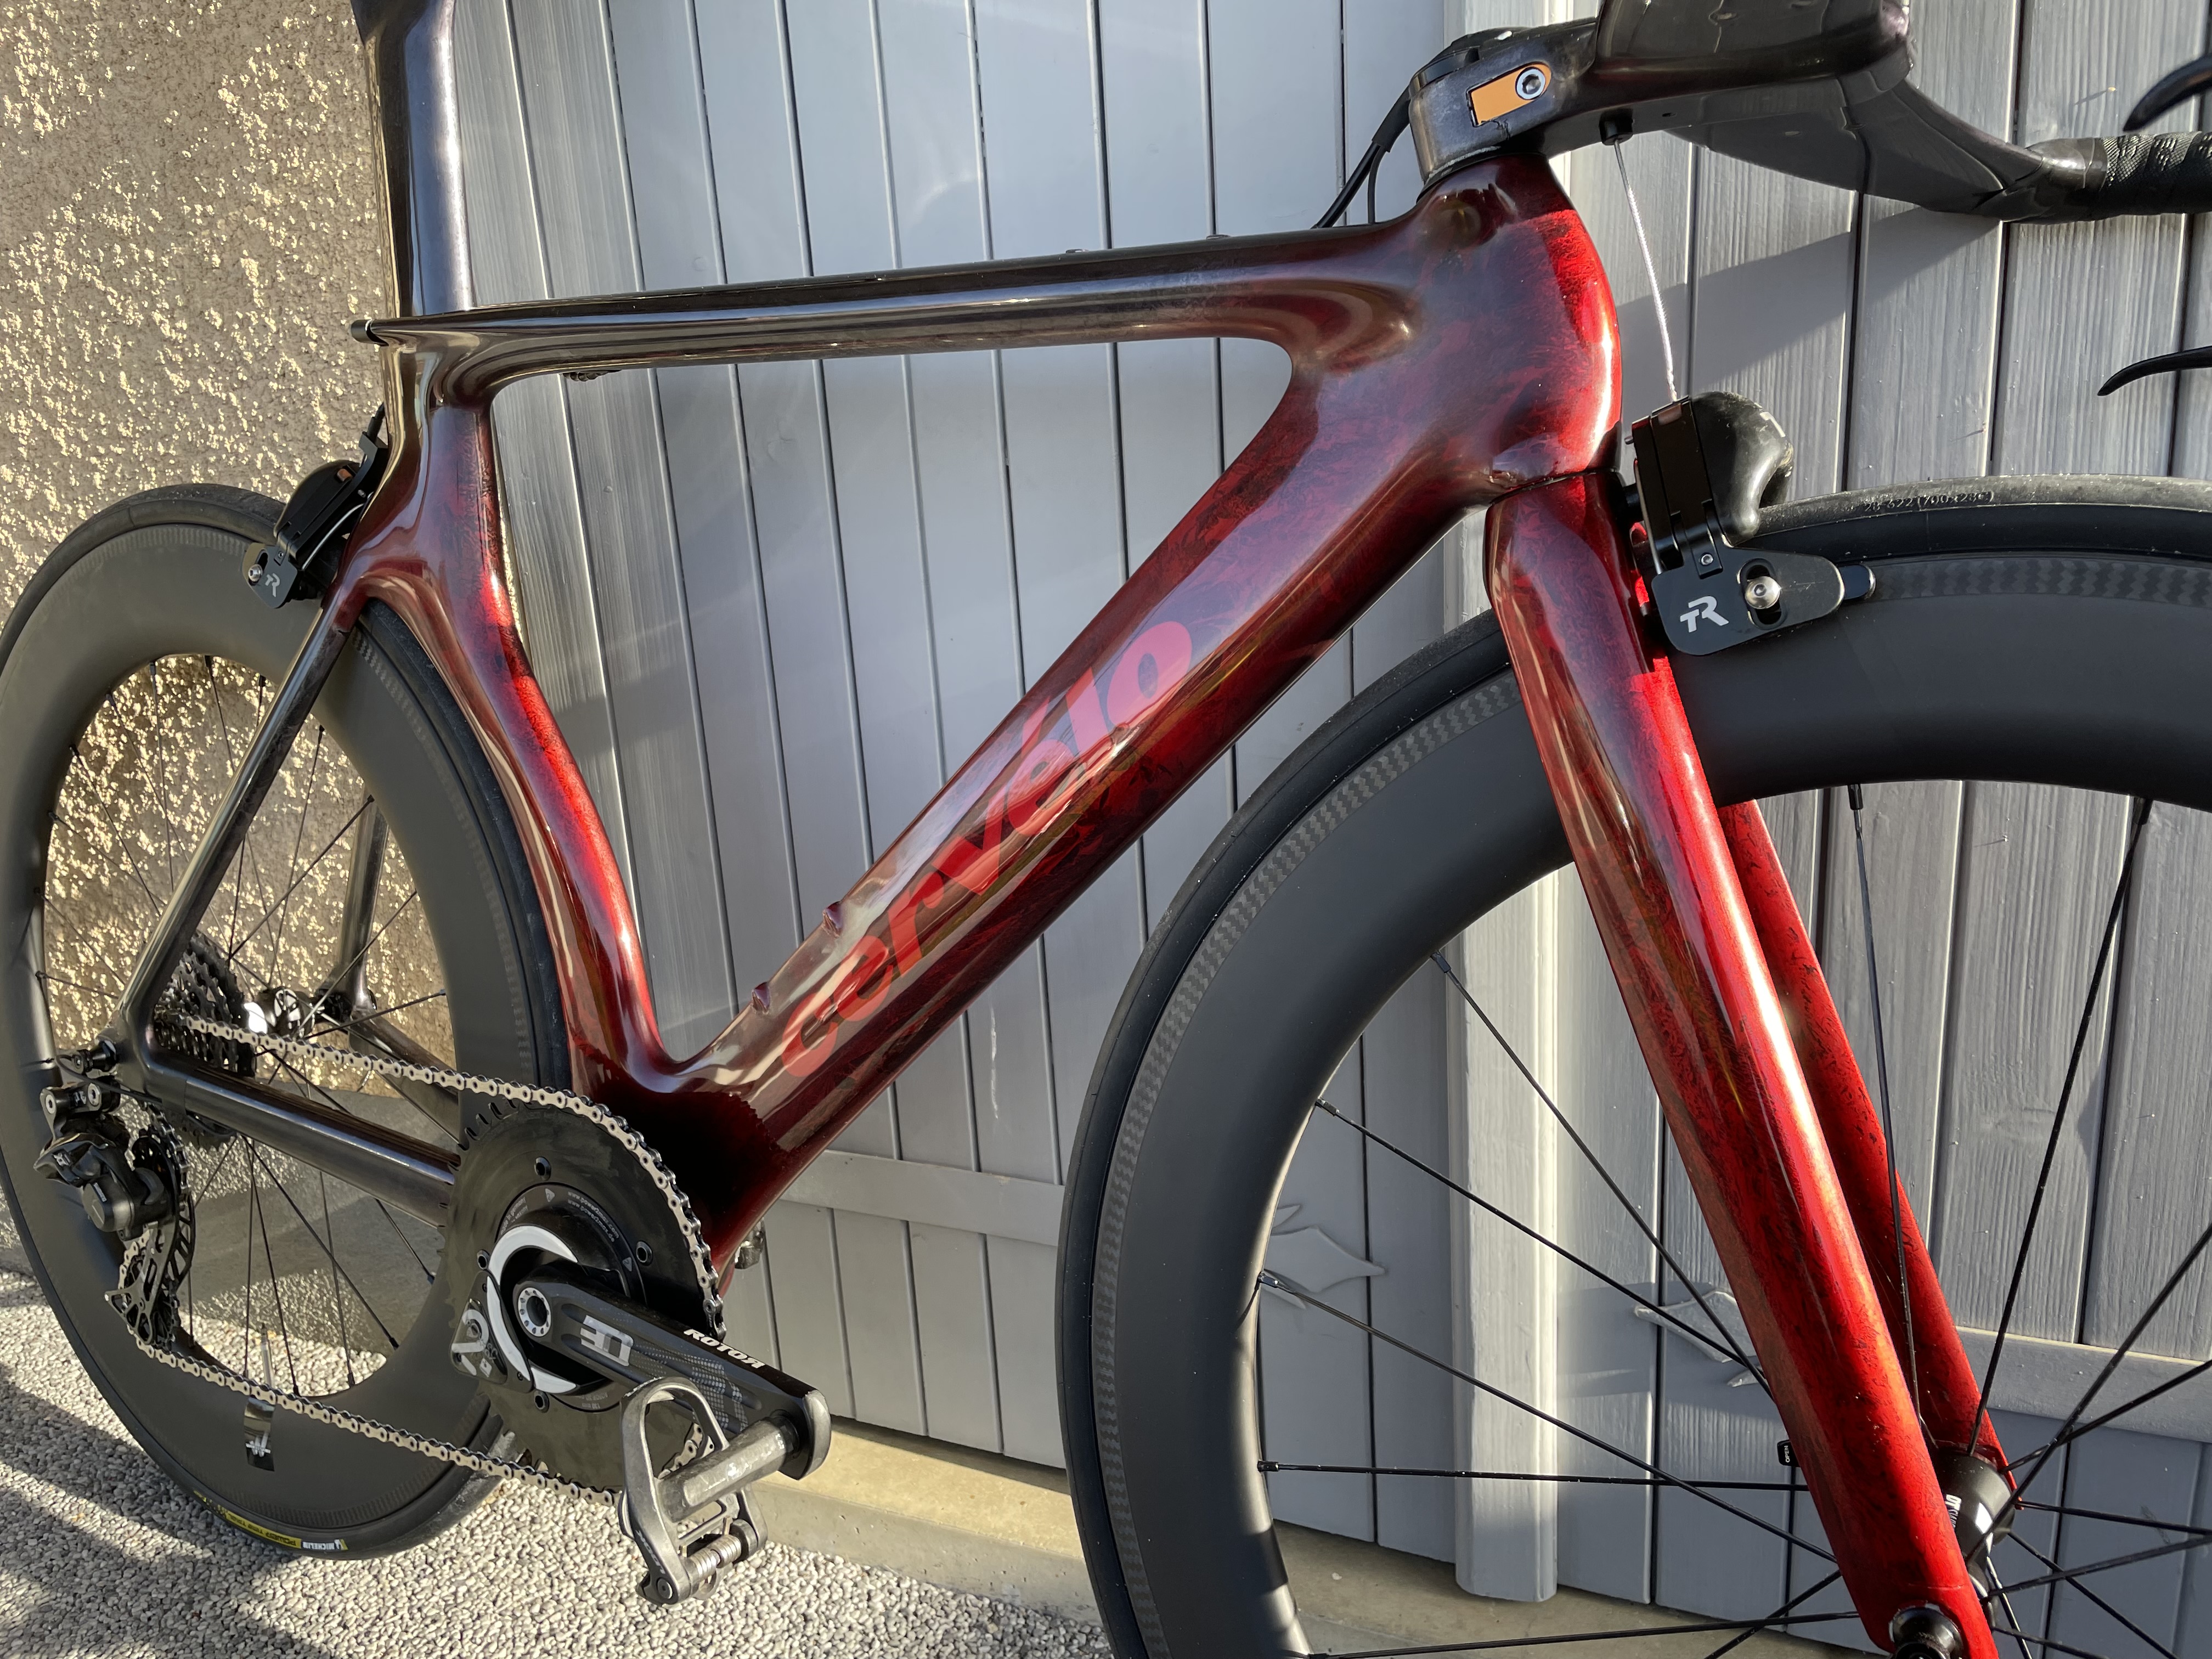
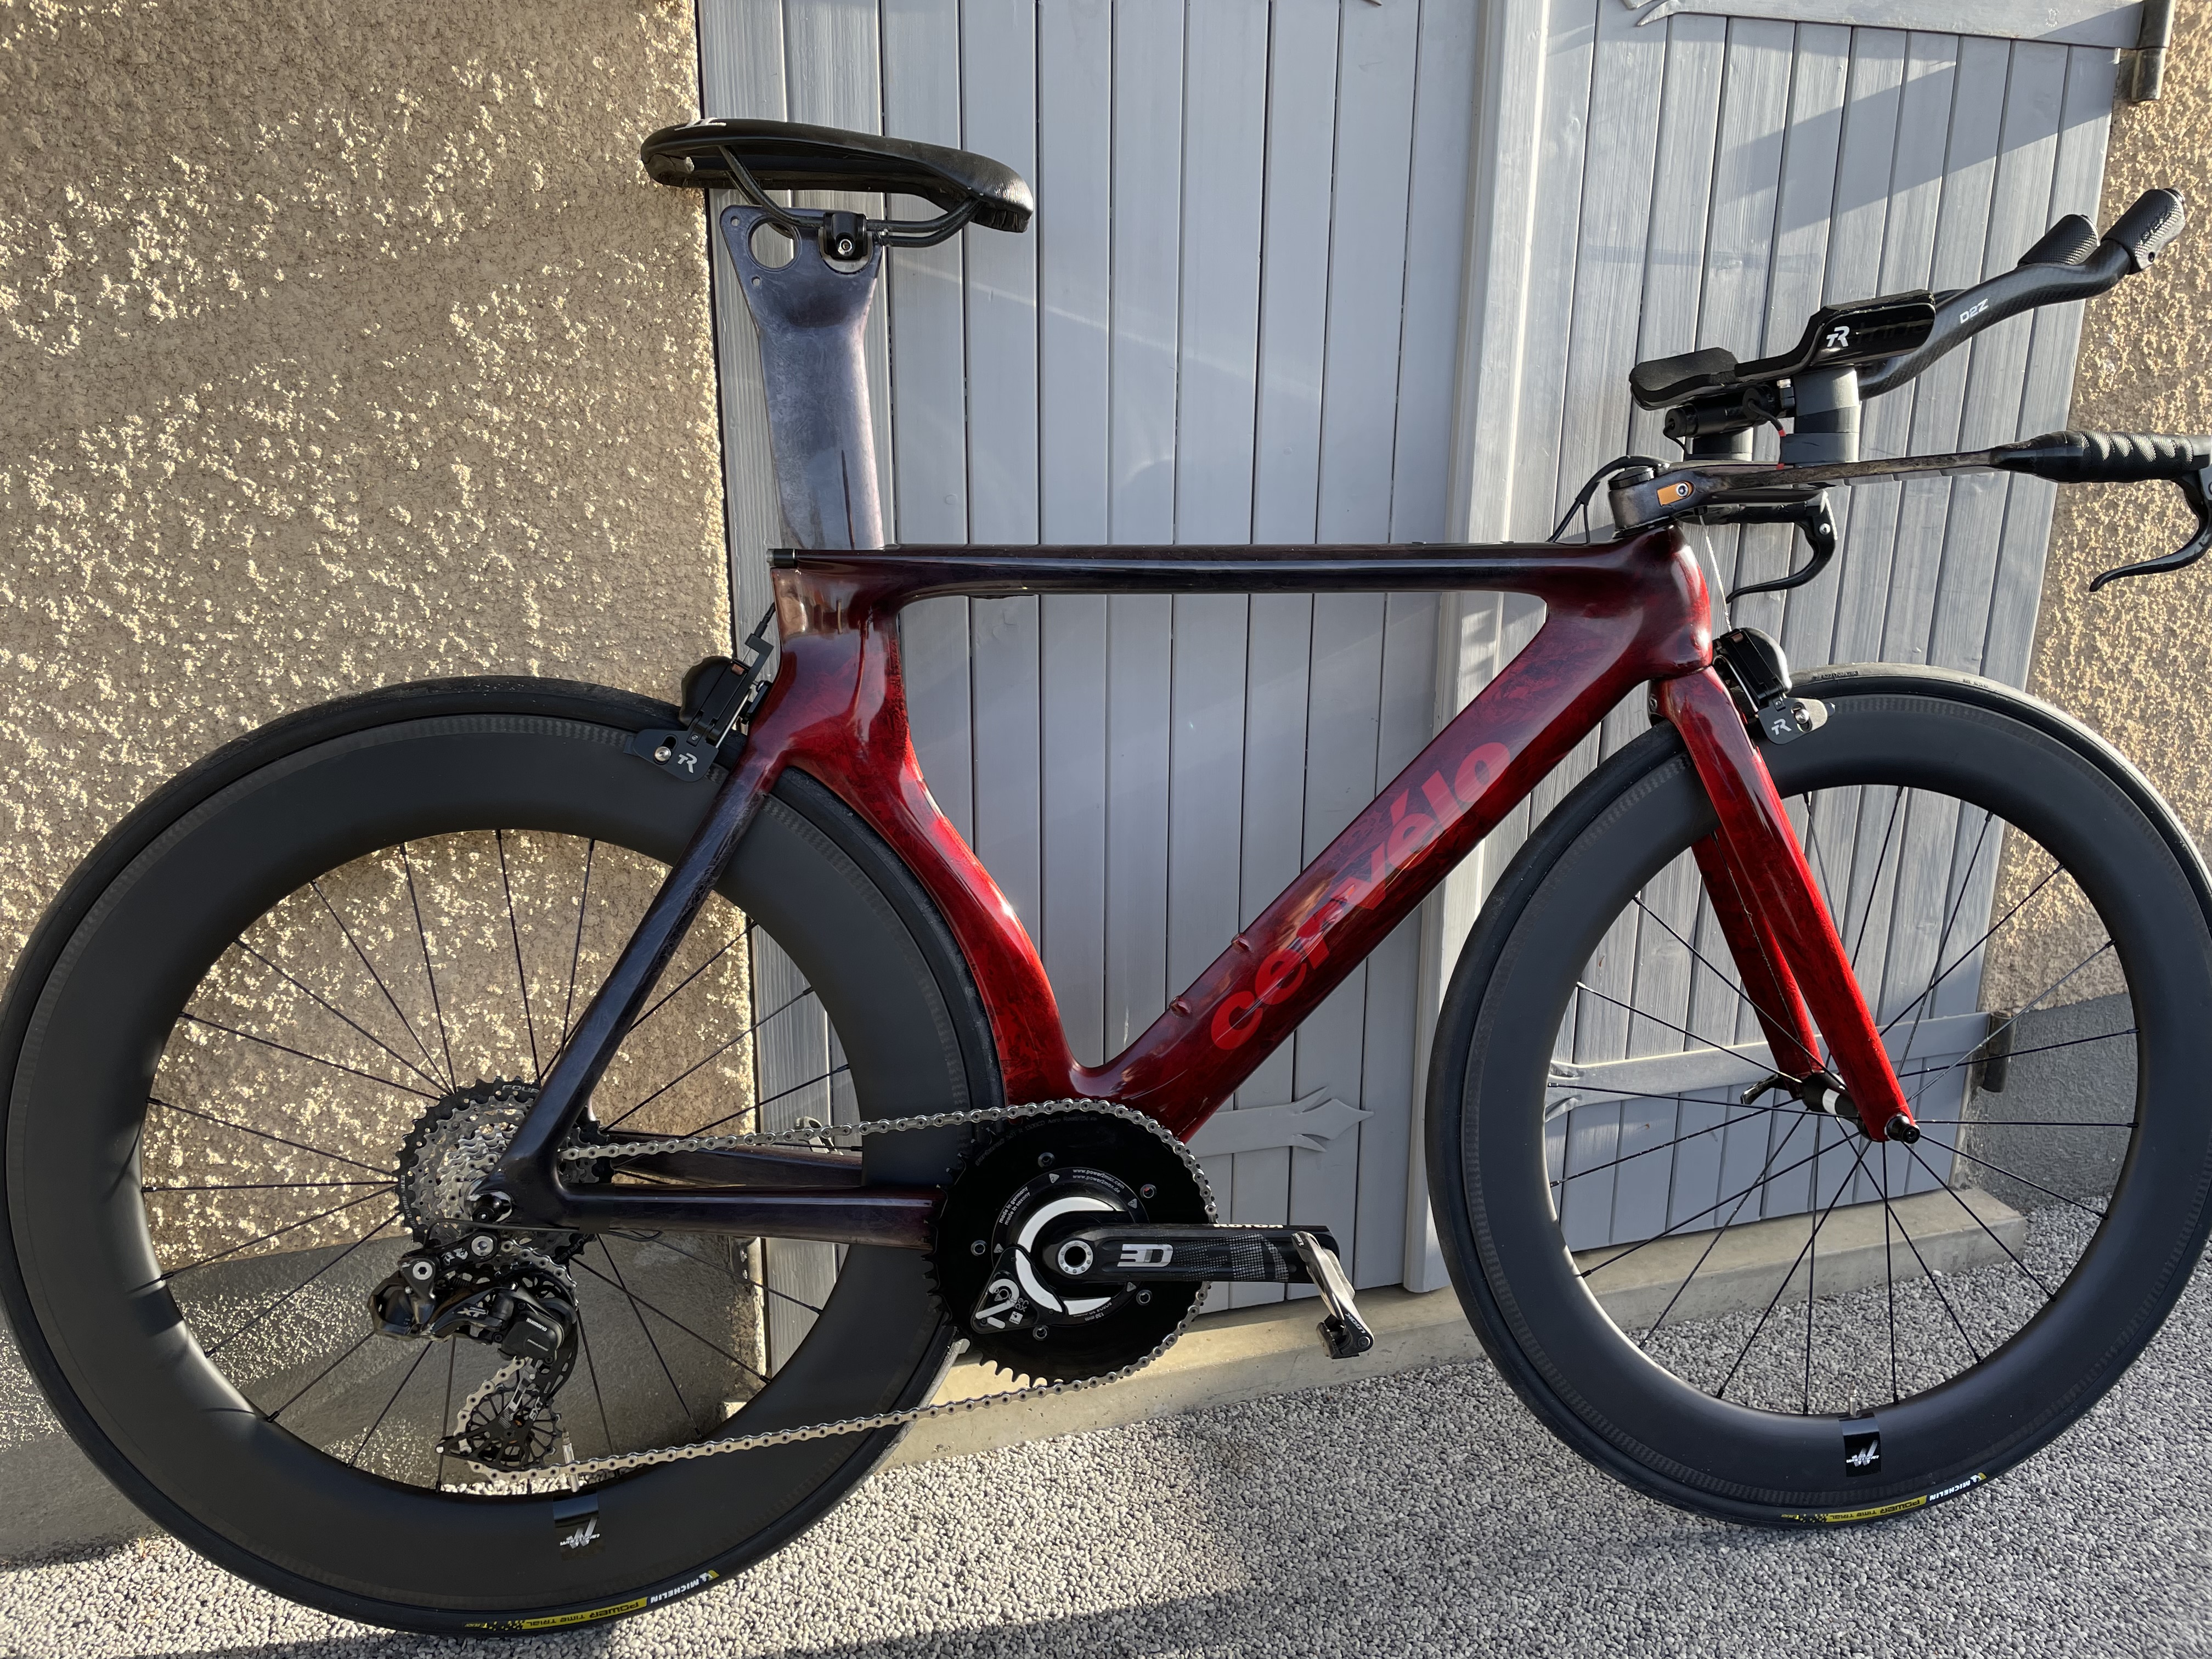
Thanks for the kind comments. I’m just a hobbyist so I don’t pretend to know what is the best way to paint a frame. That being said, these are the steps I followed:
- sanding to remove the previous paint. Back to bare carbon. That was long, very long. Sanding paper used: 500 / 800.
- (note it’s the 2nd time I repaint this frame, and as I had already covered the cable holes on the downtube and the rivet holes for the front derailleur with carbon / epoxy, I did not have to do it this time)
- primer coating
- light sanding (1000)
- “effect” painting : apply a layer of silver colored paint, then lightly “stamp” the still wet paint using a sheet of cellophane paper. This technique removes some of the silver paint, creating a texture.
- cervelo logo : stencil + plain silver colored paint in the letters
- candy clearcoat, 2 colors (black / red)
at this stage the colors and effect were very satisfying, but I had ugly orange peel on the clearcoat… so… back to more sanding. - sanding, sanding, sanding (1000-2000-3000-5000), to remove the orange peel
- polishing
the front & rear tires are 25mm.
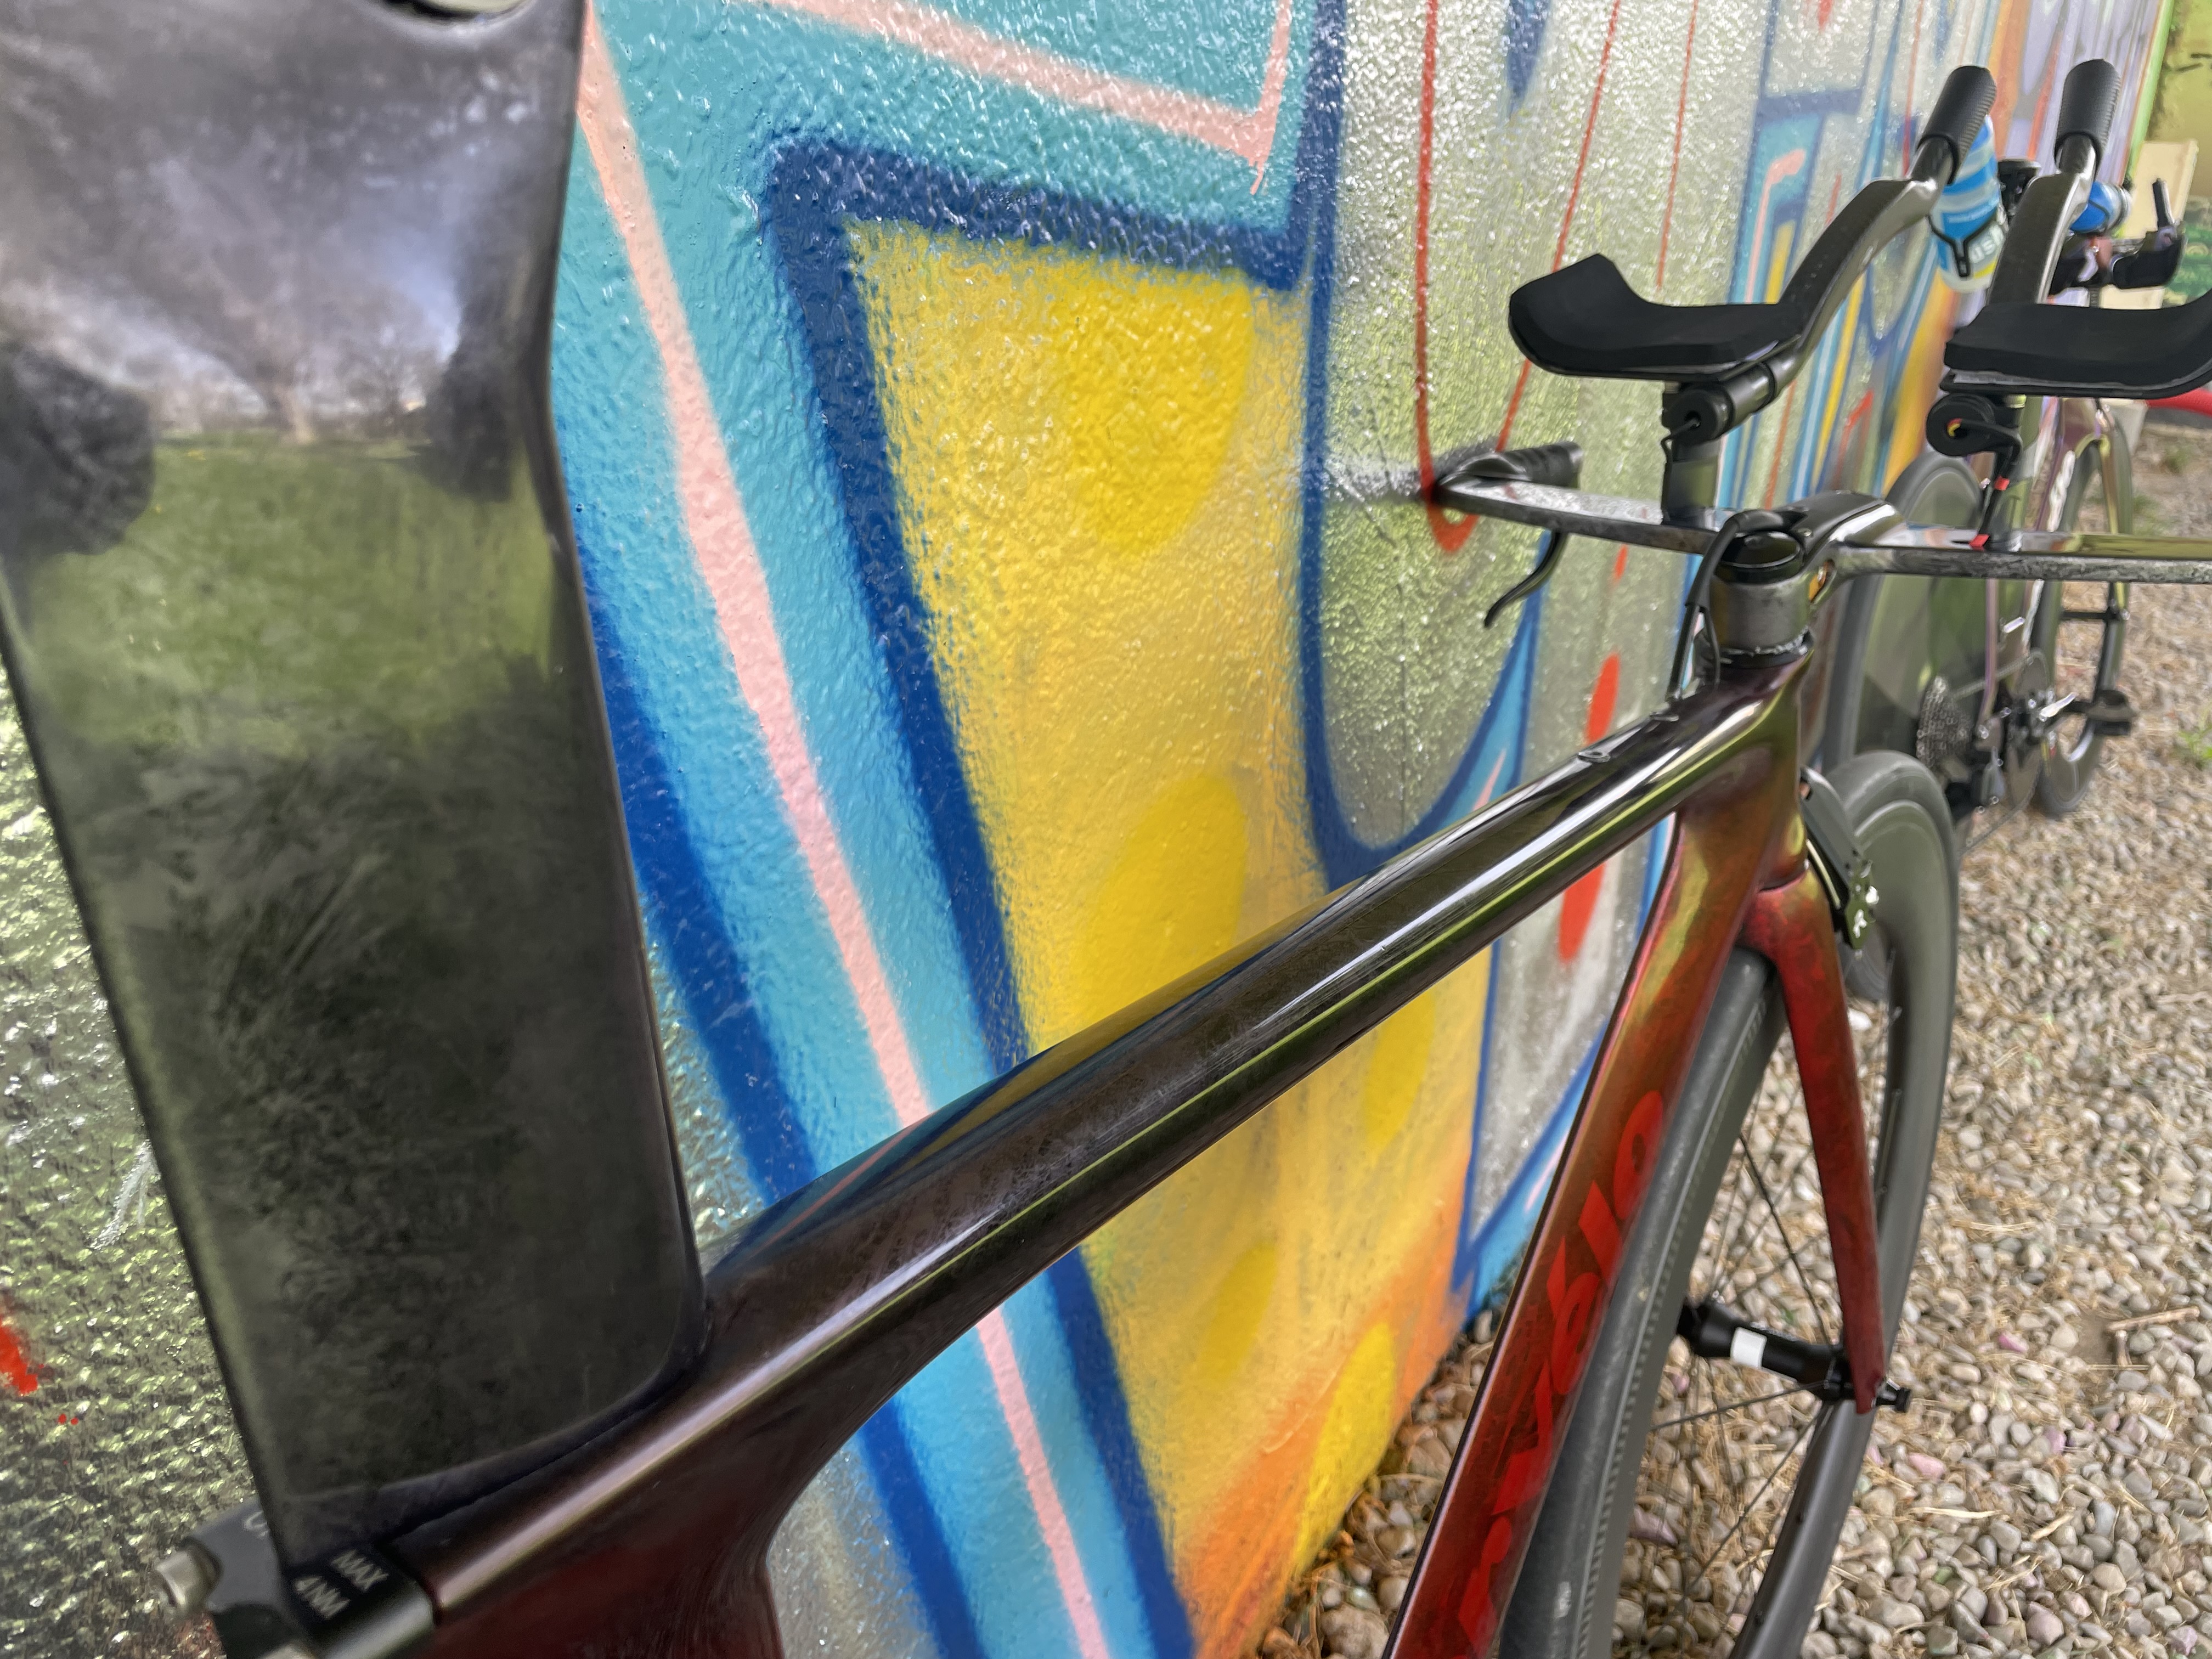
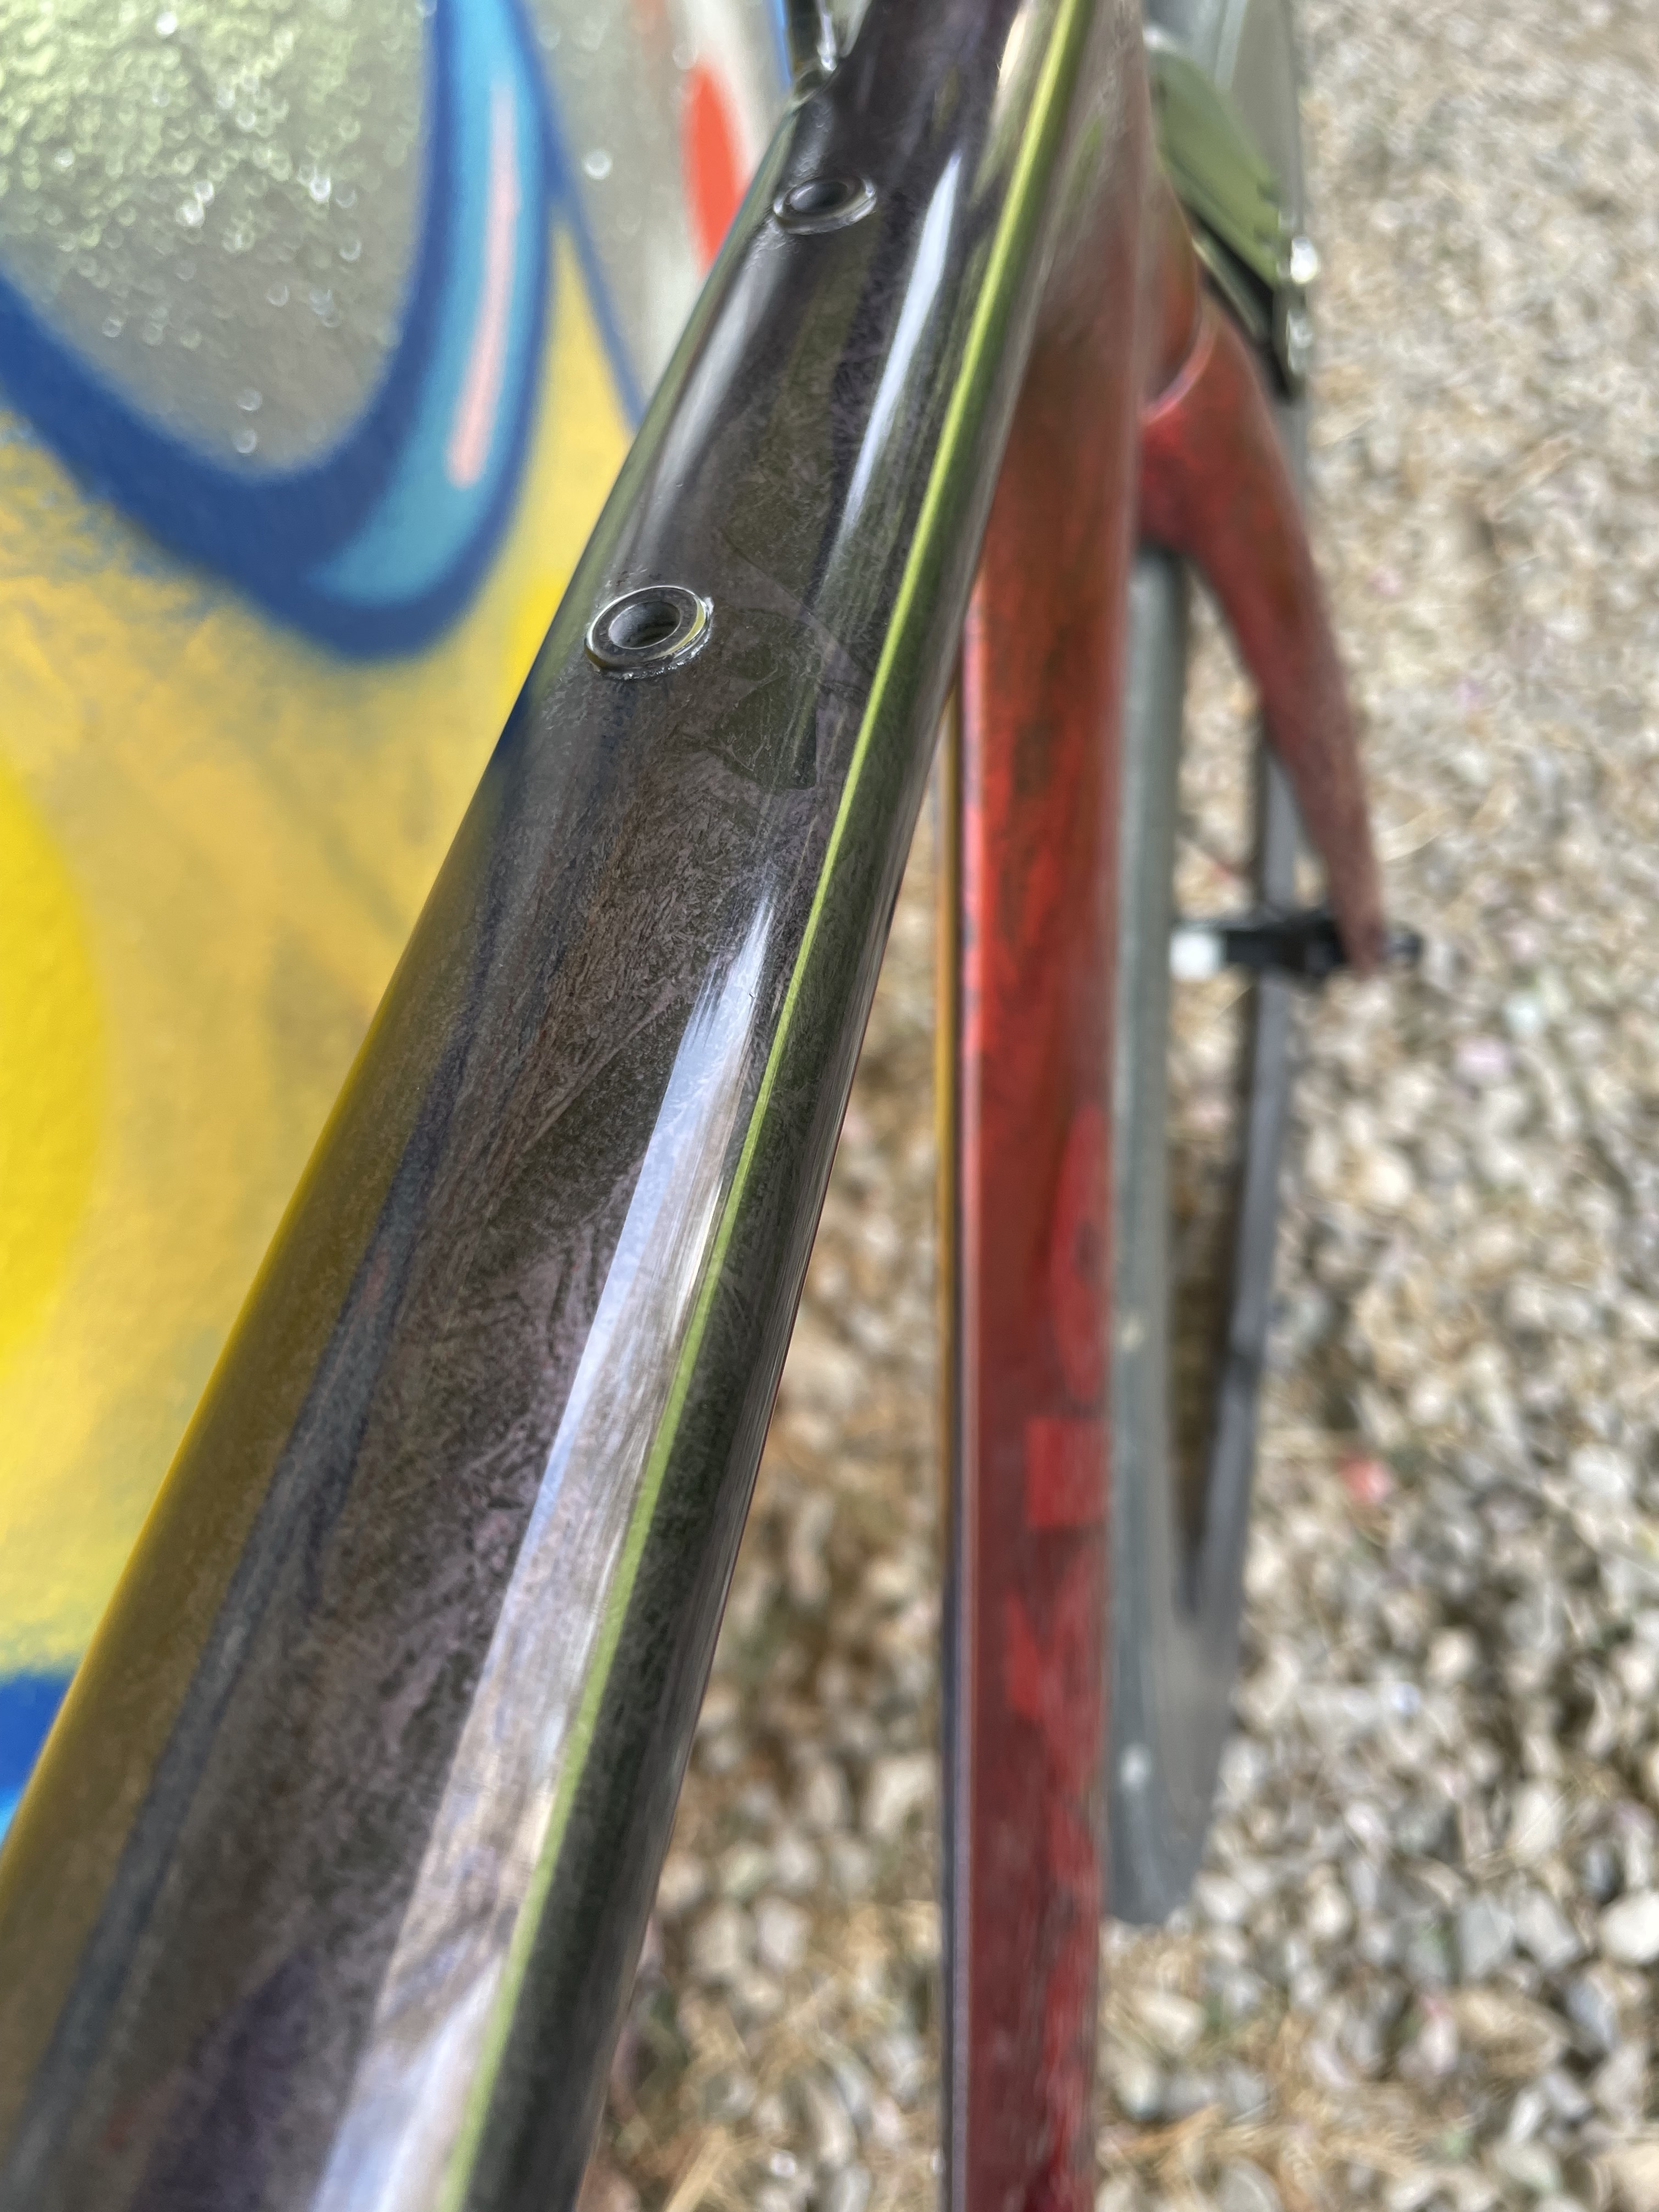
Edit : More pics
11 Likes
What’s that bad boy weigh?
Great job. Very clean.
Well done…the effect is stunning. Probably, my favorite paint job I’ve seen.
8.1kg with these 70/80mm wheels, including pedals and bottle cages.
How many cans of each color did you use? How many did you plan to use?
Primer : 1 can
Silver : 1 can (I had planned 2, one was more than enough)
Candy red : 2 cans
Candy black : 2 cans
1 Like
I want one of these sooooo bad, but it’s so much more bike than I rate.
1 Like
They’re out there and becoming more affordable. I got lucky and bought this frame new last year and pieced it all together. Had to get parts from Europe (a fellow slowtwitch person helped me out).
This is awesome. We need more of this here.
I thought about taking my crashed speed concept and repairing it myself and doing a paint scheme based on the greens that Alonso has on his F1 car. Somewhat like the Bora green SL8 that they had last year. I am not a “green” person, but this green combo is striking.
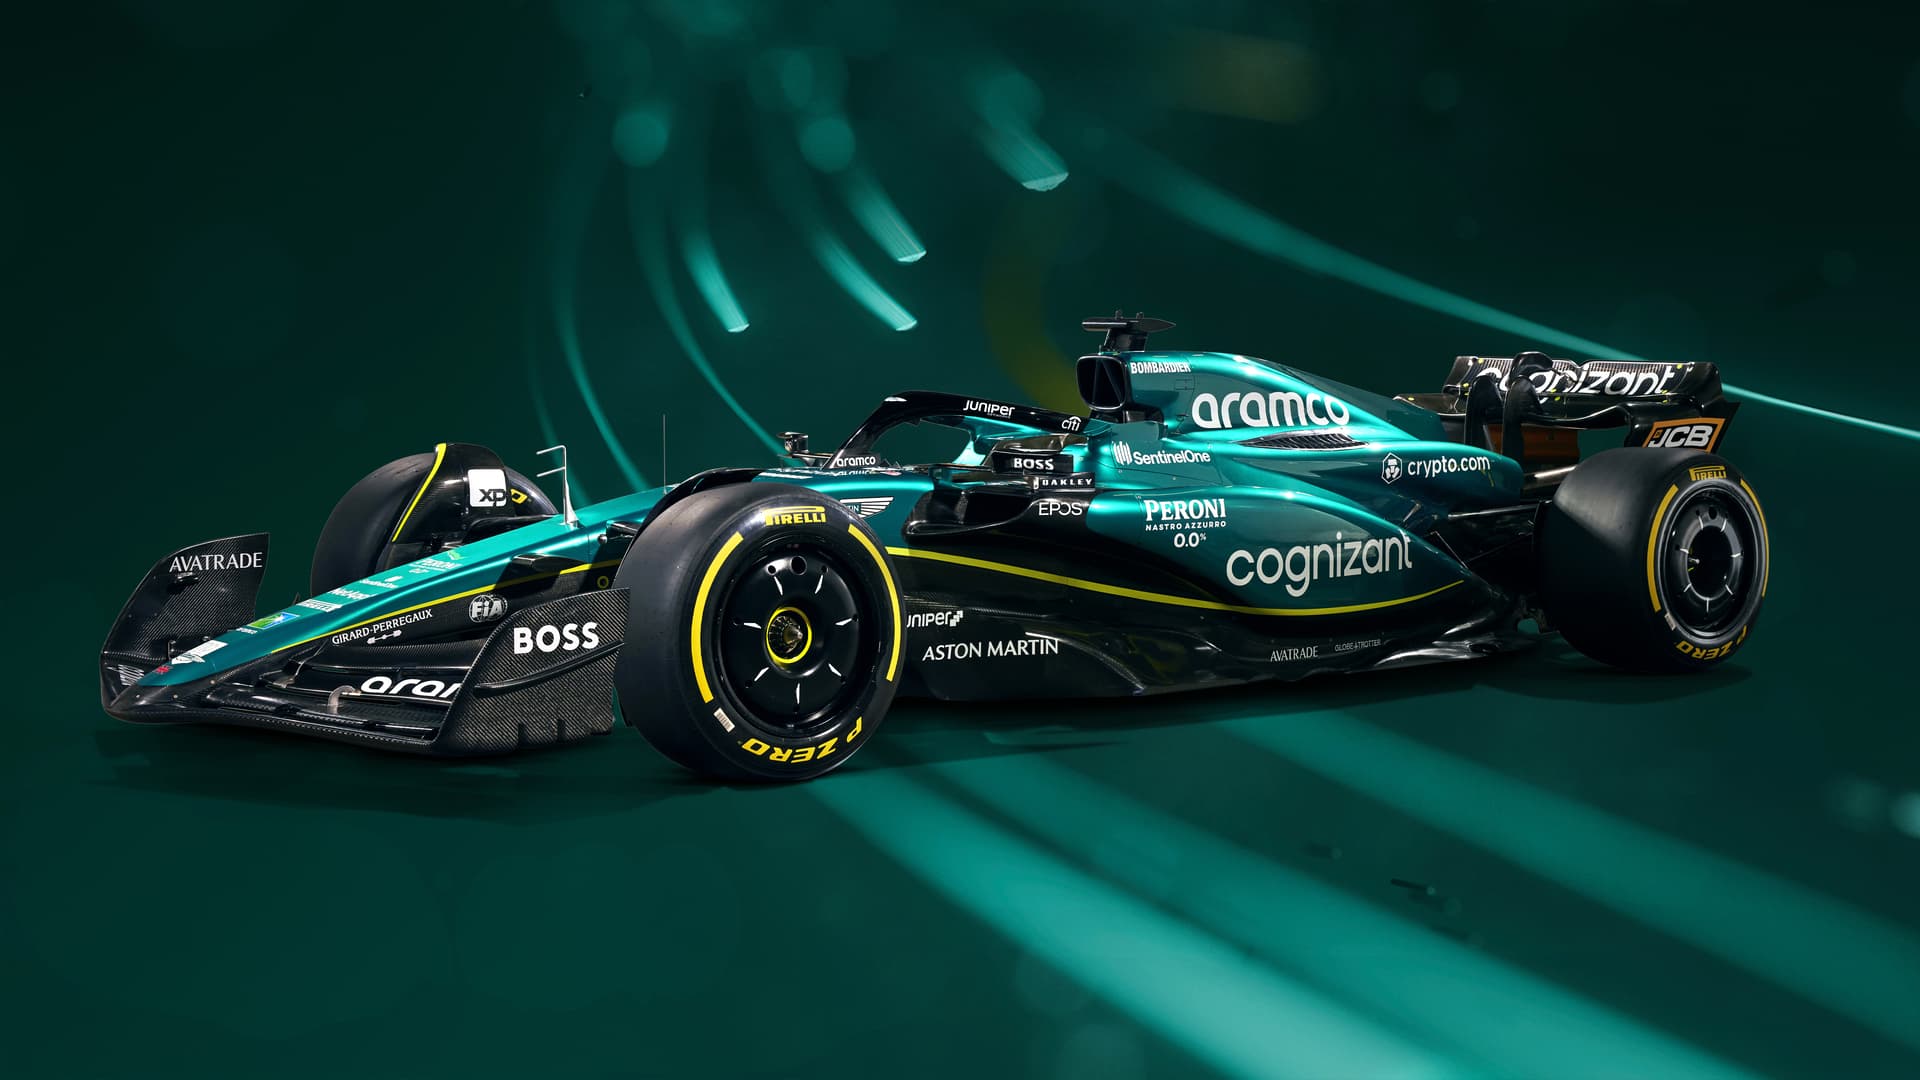
I could see that looking pretty hot on a SC. Sand it down, clear coat the lay-up, mask off the top half, white pearl with a green tint. Bottom half gets a dark tint gradient that shows the carbon lay up. Get a small set of yellow wheel stickers. Sounds interesting.
1 Like
Because I’m in love with my QR, TriRig Scoops ultimate, and Rudy Wing Dream, here is a @desert_dude approved set up!
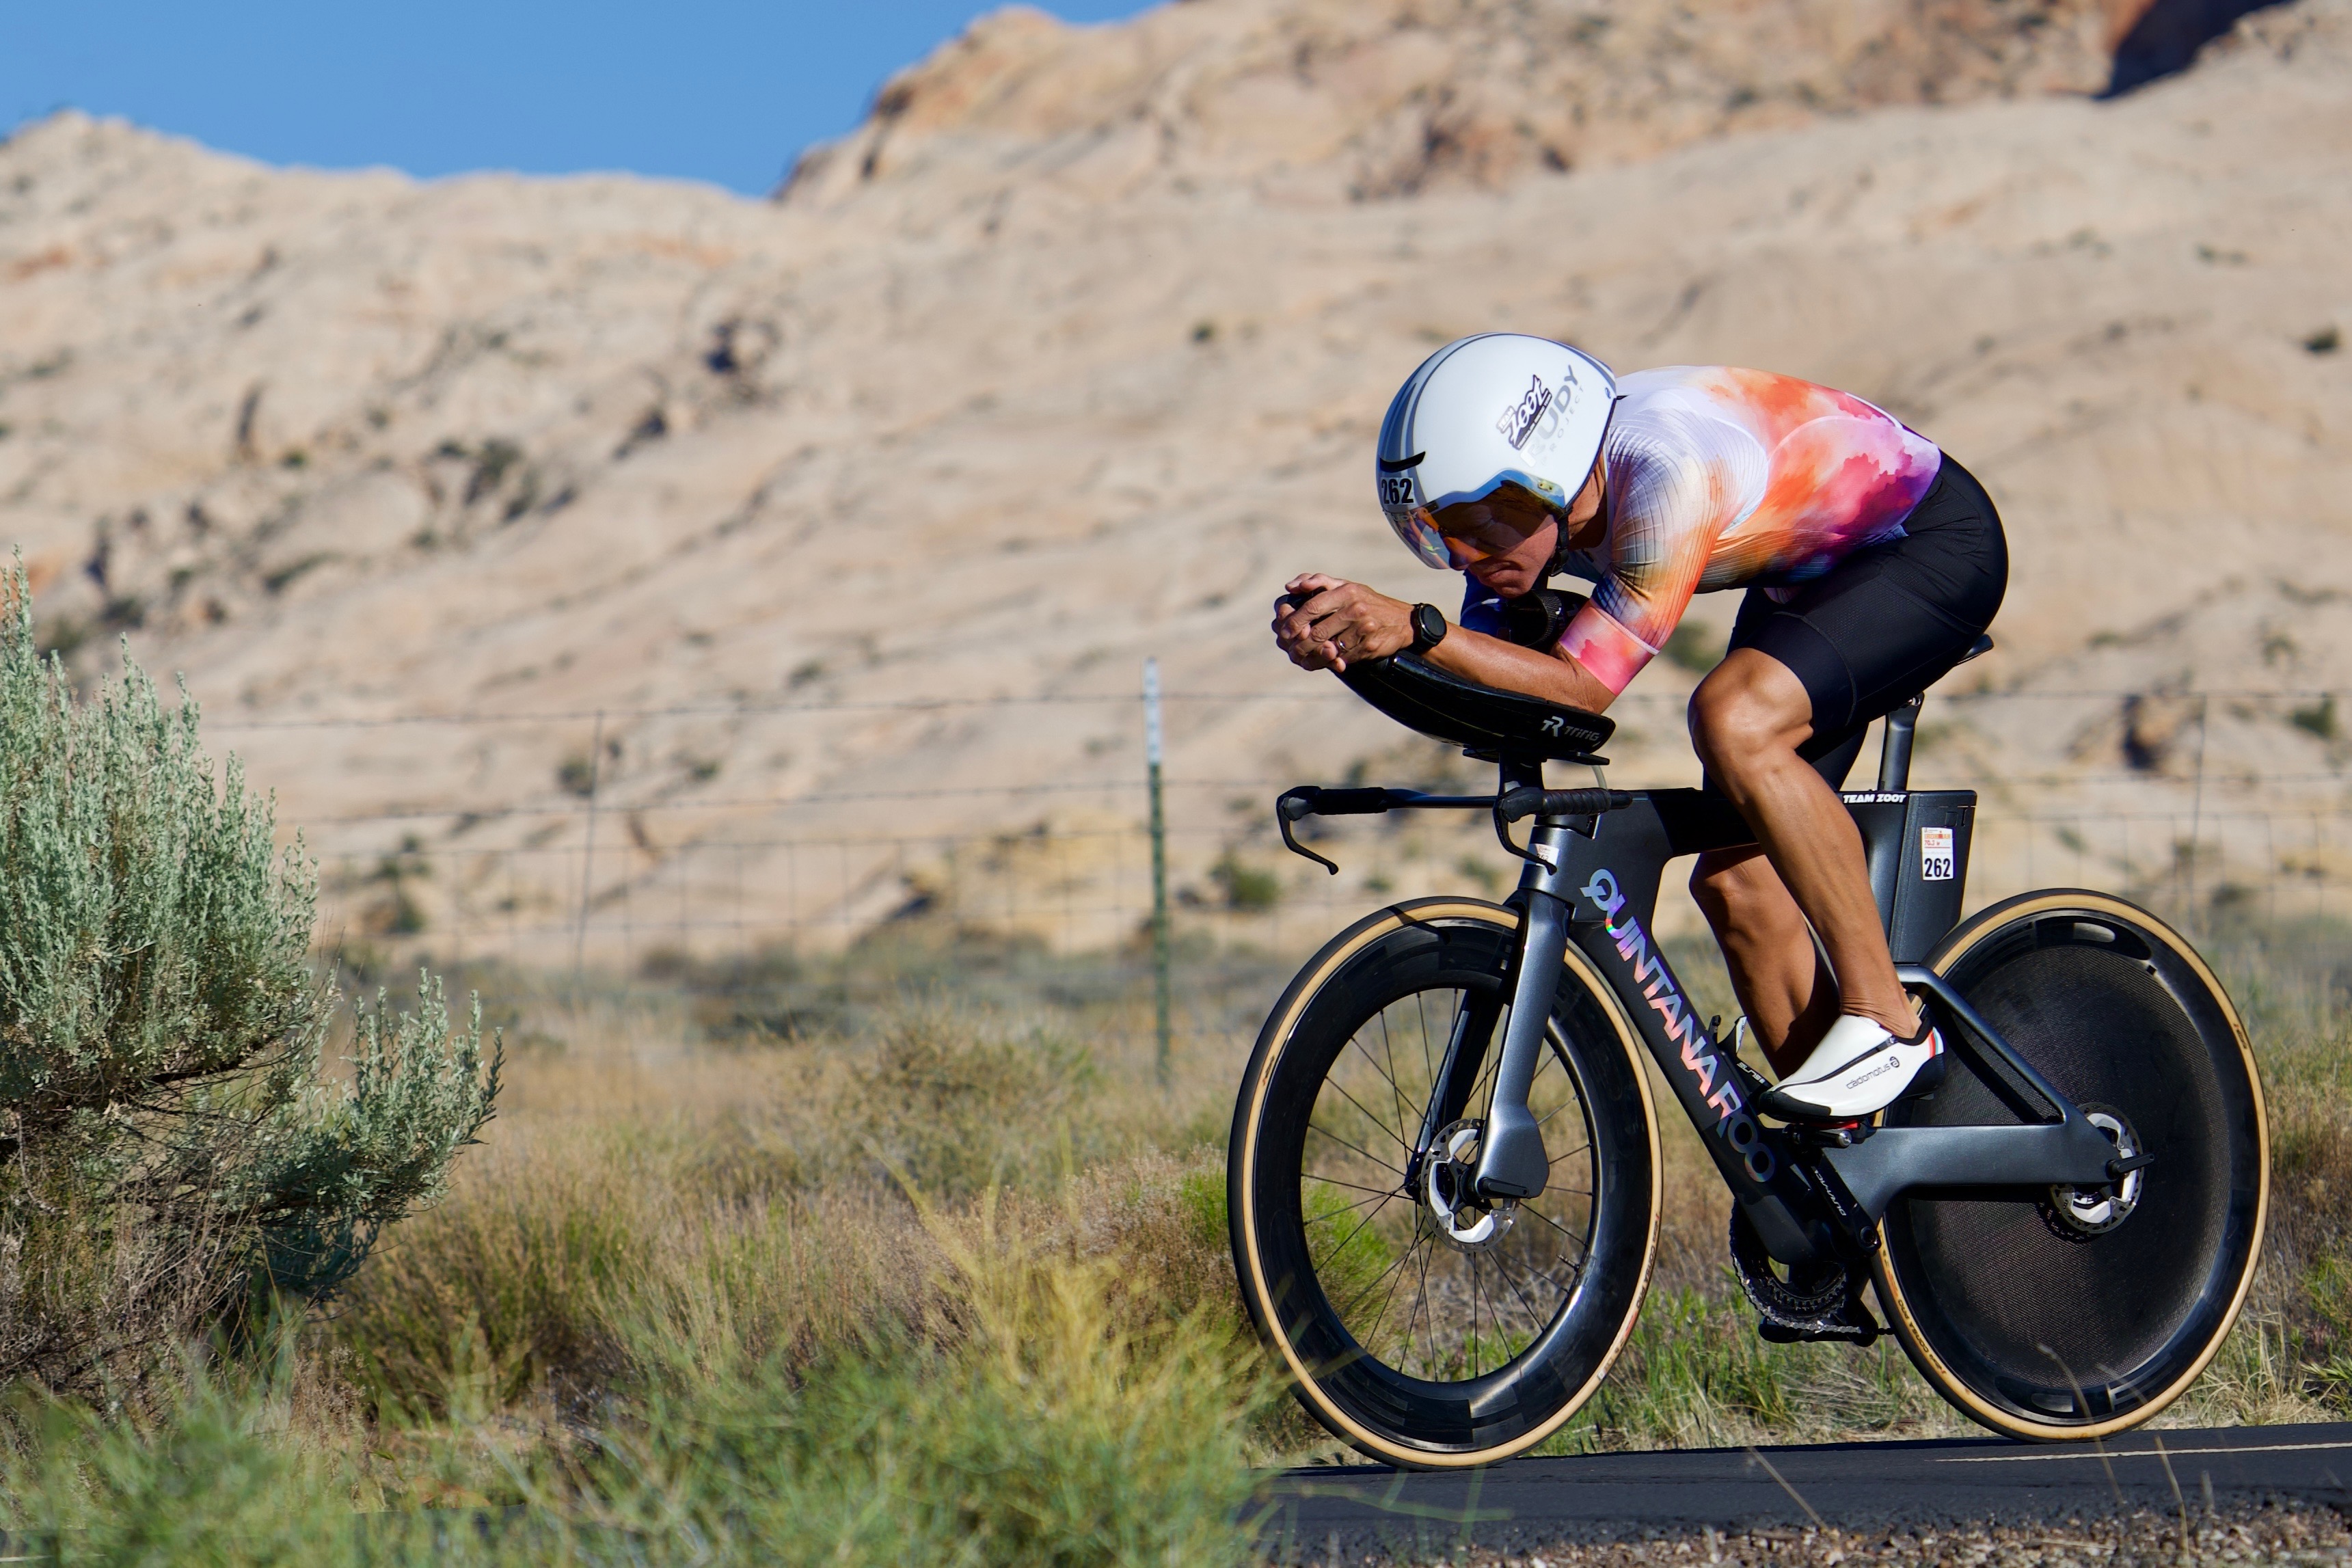
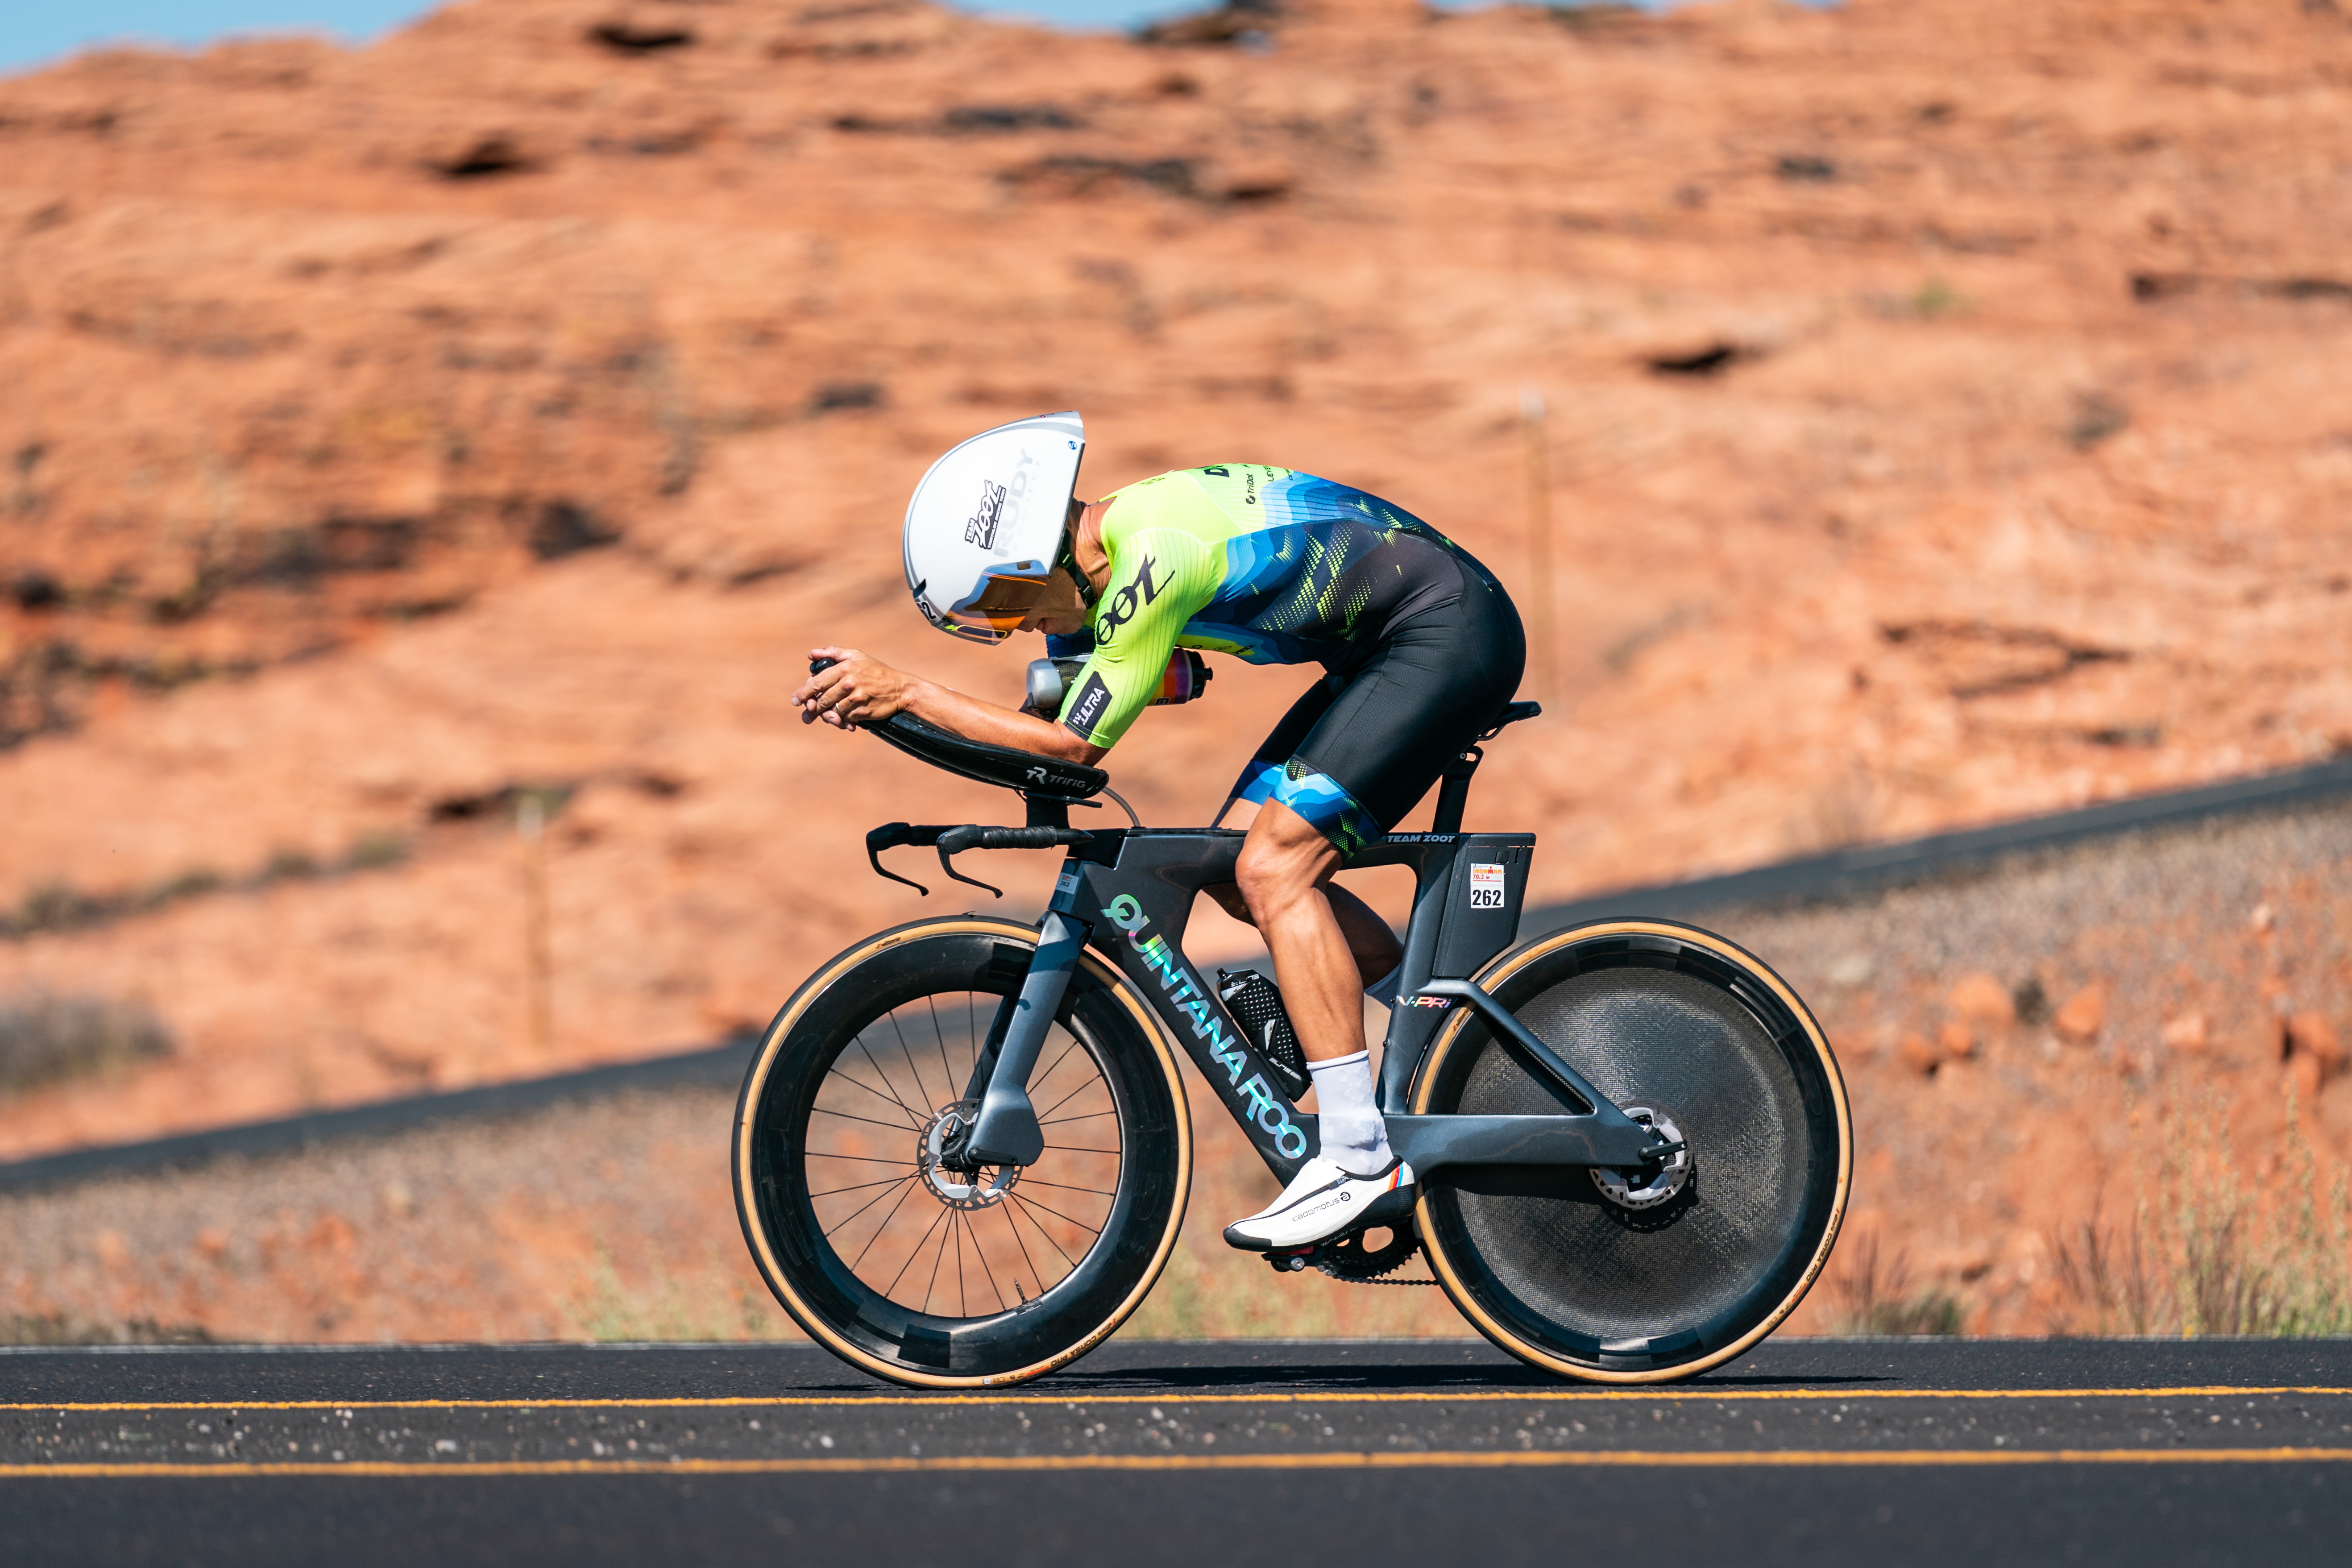
9 Likes
The 6th place FPRO also has a Desert Dude approved set up which we finished dialing in 3-4d before the race.
1 Like
Since I had posted this on the old picture of your bike thread, I will again:
PLEASE Take a proper picture of your bike, show it some respect:
Drivetrain facing camera
Cranks Level to ground, visible pedal facing forward (3 o’clock)
Big ring front / Small cog in back
De-Clutter the background behind the bike, the more solid the better
Take the photo from the height of the top tube (not looking down on the bike)
Valve stems vertical at the 6 o’clock position
Bike should fill the frame, don’t take it from really far away
Take all the crap off your bike, race numbers, seat bags, etc.
Thank you.
1 Like
One small correction. Front at 6, back at 9 for ultimate biker bro pics.
1 Like
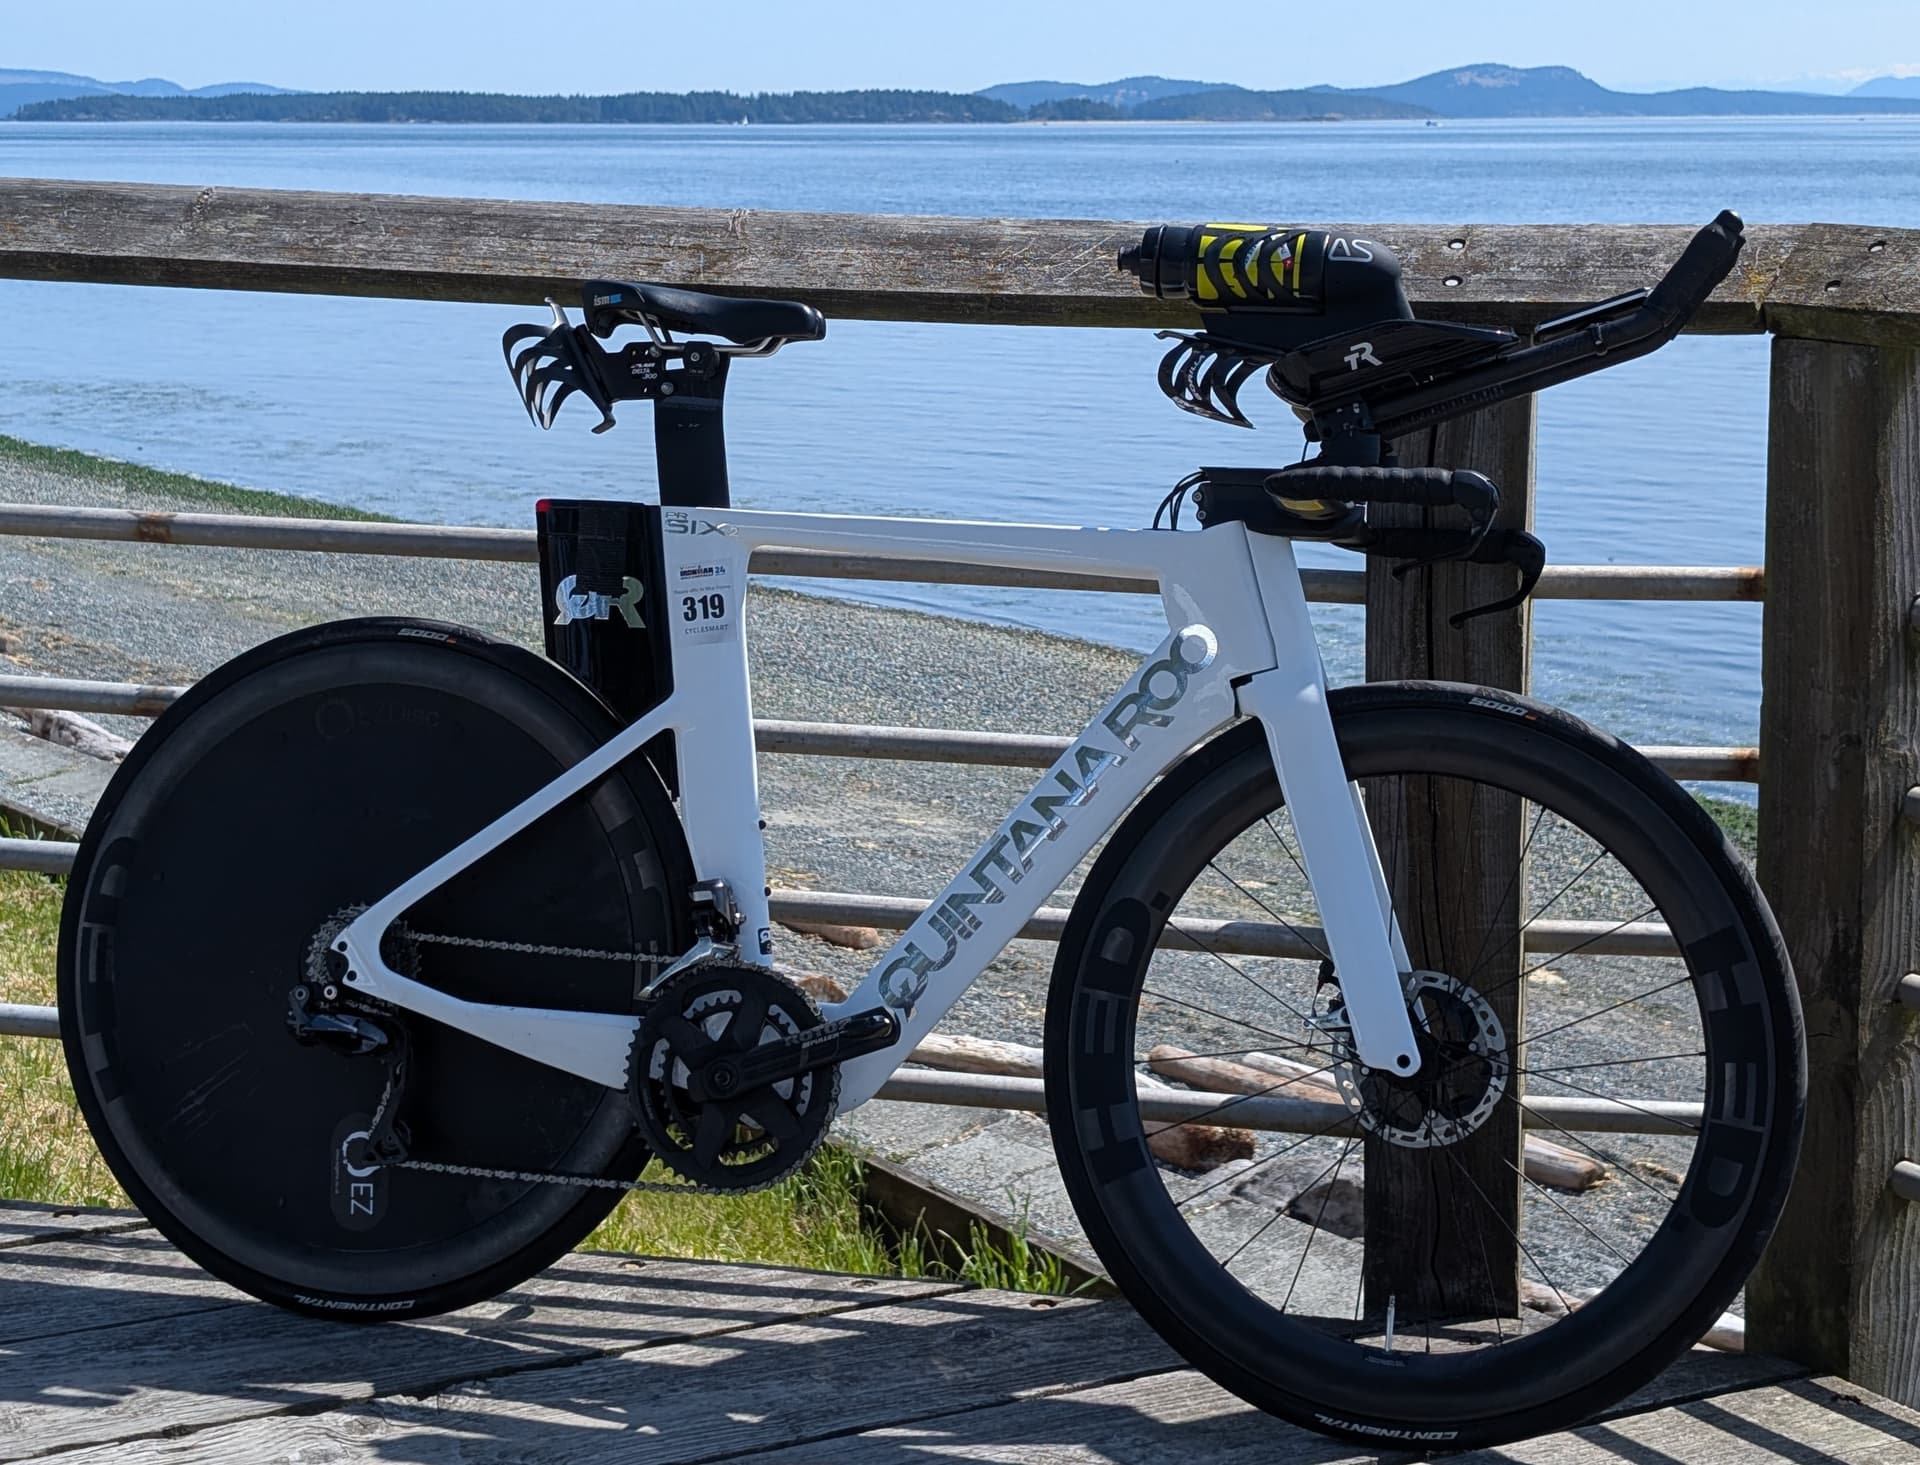
Final shakeout before Victoria 70.3 this weekend.
QR PrSix2, purchased 2021. Various upgraded bits: TriRig scoops pads, adapters from Profile Design to increase reach and tilt, EZ Gains disc cover, Absolute Speed BTA, Xlab BTS, duct tape to keep the storage box from flying apart on every bump (which it does without the tape). Ready to ride with tools and cages, but no nutrition on board (as pictured, except no bottle), weighs in around 26 lbs.
5 Likes