I am looking for some feedback regarding the TriRig build with the Cervélo P2, specifically how they routed the rear brake cable. Apparently, the rear brake cable is routed in the center of the top tube through the hole for the DI2 installation and then looped back up and out the rear boss near the seat. I was told by TriRig that a number of slowtwitchers have done this. I just want to make sure that one can achieve a really good, safe and consistent rear brake pull when cabling the bike in this manner before I commit to this build. Thank you
https://forum.slowtwitch.com/forum/?post=5079974#p5079974
My Experience after reading through the two threads already:
I’m running a 54cm frame and did not cut the insert at all, only concern is running the cable through the full housing, the bend isnt crazy sharp so think this should work for you.
Only cutting i did was for the rear plastic cable stop so the full housing could slide through.
I took the front fork off which helped greatly getting the cable housing through!
The biggest thing help I did was if not cutting the hole in insert behind stem, bend the housing as much as possible right at the end, almost 90 degree to point of almost breaking the housing (knowing I was going to freshly cut) to fish it though the center port.
Run the cable housing first, to run the cable through, you can push through housing easily but at a couple points with tighter bends it gets caught, i pushed cable in as far it would go, then pushed housing forward towards front and out from behind stem, pushed cable through again, then pulled housing out back, then was able to push cable through without issues.
Also - i strongly recommend 3m vinyl wrap on ebay (sample Size for $2.99), you can pick whatever color to match frame, ie matte black, gloss white etc to cover the old hole, looks great
https://www.ebay.com/...k:3:pf:0&vxp=mtr
I’ve done it on the 45cm NP2. I removed the fork to get at the housing as well.
I used Magura hydraulic brakes to ensure no issues; worked perfect.
I just want to make sure that one can achieve a really good, safe and consistent rear brake pull when cabling the bike in this manner before I commit to this build. Thank you
It’s a full run of cable housing from the brake lever to the brake, so there should be no issues with the safety of the brake pull.
When I did the job, I first removed the little well that the cables run through and cut open the back side of it to reduce the amount that the brake cable would have to bend/kink.
Thanks to all that replied. What a great resource this is. Some really innovative solutions. Much appreciated.
Thanks to all that replied. What a great resource this is. Some really innovative solutions. Much appreciated.
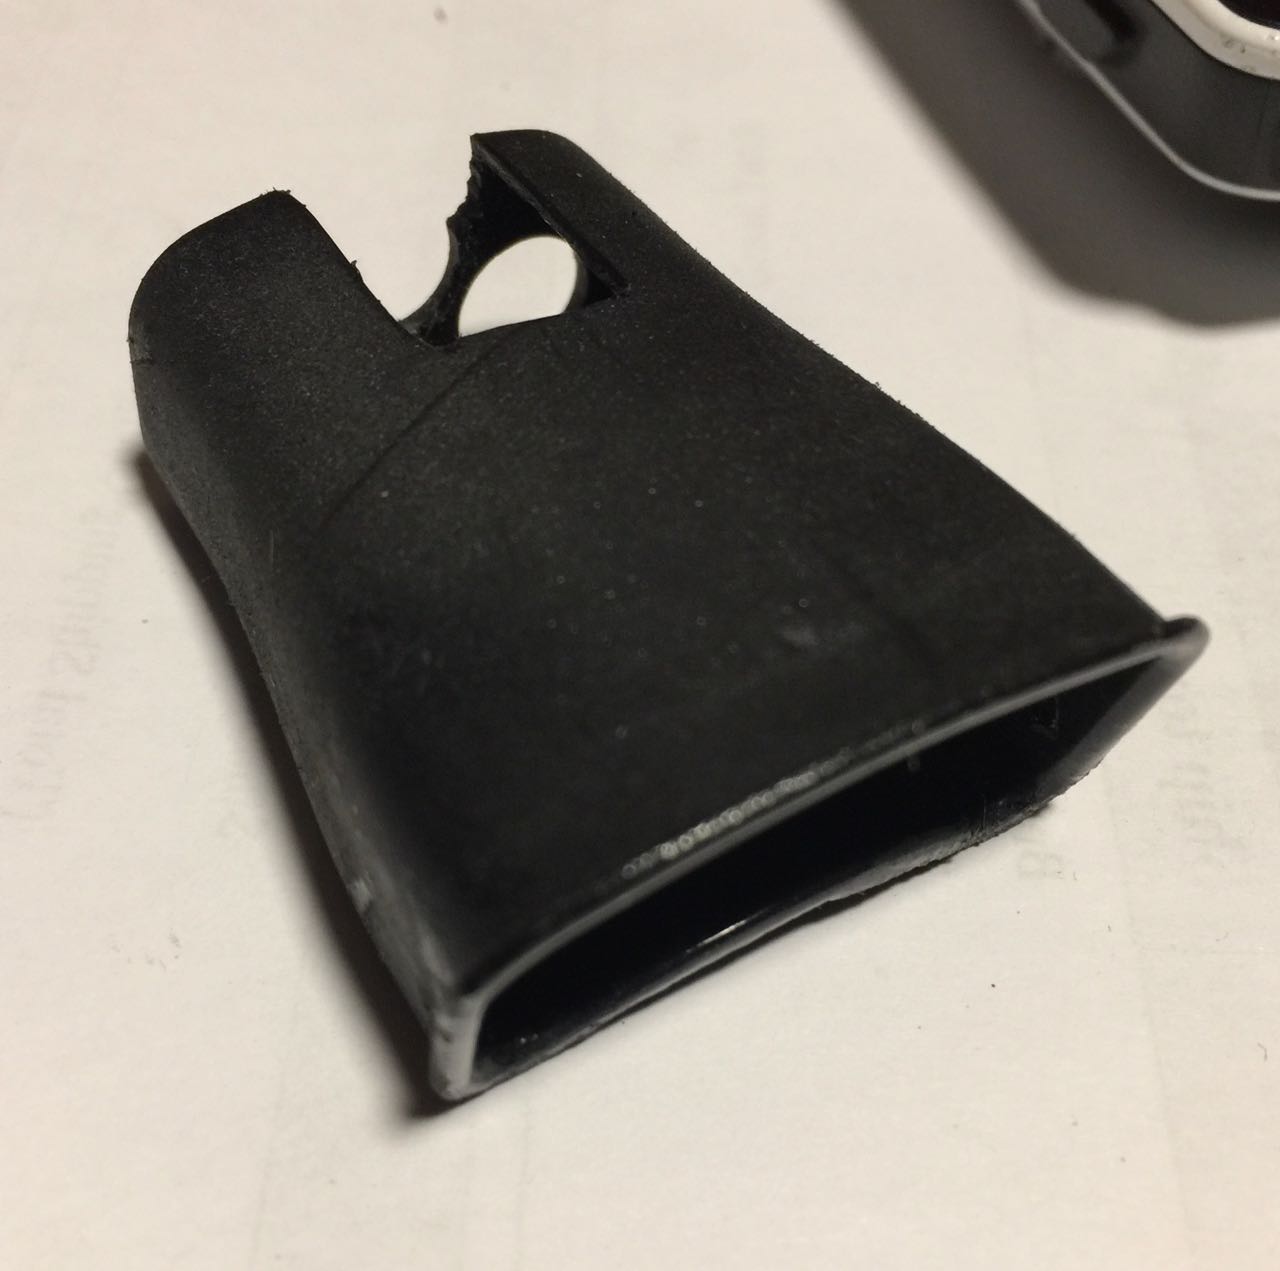
I also forgot to mention that you’ll have to modify/swap the brake cable grommet at the back of the top tube (closer to seat post) to allow the cable housing to run straight though it.
Cervelo also sells grommet ready for full housing to pass through. If you go to this add on excel sports, you can click on the drop down menu on the right side and select the “hydraulic R series” grommet. I bought mine from my local Cervelo dealer as they typically these on hand.
You can also just remove the grommet entirely, which is what we did. Doesn’t change the function at all.
thank you. this is the missing piece i’ve been looking for.
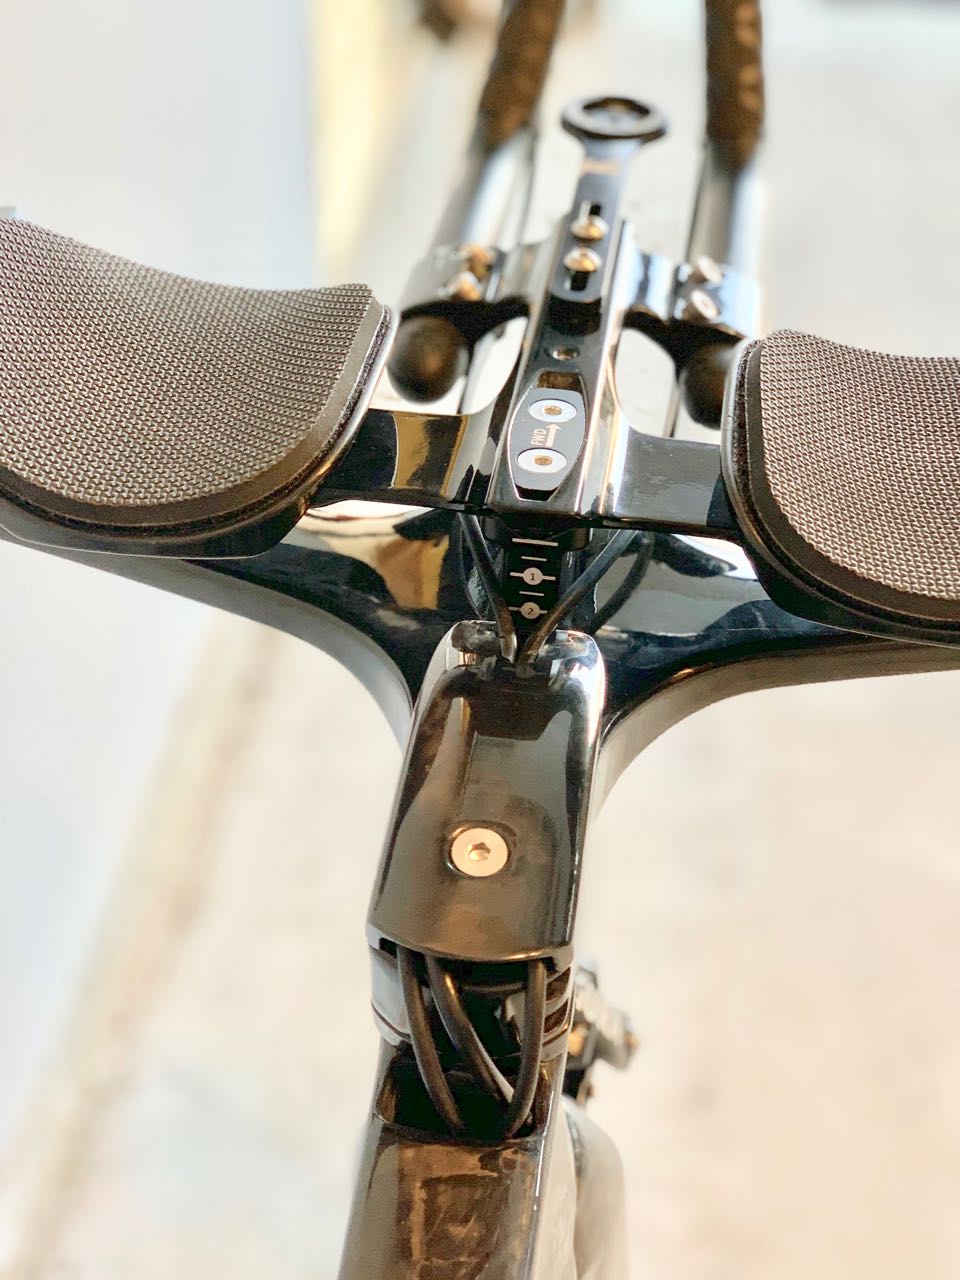
That is a great photo, it is exactly how I plan to build this, same bar and all. Couple of questions for you. Was it difficult getting the plastic (it looks plastic) insert out of the frame? I kind of poked around in there and it seems pretty solid.
Also, can you give a personal review of the whole project? Interested how you like the bars and how they ride, how the entire package has worked out.
Thanks
The plastic insert is meant to come out. There’s a small screw that you loosen and it will come out.
Not seeing a screw from the top. Is it accessed through the head tube with the fork out?
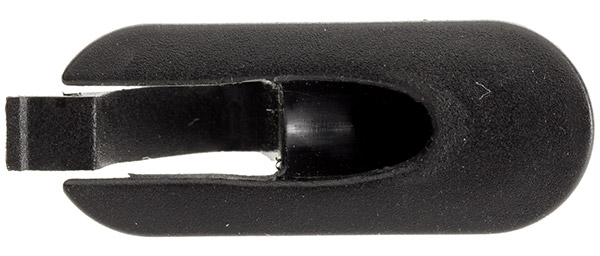
I think Tririg is confused. The part that I have pictured above doesn’t have a screw. There is a ‘plug’ that fits into the well that does have screws, but that’s not what we’re talking about;).
This plastic well is glued to the frame. When I first routed the brake cable (over a year ago now), I think the well loosened up on me when I was wiggling cables around. At that moment, I realized that I could just pop the well out of the frame. With the fork off, I put a screwdriver (or similar) through the bottom of the head tube and just started tapping/wiggling the well until the adhesive completely let go. …it sounds like mine was looser than your to being with.
As far as installing the bars, I have a few pictures posted of my installation on the “Alpha One” thread (link here). Not as easy as I hoped, but on par with most internal cable routing jobs. As you can see in the pics, I didn’t bother to put the ‘well’ back in this time as the tight cable routing through the Alpha one bars would have really limited steering if I had put the plug back in.
It’s too early to give any kind of meaningful review of how the bars ‘ride’. It so new that I still need to cut the monopost (it’s long enough that it hits my front brake) before I can get handlebars low enough for my normal drop. The weather is cold where I am, so I’ve been limited to some very short rides outside. What I will say so far is that the cups/pads are ginormous! …and I say this in a good way. They are likely to be the most comfortable cups I’ve ever had and definitely worth the weight penalty. I also like the dragonfly mount and how easy it was to mount my Garmin mount to it (pictures in the other thread).
Agreed on the arm pads. Large…but look comfy.
Great job and kudos on the install. I can kind of see why Cervelo put the “suggested” brake run on the side of the top tube. Your insert is really crowded, and now knowing it is actually out, I just don’t see how running three cables in there with the insert in place is at all practical, even though it may be possible. I am not brave enough to try this install myself, but this and the other thread have given me a lot of resources to bring to the shop. Thanks again.
I almost ditched this whole project and installed the bars on a Speed Concept 7.0 using the stub steerer. Not sure the routing would have been significantly better and that stub makes the front end of a Speed Concept look a bit messy.
I thought about filling that well with RTV to hold the cables in place and keep it watertight.
I think Tririg is confused.
Wouldn’t be the first time! Yeah, I was thinking of the cable stops themselves, not the well they sit in. Thanks for keeping me honest ![]()
How did you pull out that plastic well? It seems that it is epoxied to the frame on my NP3.
Definitely can be done. Did it on my NP3 about a month ago. The thread I started to get some ST wisdom on this matter is here.
Steps:
- Remove the fork and the plugs covering the plastic cup/well below the stem.
- Remove all grommets from the top tube.
- Route the brake cable housing from the back - ie from the saddle side towards the fork. You might have push it through to get to drop into the headtube.
- Once you see the housing, grab it and route it up into the unused hole of the plastic cup/well in the headtube.
- Drill out a larger hole in the grommet that goes into the top tube opening by the saddle. You can’t really damage it, so drill away.
- Route the brake cable. Route the cable housing through the drilled grommet and clip it into the hole.
Works like a charm!
One word of caution - be careful with the rear brake metal thingie that’s used to attach the brake to the frame. I accidentally stripped the threads inside the frame on mine and had to do some drilling/epoxying to get a larger thread in. It was not fun.
In all likelihood, the well on my P2 was not epoxied enough, or the act of wiggling housing through the piece broke up the epoxy. Once I noticed it was loose, it was just a matter of knocking the well free. IIRC, I took out the fork and got to the piece through the head tube hole.
I could always glue the piece back in place if ever needed too.
I am looking for some feedback regarding the TriRig build with the Cervélo P2, specifically how they routed the rear brake cable. Apparently, the rear brake cable is routed in the center of the top tube through the hole for the DI2 installation and then looped back up and out the rear boss near the seat. I was told by TriRig that a number of slowtwitchers have done this. I just want to make sure that one can achieve a really good, safe and consistent rear brake pull when cabling the bike in this manner before I commit to this build. Thank you
Lot’s of great advice here. Except, don’t bother removing (or trying to remove) the well. Absolutely no reason to do that. As far as upgrades to the P series bike this is about as easy as it gets. I have OmegaX brakes on 4 bikes and absolutely love how easy they are to setup/adjust and the braking power has never caused me concern.