I'm cheap...and I like to tinker. Okay, now that that's out of the way we can get down to business.
In preparation for IMAZ this year, I decided I wanted to run a wheel cover in the rear. I'm on a severely limited budget, and since I wanted to get new tires as well, a WB cover would have been a stretch. I started reading old threads on here about making your own and figured I'd give it a try.
Lucky for me, here in SoCal, a quick search led me to a place in Anaheim called Industrial Plastic Supply. Not only did they have .040 thickness ABS sheets, they can also cut to size. Odd sizes are more expensive, but after measuring my 30mm deep training wheels, I figured out a disc with a diameter of 23" would be perfect. The best part? It was cheap. Like $13 a piece cheap. So I placed an order with Miguel (great guy) and the next day they were ready for pick up.
So lets get started.
Here is a list of things you'll need.
ABS discs
ABS Cement
Sharp cutting tool
Straight edge
Sandpaper
Painters tape
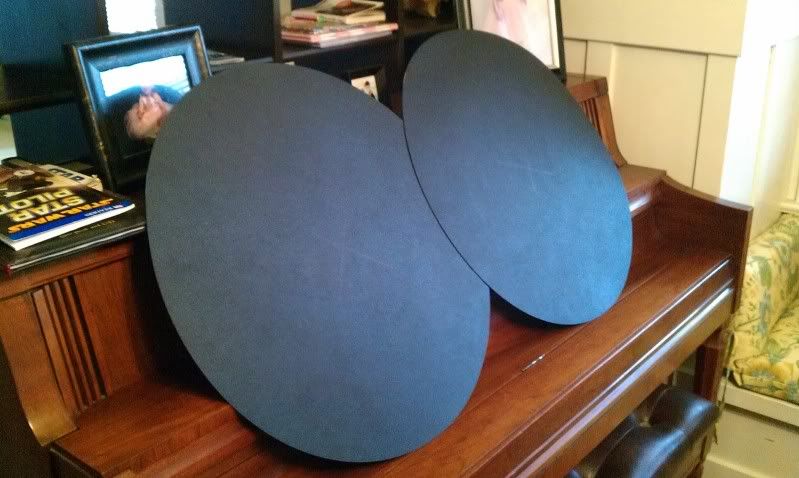
Here's the discs after I picked them up:
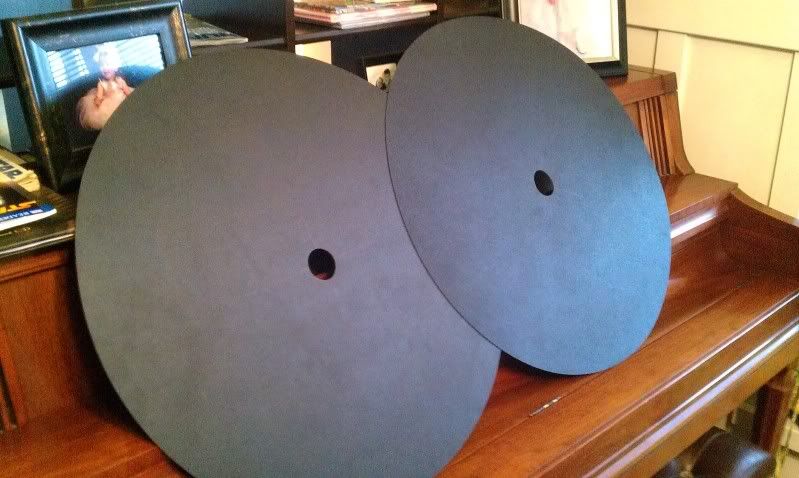
Next step is to cut your center hole. This depends of your hub, but I found that 1.5" worked well on both sides of my wheel. I used a hole saw in my drill, but you could use anything really.
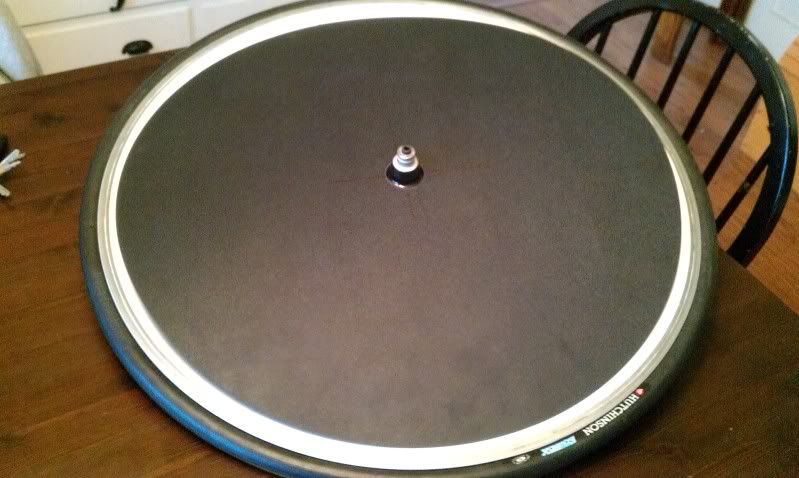
This shows you why you have to dish the disc properly to make it fit the dish of the wheel.
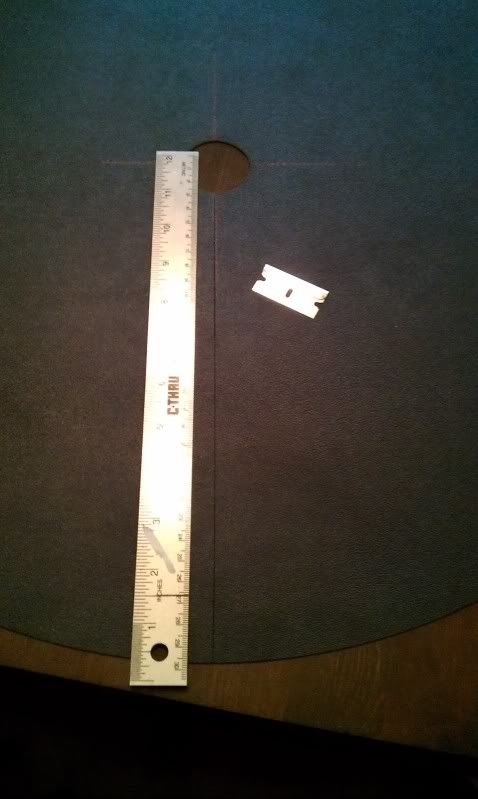
At this point you need to cut a straight radius from the center out to the edge. This stuff is really easy to cut. Just use a sharp edge to score it a few times, and it will snap cleanly.
With the radius cut, it will automatically overlap and lay perfectly flat when you put it on the wheel. At this point I suppose you could just tape it as is, but that wouldn't look very great IMO.
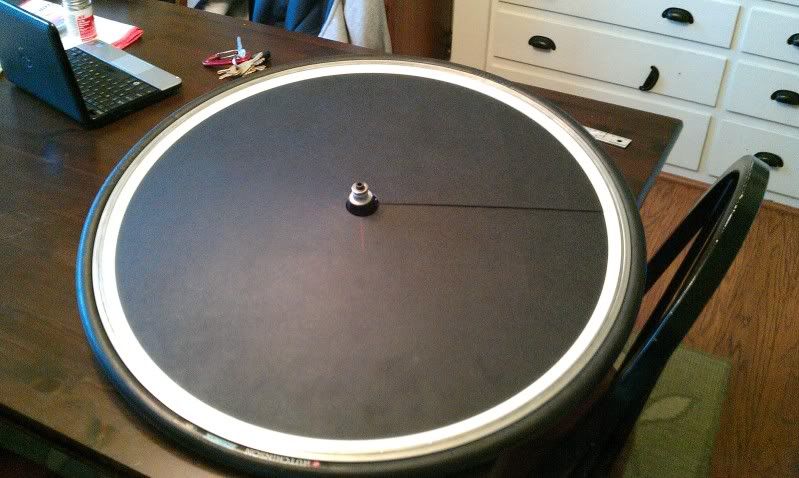
At this point I taped the overlap down and used the raised edge as a guide to cut the other side of the pie shaped piece. On the non drive side, this piece is quite a bit larger than the drive side because of the greater dish.
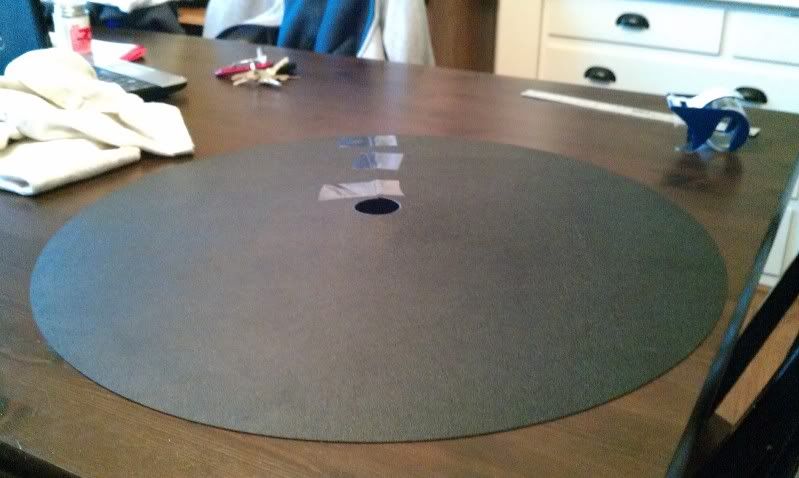
Here it is all taped up and ready to be bonded back together. I put the tape on the outside surface so it would keep the cement from bleeding through.
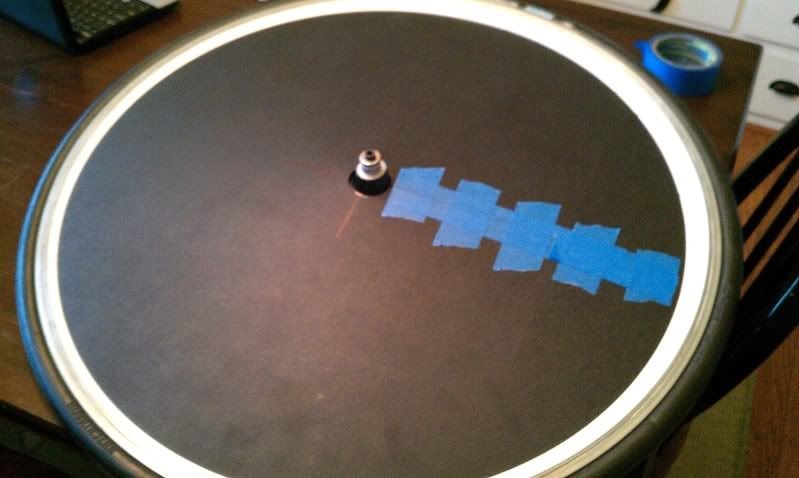
I used another scrap piece of ABS to make two strips that would be used to make a stronger joint.
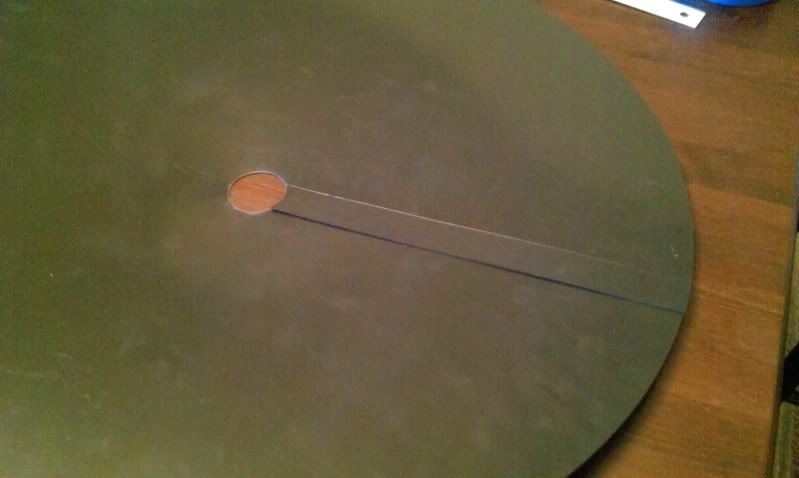
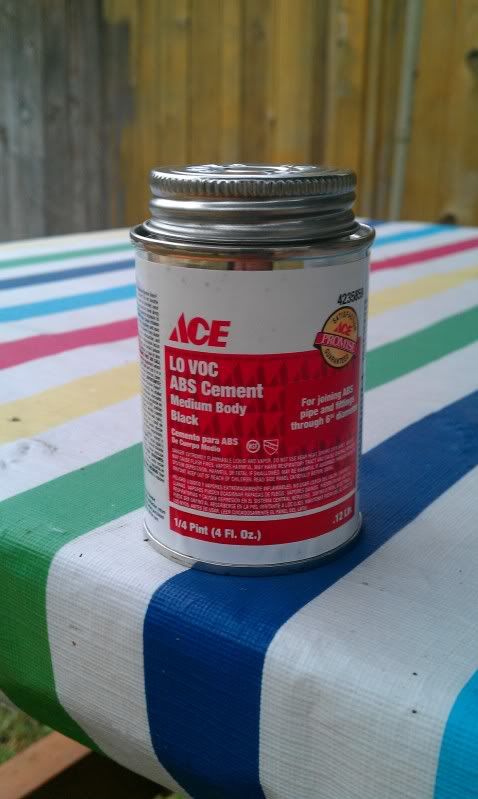
This is the cement I used. It's used for ABS plumbing and it's main ingredient in MEK which basically melts the two pieces a bit and then bonds them together permanently.
I scuffed up both surfaces with sandpaper to get a good bond. Then I bent the seam backwards to open it up and smeared a good amount over the gap. Then I popped it back the right way and put a good amount of cement on the back of my support strip, and laid it down. A good way to get a better bond with this stuff is to wiggle the pieces back and forth on each other. Then you just hold it in place for 30 seconds or so, then leave it for 2 hours to dry completely
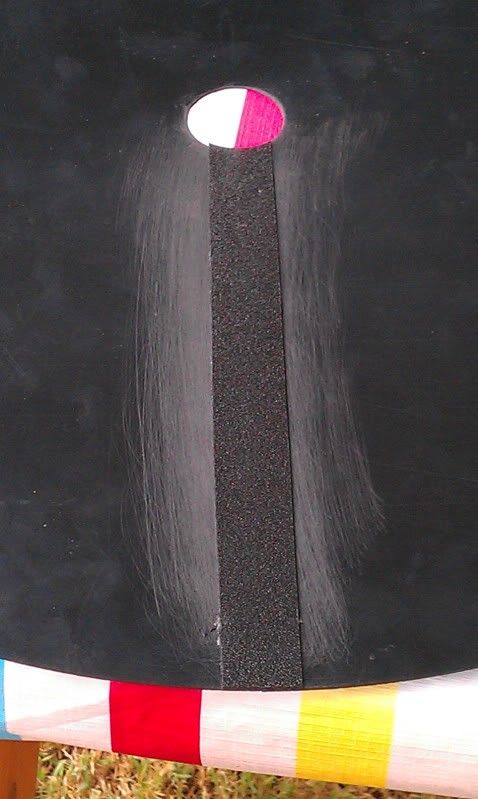
All glued up and taped till dry:
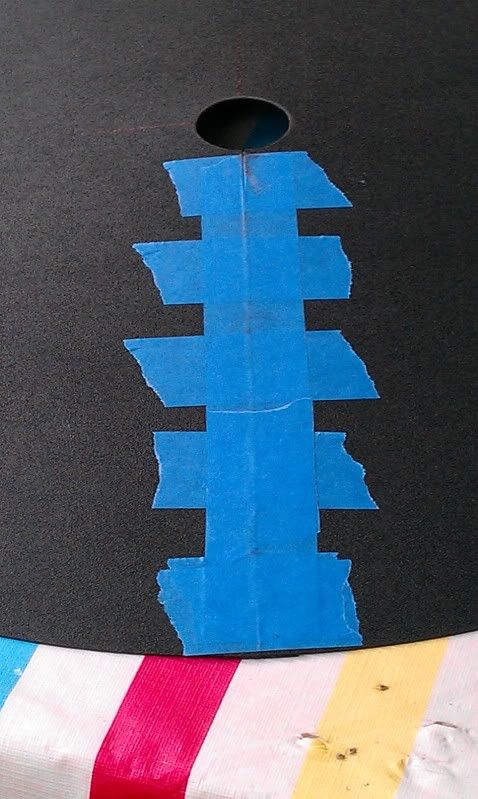
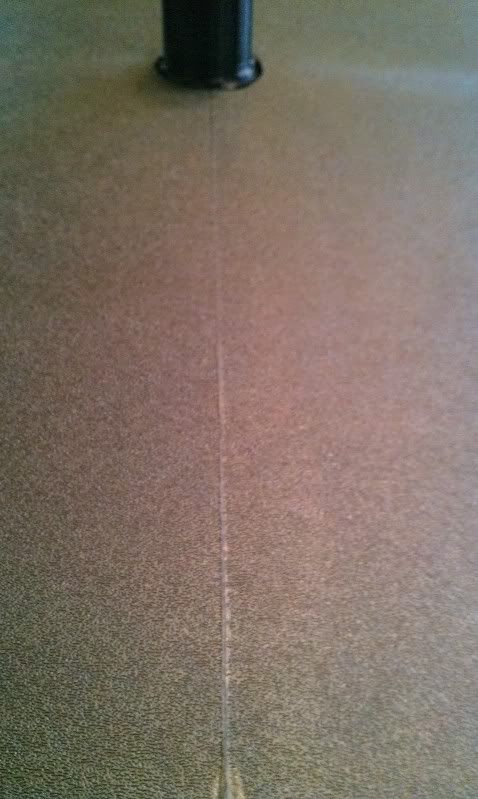
Here is a shot of the seam. For my first try it looks pretty good I think. I plan on putting some graphics on this when I'm all done, so no biggie.
Drive side taped down. I was thinking of buying some nylon post screws, but I think this looks cleaner and seems to be a rock solid hold. Used 4 small pieces to hold it in place, then used one continuous piece to secure it.
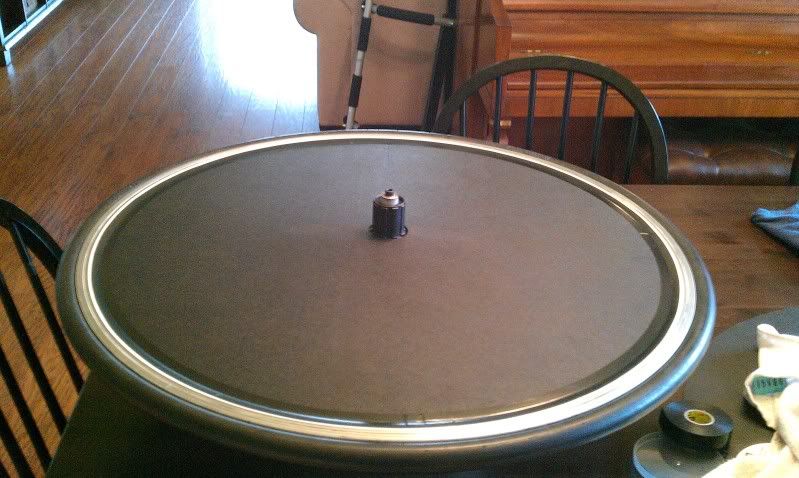
I used some packing tape on the inside to help secure it. Don't think its really needed though.
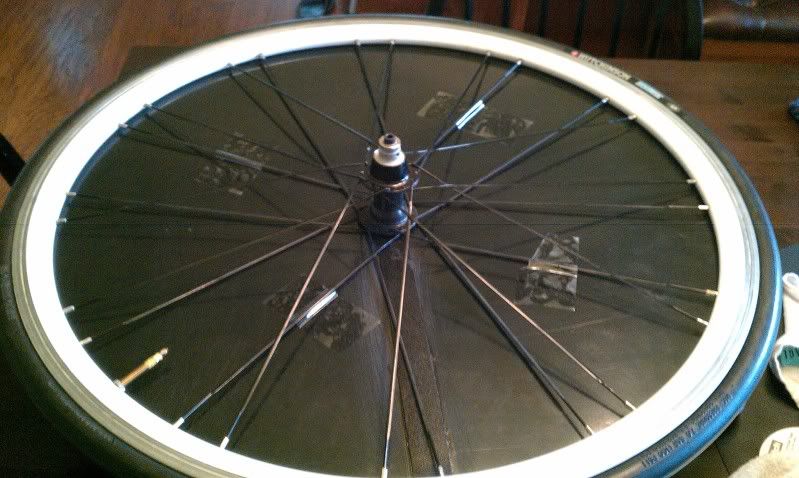
Cut a hole for the valve. I'll probably get a crack pipe so I dont have to make the hole bigger for my floor pump. (C02 head fits here no problem)
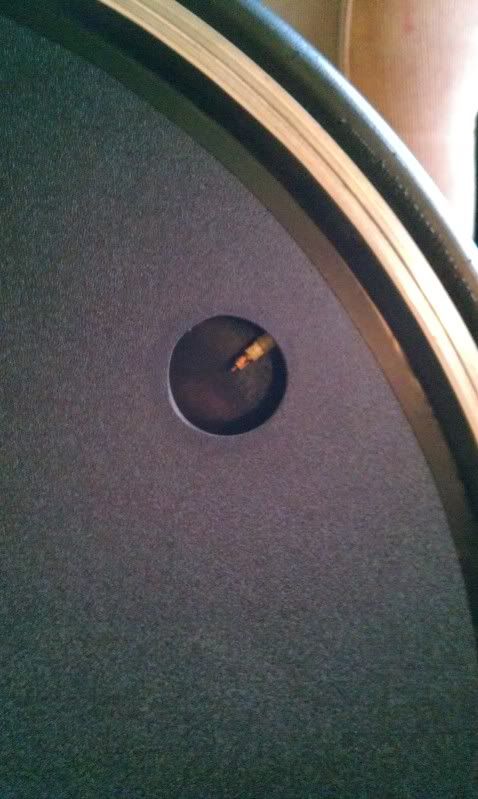
On the bike. There are absolutely no dips or distortion of any kind.
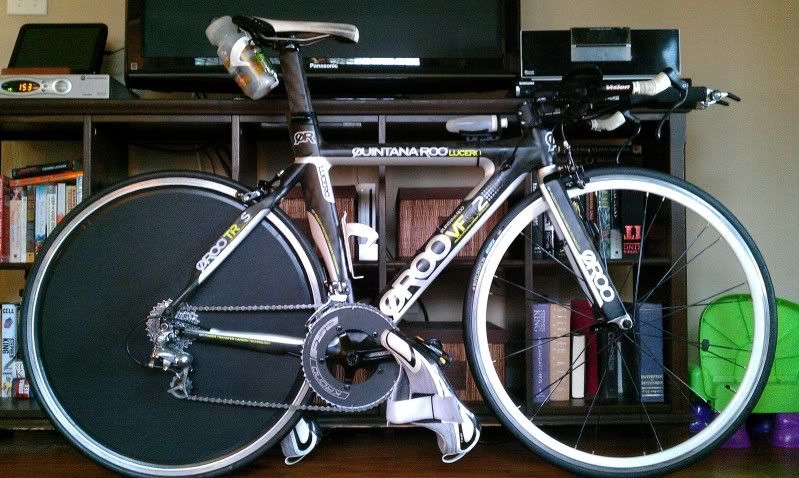
There you go. I just did this today, so I'll report back after some training and I get the graphics on there. Hope that helps somebody.
In preparation for IMAZ this year, I decided I wanted to run a wheel cover in the rear. I'm on a severely limited budget, and since I wanted to get new tires as well, a WB cover would have been a stretch. I started reading old threads on here about making your own and figured I'd give it a try.
Lucky for me, here in SoCal, a quick search led me to a place in Anaheim called Industrial Plastic Supply. Not only did they have .040 thickness ABS sheets, they can also cut to size. Odd sizes are more expensive, but after measuring my 30mm deep training wheels, I figured out a disc with a diameter of 23" would be perfect. The best part? It was cheap. Like $13 a piece cheap. So I placed an order with Miguel (great guy) and the next day they were ready for pick up.
So lets get started.
Here is a list of things you'll need.
ABS discs
ABS Cement
Sharp cutting tool
Straight edge
Sandpaper
Painters tape
Here's the discs after I picked them up:

Next step is to cut your center hole. This depends of your hub, but I found that 1.5" worked well on both sides of my wheel. I used a hole saw in my drill, but you could use anything really.

This shows you why you have to dish the disc properly to make it fit the dish of the wheel.

At this point you need to cut a straight radius from the center out to the edge. This stuff is really easy to cut. Just use a sharp edge to score it a few times, and it will snap cleanly.

With the radius cut, it will automatically overlap and lay perfectly flat when you put it on the wheel. At this point I suppose you could just tape it as is, but that wouldn't look very great IMO.

At this point I taped the overlap down and used the raised edge as a guide to cut the other side of the pie shaped piece. On the non drive side, this piece is quite a bit larger than the drive side because of the greater dish.

Here it is all taped up and ready to be bonded back together. I put the tape on the outside surface so it would keep the cement from bleeding through.

I used another scrap piece of ABS to make two strips that would be used to make a stronger joint.

This is the cement I used. It's used for ABS plumbing and it's main ingredient in MEK which basically melts the two pieces a bit and then bonds them together permanently.

I scuffed up both surfaces with sandpaper to get a good bond. Then I bent the seam backwards to open it up and smeared a good amount over the gap. Then I popped it back the right way and put a good amount of cement on the back of my support strip, and laid it down. A good way to get a better bond with this stuff is to wiggle the pieces back and forth on each other. Then you just hold it in place for 30 seconds or so, then leave it for 2 hours to dry completely

All glued up and taped till dry:

Here is a shot of the seam. For my first try it looks pretty good I think. I plan on putting some graphics on this when I'm all done, so no biggie.

Drive side taped down. I was thinking of buying some nylon post screws, but I think this looks cleaner and seems to be a rock solid hold. Used 4 small pieces to hold it in place, then used one continuous piece to secure it.

I used some packing tape on the inside to help secure it. Don't think its really needed though.

Cut a hole for the valve. I'll probably get a crack pipe so I dont have to make the hole bigger for my floor pump. (C02 head fits here no problem)

On the bike. There are absolutely no dips or distortion of any kind.

There you go. I just did this today, so I'll report back after some training and I get the graphics on there. Hope that helps somebody.